Introduction
This guide will show you how to replace the battery on the Freeway.
What you need
-
-
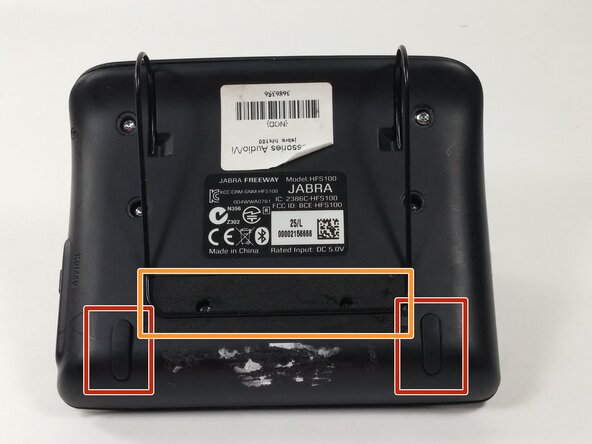
Remove the rubber pads from the bottom of the device using the spudger.
-
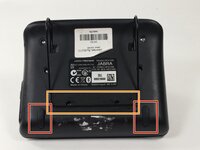
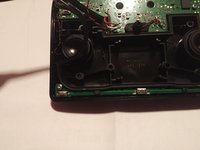
Remove the foam tape covering 2 hidden screws from the back of the device.
 Ask FixBot
-
-
-
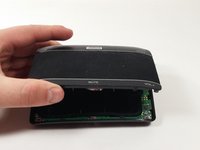
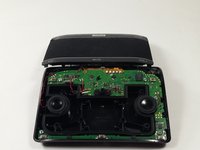
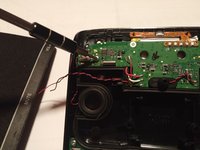
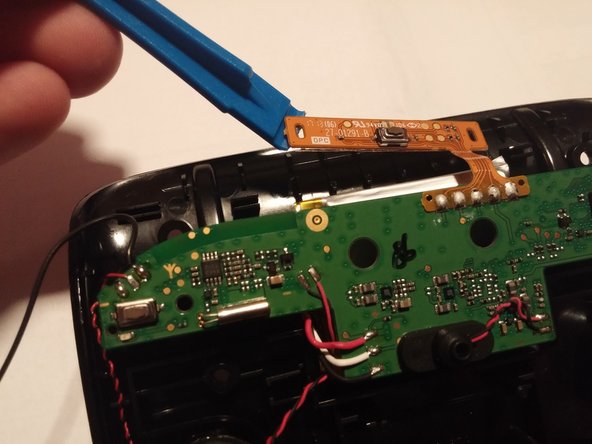
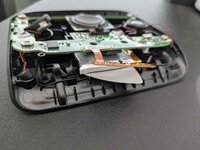
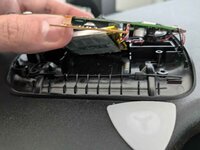
Gently lift the front panel off of the device and carefully rest it to the side.
-
-
-
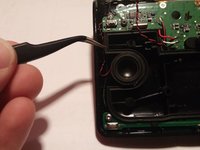
Tool used on this step:Tweezers$4.99
-
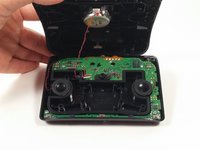
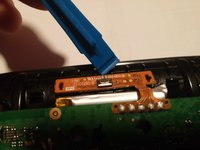
Remove the rubber gasket using tweezers.
-
-
-
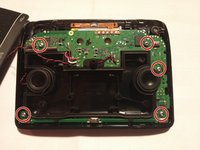
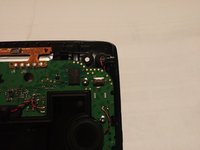
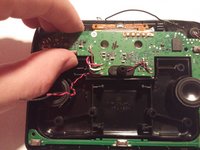
Remove the five 6mm T6 screws connecting the circuit board to the rear panel.
-
-
-
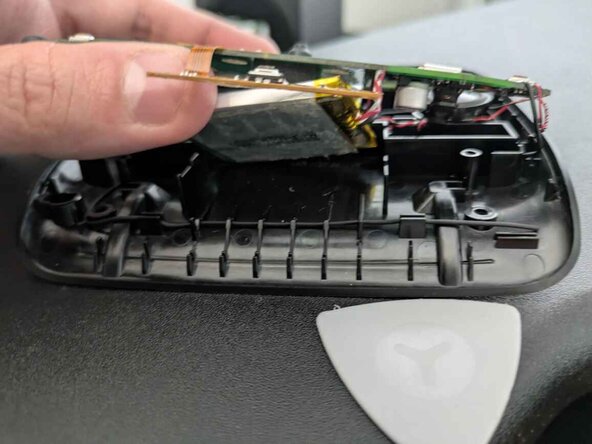
Do not use a metal tool for this step.
-
Do not bend or puncture the battery!
-
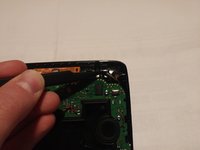
There is adhesive covering the entire lower side of the battery.
-
Insert a guitar pick or thin plastic tool of some kind to detach the old battery from the case.
-
-
-
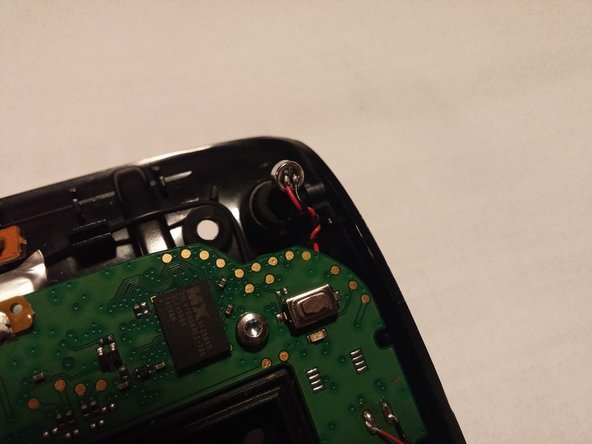
Desolder the three wires connecting the battery.
-
Please refer to the soldering technique guide for instructions on desoldering and soldering.
-


To reassemble your device, follow these instructions in reverse order.
Cancel: I did not complete this guide.
6 other people completed this guide.
Team

UMass Dartmouth, Team 4-8, Catania Fall 2016 Member of UMass Dartmouth, Team 4-8, Catania Fall 2016
UMASSD-CATANIA-F16S4G8
2 Members
12 Guides authored
12 Guide Comments
Hi,
Does anyone knows a source for the compatible battery. Since Jabra Freeway battery has 3 wires, cannot find it online. I could find compatible batteries from China websites but they were with 2 wires.