Introduction
These LED lights can burn out from use. If dropped sometimes the housing is not enough to protect the bulbs. To remove it you will need a Phillips #000 screwdriver, small plastic opener, and small metal spudger.
This guide requires removing a lot of screws so it is important to keep track of which screw goes where. All screw heads are Phillips size #000.
What you need
-
-
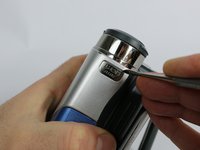
Remove silver plate that says “Auto Light” on the top of the camera using a metal spudger.
-
Remove the 3.1 mm screw.
-
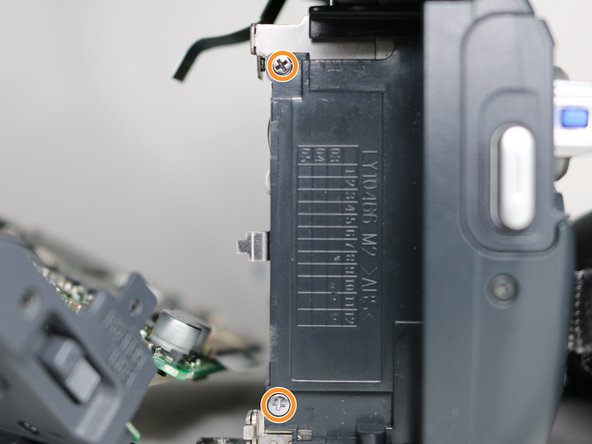
Remove the three 5.3 mm screws from the back of the camera.
-
-
-
From the bottom of the camera remove the following four screws:
-
5.3 mm
-
3.1 mm
-
5.1 mm
-
3.5 mm
-
-
-
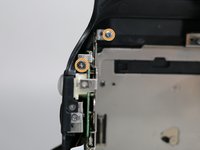
Remove the 3.1 mm screw on top of the camera, closest to the LCD monitor.
-
Remove the 5.4 mm screw next to the snapshot button.
-
-
-
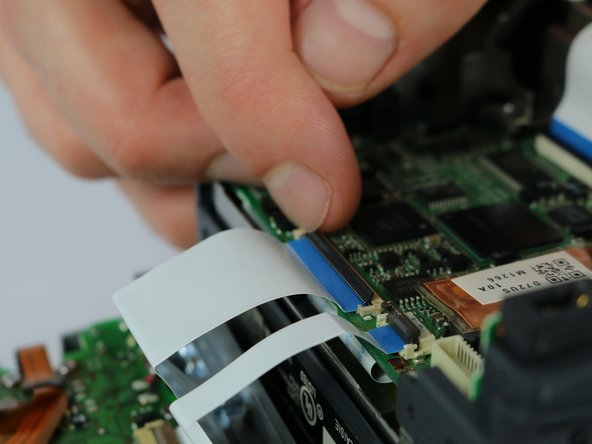
Tool used on this step:Tweezers$4.99
-
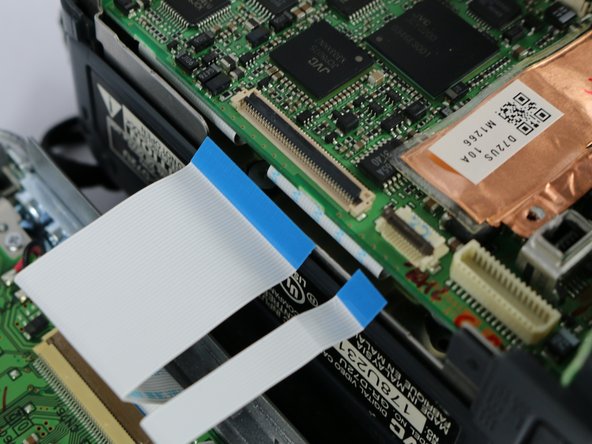
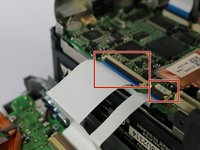
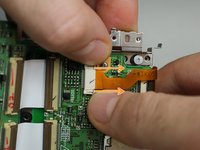
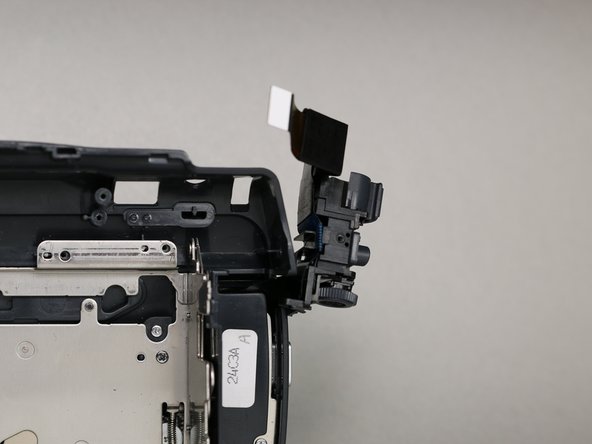
Flip the cable locks to the up-position and pull both cables connecting the lateral function port panel to the rest of the camera.
-
Insert the cables from the new port panel into their inputs and flip the locks to the down position.
-
-
-
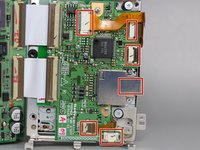
From the inside of the camera remove these six screws.
-
3.3 mm
-
3.6 mm
-
3.1 mm
-
4.3 mm
-
4.3 mm
-
3.7 mm
-
-
-
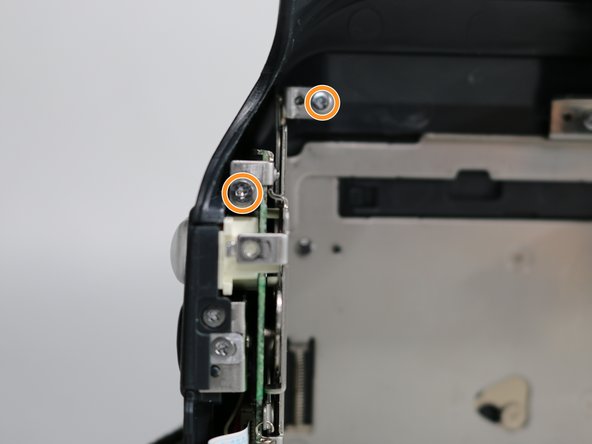
From the top of the camera remove the two 3.1 mm screws securing the lens to the camera frame.
-
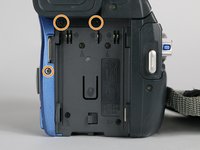
From the bottom of the camera remove the 3.2 mm screw next to the battery release switch.
-
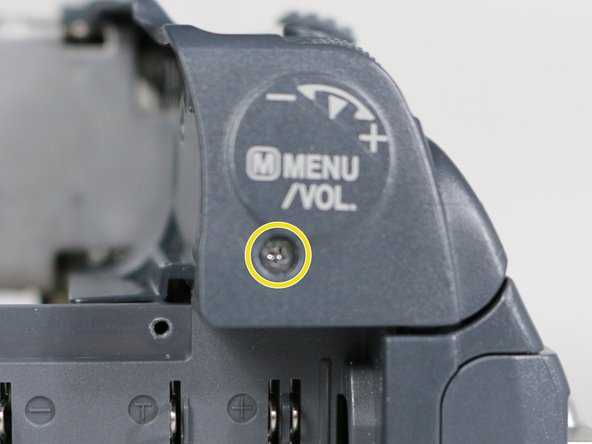
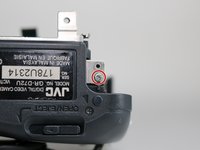
Remove the 9.1 mm screw next to the menu and volume control label.
-
-
-
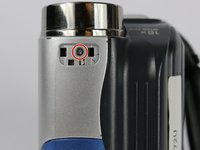
Remove the lens cap housing.
-
Remove the two 3.1 mm screws from the inside of the camera.
-
-
-
Remove the plastic cover piece next to the silver light button.
-
Remove the 3.1 mm screw securing the lens to the circuit board.
-
Remove the two 3.3 mm screws from underneath the battery port.
-
-
-
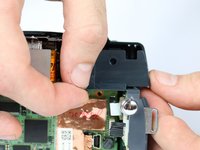
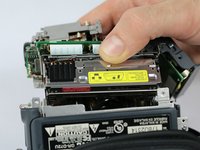
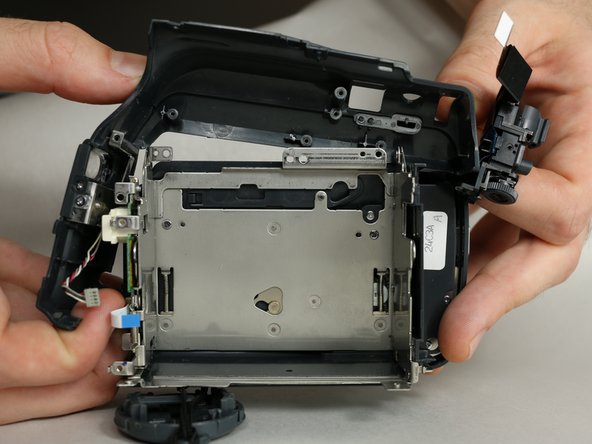
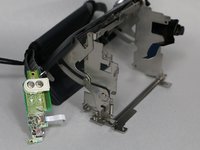
Take the cassette holder and circuit board by lifting it out of the camera frame.
-
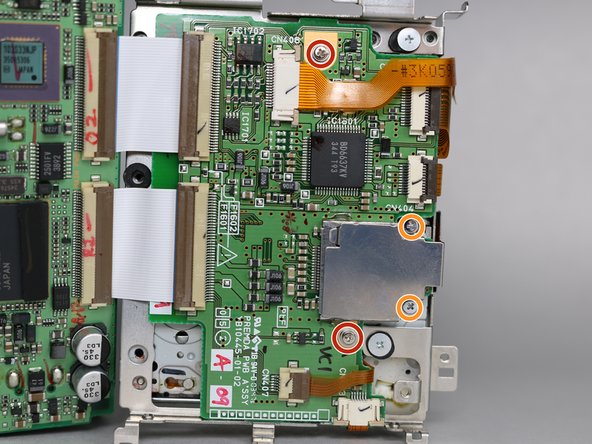
Remove the two 3.6 mm screws.
-
Remove the two 1.8 mm screws then the plate.
-
-
-
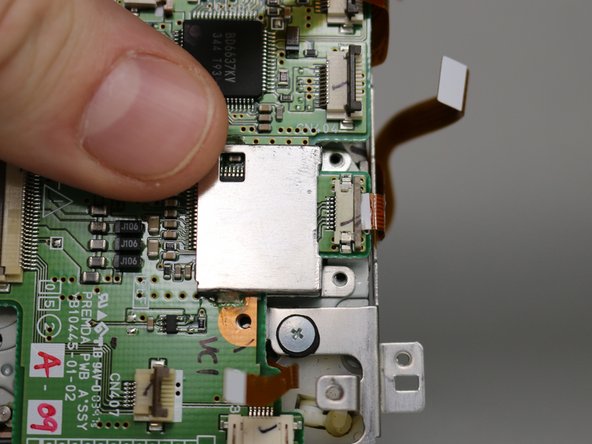
Remove the six cables (one is underneath the metal plate) connecting the cassette holder to the circuit board.
-
To unplug two of the cables you must first pull the lock tabs out (towards the cable) then remove the cable.
-
-
-
Remove the three screws securing the microphone housing and camera operation buttons to the frame with the following sizes:
-
4.3 mm
-
3.1 mm
-
4.2 mm
-
-
-
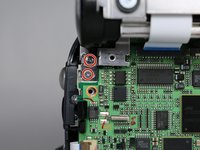
Remove the 4.3 mm screw on the bottom of the camera frame.
-
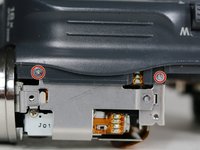
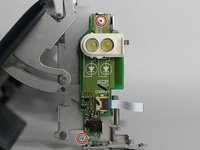
Remove the two 4.3 mm screws above the LED securing the microphone housing to the frame.
-
-
-
Open the cassette holder to reveal a 2.4 mm screw on the bottom of the camera and remove it.
-
Make sure the camera operation buttons are positioned completely outside of the camera frame.
-
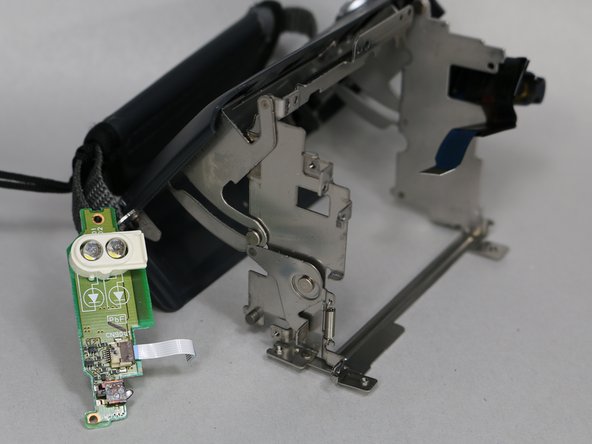
Gently lift the microphone housing from the front-bottom side of the camera and remove it from the frame.
-


To reassemble your device, follow these instructions in reverse order.
Cancel: I did not complete this guide.
One other person completed this guide.
Team

USF Tampa, Team S2-G2, Nance Fall 2017 Member of USF Tampa, Team S2-G2, Nance Fall 2017
USFT-NANCE-F17S2G2
4 Members
5 Guides authored