Introduction
Before diving into the repair process, let’s take a moment to understand why you might need to fix the button board on your JBL Flip 4. Maybe the power button no longer responds, the volume or Bluetooth pairing buttons are sticking, or perhaps none of the controls are working at all. Whatever the issue, don’t worry—this guide is here to help. With the right tools, a steady hand, and a bit of patience, you’ll be well on your way to restoring full functionality to your speaker’s controls.
Repairing the button board requires careful handling and close attention to small components. As with any electronic repair, there are inherent risks—such as damaging internal connections or shorting out the board—so it’s important to work in a clean, well-lit area. Be sure to power off your JBL Flip 4 completely and disconnect it from any power source before starting the repair.
This guide will walk you through the entire process step by step, with clear instructions and detailed images to guide you along the way. Whether you're replacing a worn-out button board or troubleshooting connectivity and control issues, we’ve got you covered.
Remember, take your time, and follow each step carefully. By the end of this guide, your JBL Flip 4 will be responsive once again—and ready to bring your favorite music back to life!
What you need
-
-
-
Power off the device before doing any repairs.
-
Hold the power button for 3+ seconds to power down the device.
 Ask FixBot
-
-
-
Remove each rubber end cap using a plastic pry tool.
-
Go around each end of the speaker slowly popping up a small section of the rubber cap until there is a gap on all sides.
-
Remove the top by hand.
-
-
-
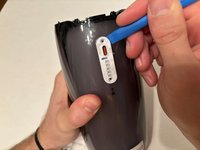
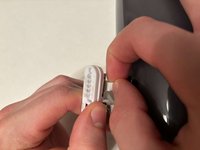
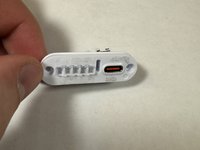
Remove the charging port cover using a plastic pry tool.
-
Remove the two 12.7 mm Phillips #1 screws.
-
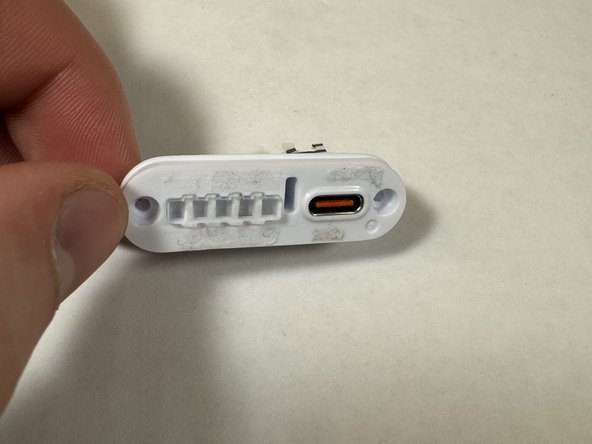
Remove the charging port housing from the casing.
-
-
-
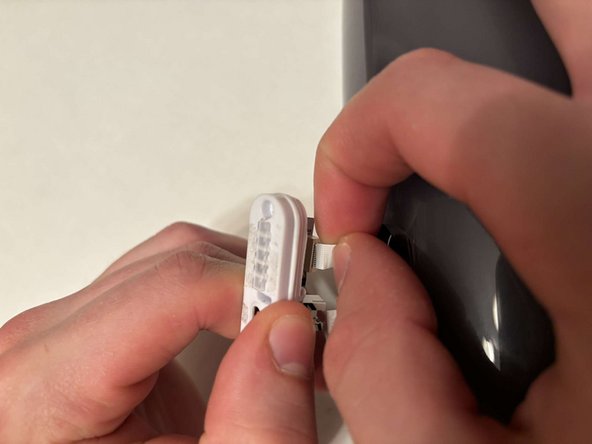
Disconnect the charging port connector by pulling the connector away from the port.
-
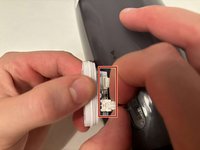
Disconnect the battery level indicator light by pulling the wire away from the lights.
-
-
-
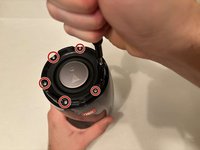
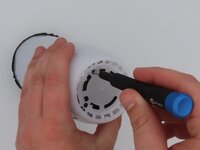
Remove the six 8 mm Phillips #1 screws from the end of the speaker with the grill that says "JBL."
-
Remove the plastic piece where the 6 screws came out of.
-
-
-
Flip the speaker to the other end.
-
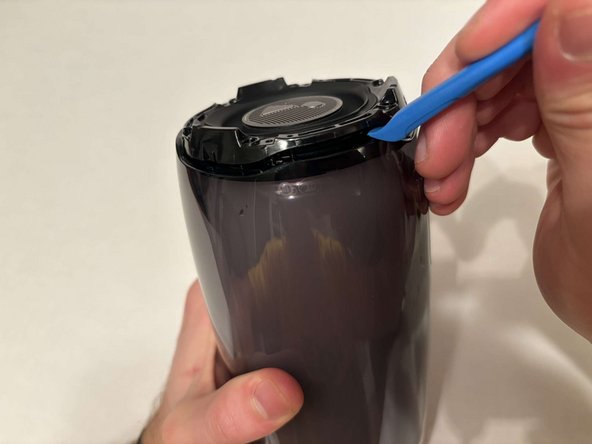
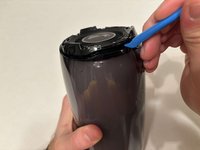
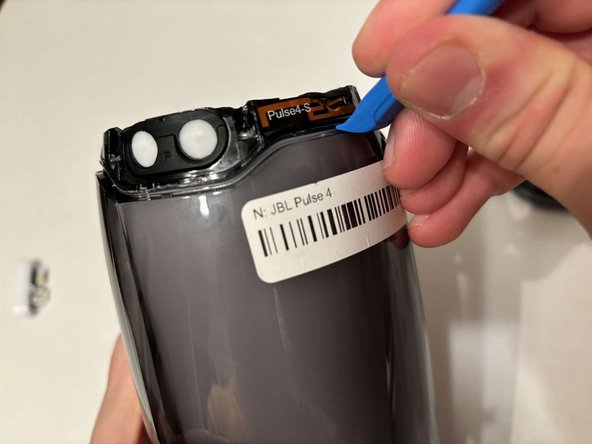
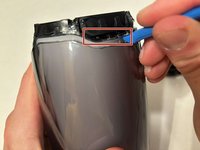
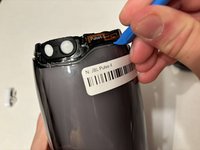
Use a pry tool to pry between the casing of the speaker and the internals.
-
Go around the entirety of this end of the speaker slowly prying apart the two pieces.
-
-
-
-
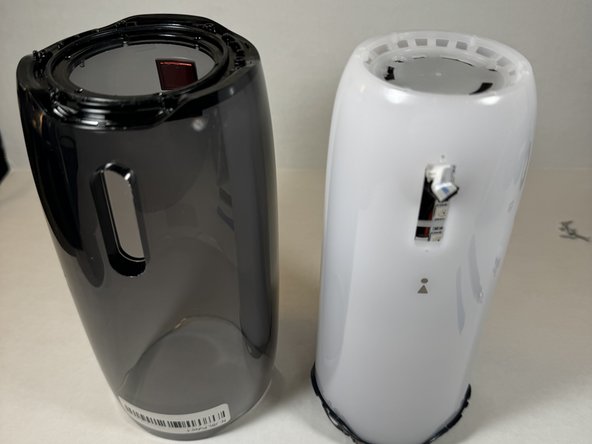
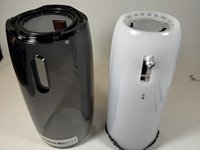
The casing is now fully detached from the internal components.
-
You can now replace the outer casing of the speaker.
-
-
-
-
-
Place the speaker on the table with the button board side down.
-
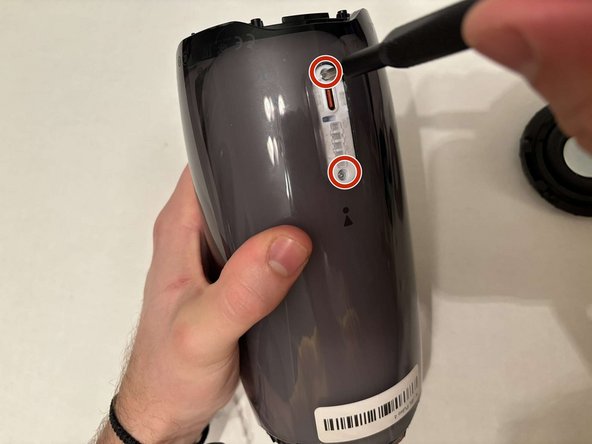
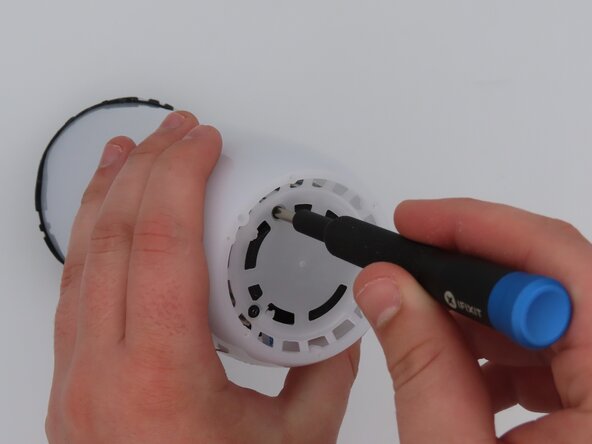
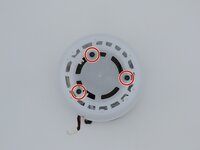
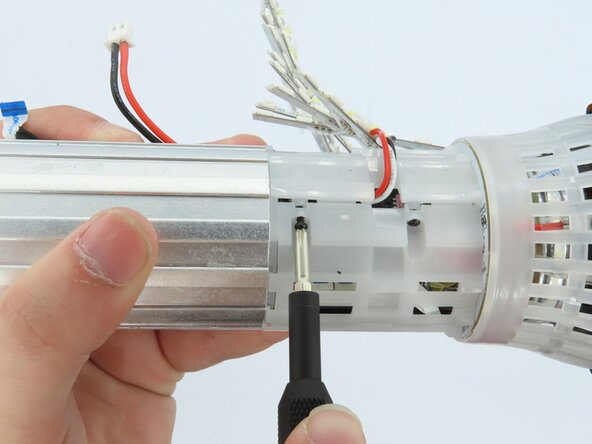
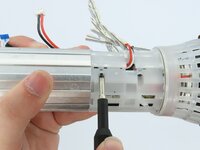
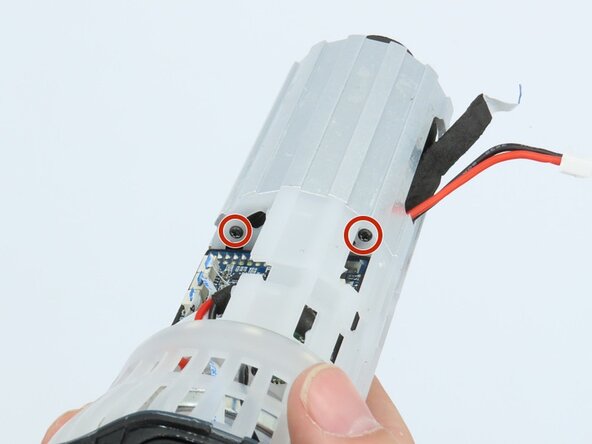
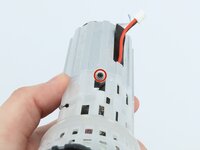
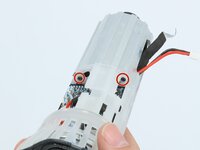
Remove the three black 5 mm screws using a Phillips #1 screwdriver.
-
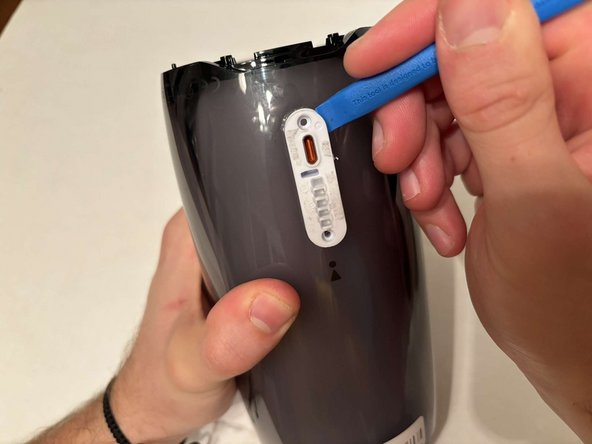
Remove the white casing by pulling it away from the button board.
-
-
-
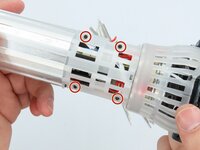
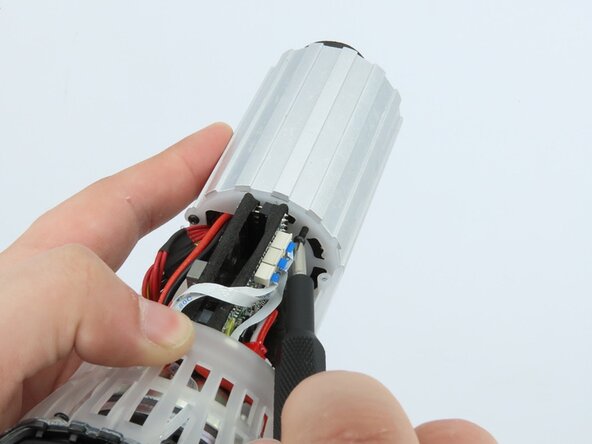
Remove the four black 5 mm screws using a Phillips #1 screwdriver.
-
Remove the white plastic piece that is held in place by the screws.
-
-
-
-
-
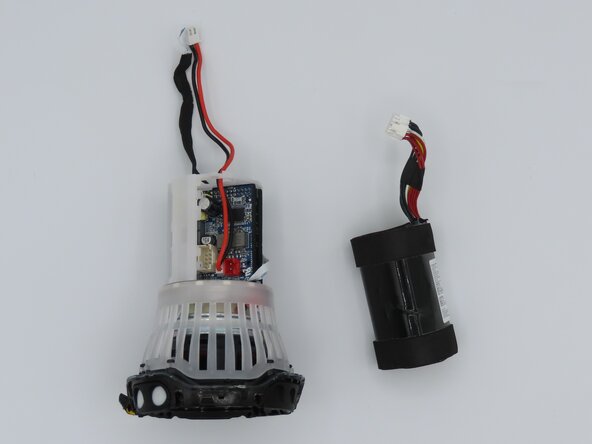
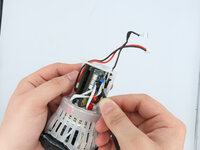
Feed the wire out of the central housing unit.
-
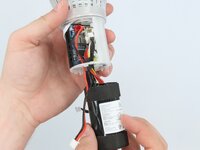
Pull the battery out of the central housing unit.
-
-
-
Tool used on this step:Tweezers$4.99
-
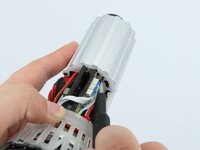
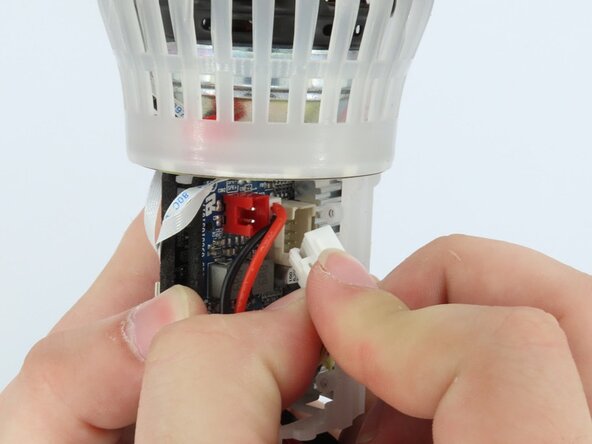
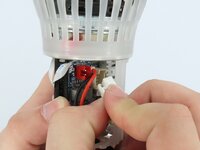
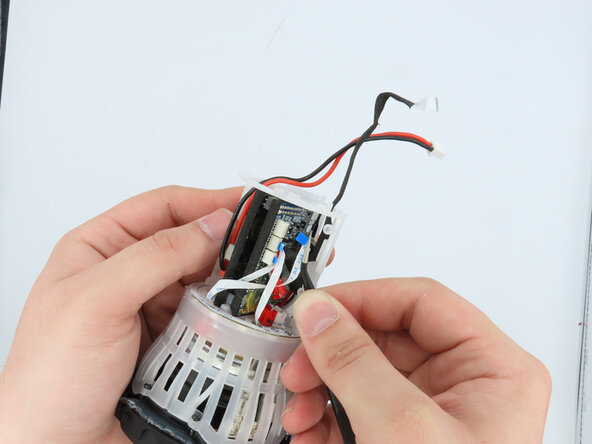
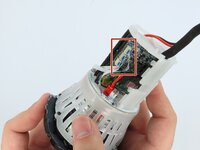
Using the tweezers, gently unplug the three connections attached to the motherboard.
-
-
-
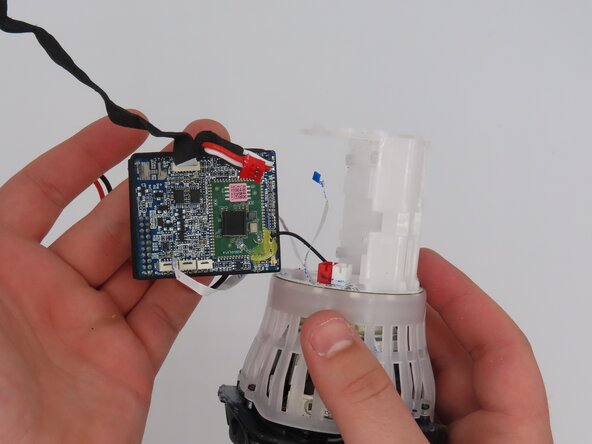
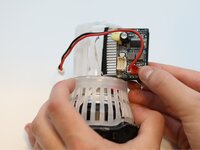
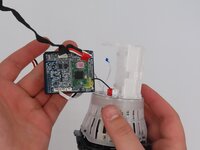
Pull the motherboard out of the frame.
-
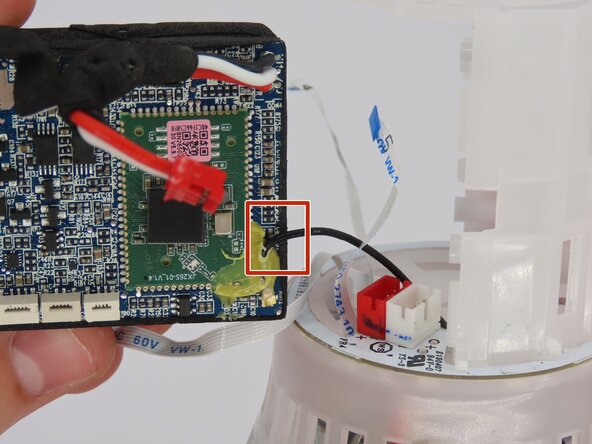
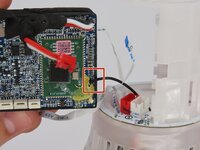
The only connection the motherboard has to the frame now should be the soldered-on black wire.
-
-
-
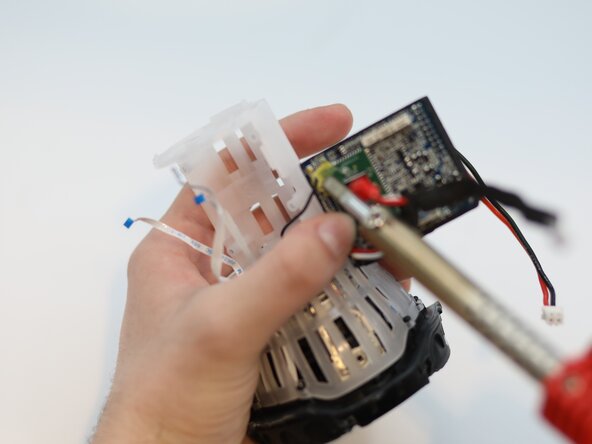
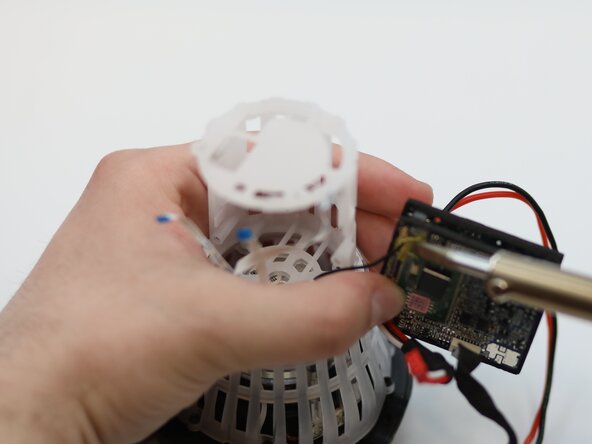
Desolder the wire from the motherboard.
-
Remove the motherboard from the speaker.
-
-
-
-
-
Cut the black cable off the motherboard using cutters to remove the button board.
-
-



















To reassemble your device, follow these instructions in reverse order.
Cancel: I did not complete this guide.
One other person completed this guide.

Team

University of Kentucky, Team 1-6, Frey Spring 2025 Member of University of Kentucky, Team 1-6, Frey Spring 2025
UKY-FREY-S25S1G6
5 Members
60 Guides authored
