This translation was generated by a machine and has not been reviewed by a person yet. Speak this language? Review it.
Introduction
Since the battery would no longer charge after a few years, I decided to replace it myself. Here is my first step-by-step guide.
What you need
-
-
-
Use your Jimmie or spudger to get between the rubber and the plastic, then go around the perimeter and slowly pry the rubber up.
-
Remove the 5 Phillips screws using your driver bit.
 Ask FixBot
-
-
-
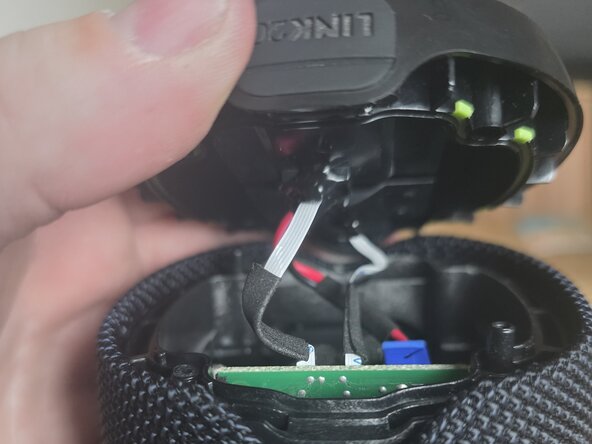
Use your Angled Tweezers to gently pry up the gray clip to release the cable.
-
Remove the screws in the corners, but leave the plastic in place for now. It is still secured by 2 difficult screws elsewhere.
-
-
-
-
Follow the same procedure as step 1: detach using a Jimmy and remove the Phillips screws.
-
Disconnect the cables using your angled tweezers (flip up the grey flap).
-
-
-
Use your Jimmy and spudger to pry along the seam of the casing to lift it.
-
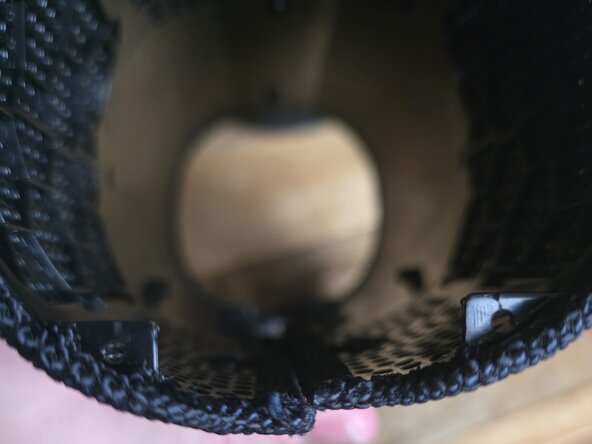
There are clips at the top and bottom that are snapped over a tab. It may be helpful to carefully insert a tool behind these areas if the casing remains stuck at the top or bottom while you are prying it loose.
-
Once loose, slide the casing off the internal assembly.
-
-
-
Remove the metal plate and try to unscrew the 2 hidden screws.
-
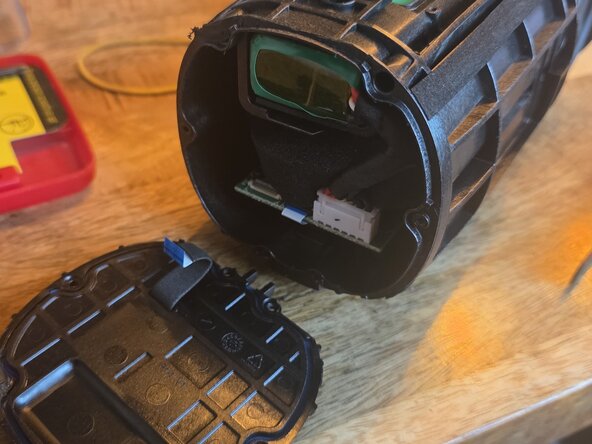
You can then detach the plate from a few steps earlier at the top. Mind the 2 cables with the grey clips again.
-
You can now disconnect the battery (white connector) and replace it.
-
-








To reassemble your device, follow these instructions in reverse order.
Cancel: I did not complete this guide.
One other person completed this guide.

