JBL Go Woofer Replacement

What you need

  1. JBL Go Woofer Replacement, Front Cover: step 1, image 1 of 1
    • Use an opening tool to scrape around the outside of the front cover to remove the glue attaching it to the surrounding rubber layer.

  2. JBL Go Woofer Replacement: step 2, image 1 of 1
    • Once you have scraped off all of the glue, use the opening tool to pry up the front cover.

  3. JBL Go Woofer Replacement: step 3, image 1 of 1
    • Carefully remove the loose plastic cover from the speaker.

  4. JBL Go Woofer Replacement, Woofer: step 4, image 1 of 2 JBL Go Woofer Replacement, Woofer: step 4, image 2 of 2
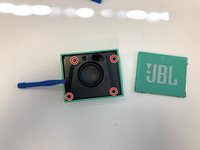
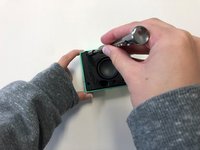
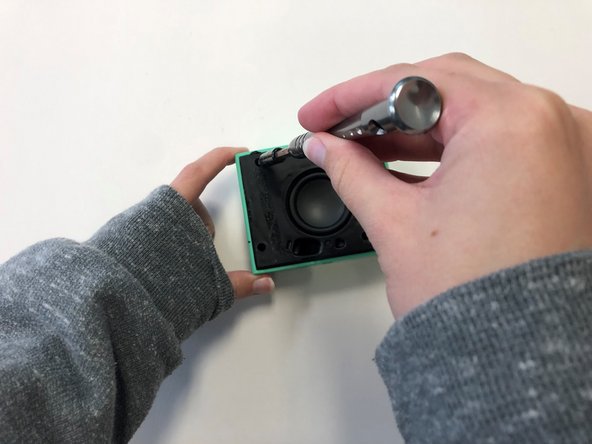
    • Once the front cover is removed, use a T6 screwdriver head to remove the four 9 mm screws on the black cover.

  5. JBL Go Woofer Replacement: step 5, image 1 of 1
    • After removing the screws, use the plastic opening tool to carefully pry around the edges of the black cover to loosen and lift the cover off of the device.

  6. JBL Go Woofer Replacement: step 6, image 1 of 1
    • Carefully unplug the woofer wires from the motherboard

  7. JBL Go Woofer Replacement: step 7, image 1 of 1
    • Once the black cover is fully detached from the speaker, unscrew the woofer from the back of the black cover using a T6 screwdriver head.

Conclusion

To reassemble your device, follow these instructions in reverse order.

2 other people completed this guide.
0 Comments

Add Comment

View Statistics:

Past 24 Hours: 5

Past 7 Days: 15

Past 30 Days: 107

All Time: 1,857