Introduction
The motherboard is the last piece of your speaker you should try replacing if it is not operating properly as it is the most difficult to access.
What you need
-
-
Turn your speaker upside down and insert the plastic opening tool vertically into the slit in the front cover.
-
Slowly pull the plastic opening tool outward to remove the four clips holding the covering in place.
-
Repeat this process for all four edges of the front cover.
-
-
-
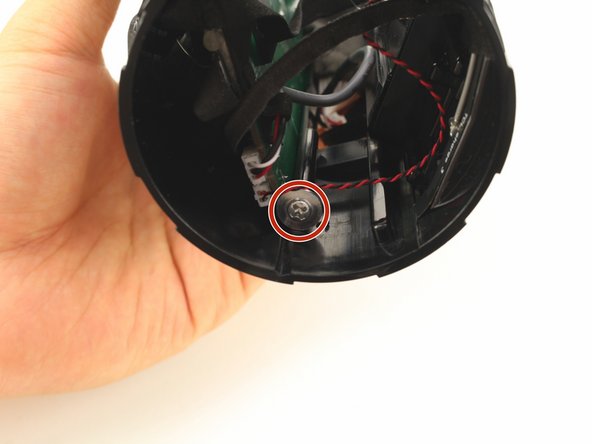
Remove the two 8mm Phillips #1 screws from the tabs.
-
NOTE: There may be only one screw.
-
-
-
Twist and pull open the passive radiator. The left radiator twists off clockwise; the right counterclockwise.
-
-
-
Repeat all previous steps for the other passive radiator.
-
NOTE: only the right radiator needs to be removed for changing the battery.
-
-
-
Pull gently on one of the speakers so it is outside of the housing. Be careful as it is still attached with the wires to the motherboard.
-
-
-
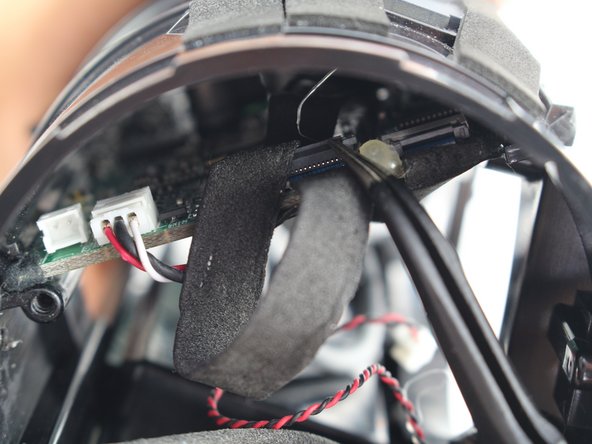
Press the small metal tab on the speaker connector with a Phillips #000 screwdriver and gently pull the connector apart.
-
-
-
-
Grab the bundled cable connector that joins the speakers to the motherboard with tweezers. Gently pull the connector free.
-
-
-
Now that the second speaker is disconnected from the motherboard, pull the speaker and wires out of the housing.
-
-
-
Remove the six 8mm Phillips #1 screws from the outer battery cover.
-
Peel the outer battery cover away from the speaker housing.
-
-
-
Remove the seven 8mm Phillips #1 screws from interior battery cover.
-
Remove the interior battery cover.
-
-
-
Pull gently to disconnect the bundled cable connector in the side of the speaker. This action will separate the battery from the motherboard.
-
-
-
Take out the four 8mm Phillips #1 screws out of the port bay cover.
-
Wedge your plastic opening tool around the port bay to remove it.
-
-
-
Remove the three 8mm Phillips #1 screws from the port bay circuit board.
-
Pull the port bay cover off of the circuit board.
-
-
-
Flip open the top flap on the two ZIF connectors.
-
Gently pull out the ZIF connector cables with tweezers.
-


Team

Cal Poly, Team S13-G1, White Fall 2018 Member of Cal Poly, Team S13-G1, White Fall 2018
CPSU-WHITE-F18S13G1
3 Members
26 Guides authored