Introduction
This guide will walk you through the steps to remove and replace a tweeter speaker from your 1st generation JBL Boombox speaker.
It should be noted that the first seven steps are necessary on both sides, but after the mesh cover is removed you only need to remove the side that you are replacing. If you are replacing both or taking further steps towards repair, removing both will be necessary, and this guide is written with language assuming both sides are being removed.
What you need
-
-
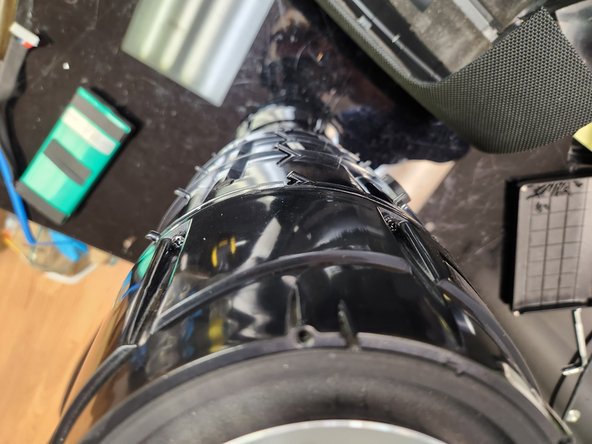
There rubbery rings on either end are only held in with friction.
-
Stand the speaker up and push down hard, and you can use a counter-clockwise motion to remove the ring.
-
-
-
Using your Phillips #2 screwdriver, remove the six screws from each side.
-
-
-
Using a steady and firm pressure, pry the handle on one side and it will pull away from the body on the bottom.
-
Once you've flexed the handle far enough, lift it upwards to slip it over the end on one side.
-
With one side removed, the handle should come off with no issue or hesitation.
-
-
-
-
On each side of the handle, there is only one space that has two holes next to eachother.
-
On each side of the body, there is only one screwhole that has a plastic post next to it.
-
These must be lined up properly. The handle can physically fit in either direction, but if you line it up incorrectly the screws will not line up properly and it will not be secure to put back together.
-
-
-
Using your opening tool, pry into the seam in the mesh cover on the bottom, lifting up the back side.
-
Using your Phillips #1 screwdriver, remove these four screws.
-
-
-
Using your opening tool, pry into the back of the mesh cover where indicated to release the two catches.
-
When both catches are released, the back cover should hinge completely backwards and be completely open.
-
-
-
Using your opening tool, pry into the front of the mesh cover where indicated to release the two catches.
-
When both catches are released, the front cover should hinge completely backwards and be completely open.
-
With both the back and front released, the mesh cover should easily lift away.
-
When reassembling, make sure these posts line up properly, as well. These posts are only on the front and ensure the mesh cover does not physically touch the speakers.
-
-
-
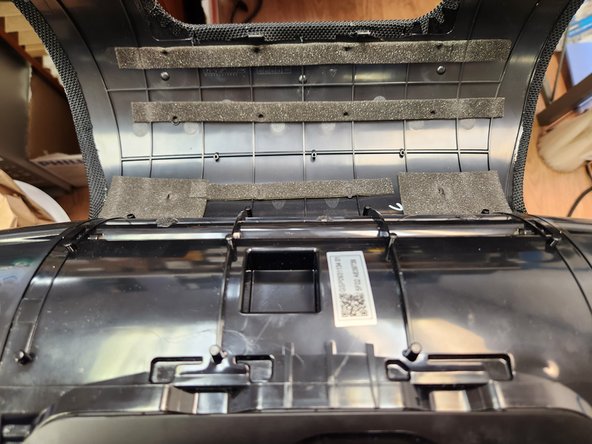
There are six screws surrounding each side of the tweeter housing.
-
Remove all six screws from each side, twelve total.
-
-
-
After separating the tweeter housing, carefully disconnect the tweeters.
-
The left side has only one connection to disconnect.
-
The right side has two connections to disconnect.
-
Once both sides are disconnected, you are finished removing the tweeters.
-


To reassemble your device, follow these instructions in reverse order. Take extra care where noted in the guide as some parts look universal but they will only fit on one way or side.
To reassemble your device, follow these instructions in reverse order. Take extra care where noted in the guide as some parts look universal but they will only fit on one way or side.
