Free Shipping on Domestic Orders $75+

Installing Mercedes W166 RAV Tool Box

Views: 5.8K

View statistics:

Past 24 Hours:
2
Past 7 Days:
22
Past 30 Days:
115
All Time:
5,772
Comments: 1

1 comment on steps.

Completed: 5

5 people have marked this guide "completed." Will you be next?

Favorites: 6

6 people have favorited (and subscribed to) this guide. Will you be next?

Time Required: 2 - 3 hours
Difficulty: Moderate
Action Shots

Be an action hero! This guide needs images that better demonstrate how to perform specific actions.

Markup Mishap

This guide needs better markups. Help out by correcting or making some markup annotations.

Community-Contributed Guide

An awesome member of our community made this guide. It was not created by iFixit staff.

Installing Mercedes W166 RAV Tool Box
    1. Installing Mercedes W166 RAV Tool Box, RAV Tool Box: step 1, image 1 of 2 Installing Mercedes W166 RAV Tool Box, RAV Tool Box: step 1, image 2 of 2
      • 1. Vehicle Preparation

      • Remove all loose items from the cargo area. Remove the cargo floor, spare wheel and tool tray.

      • Remove rear seats as in WIS instructions (Save seat mounting hardware)

      Ask FixBot

      Add Comment

    2. Installing Mercedes W166 RAV Tool Box: step 2, image 1 of 3 Installing Mercedes W166 RAV Tool Box: step 2, image 2 of 3 Installing Mercedes W166 RAV Tool Box: step 2, image 3 of 3
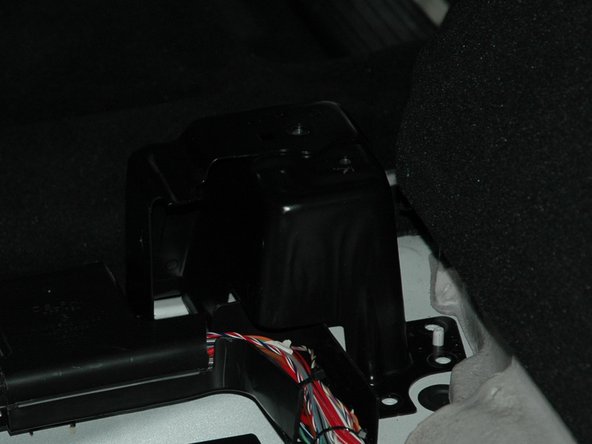
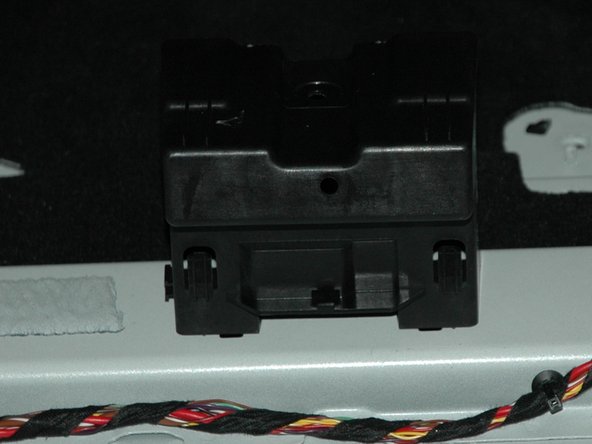
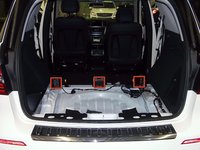
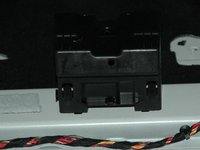
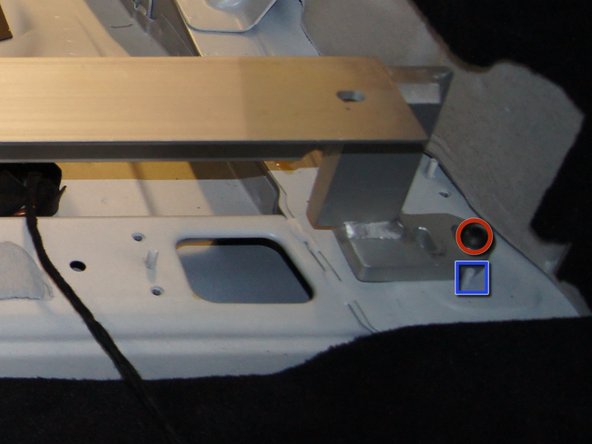
      • Remove bolt from rear deck sill plate

      • Unclip rear deck sill plate and remove.

      Ask FixBot

      Add Comment

    3. Installing Mercedes W166 RAV Tool Box: step 3, image 1 of 1
      • Remove plastic covers

      • Remove Felt liner

      Ask FixBot

      Add Comment

    4. Installing Mercedes W166 RAV Tool Box: step 4, image 1 of 3 Installing Mercedes W166 RAV Tool Box: step 4, image 2 of 3 Installing Mercedes W166 RAV Tool Box: step 4, image 3 of 3
      • Remove side consoles and center support (T30 10 Bolts)

      Ask FixBot

      Add Comment

    5. Installing Mercedes W166 RAV Tool Box: step 5, image 1 of 3 Installing Mercedes W166 RAV Tool Box: step 5, image 2 of 3 Installing Mercedes W166 RAV Tool Box: step 5, image 3 of 3
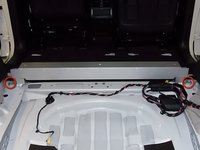
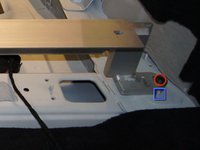
      • Install and bolt down center support bracket (2 Bolts M10 x 1.5 x35mm 6mm Allen cap, 10mm flat washers)

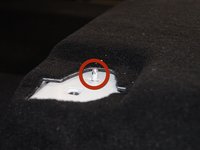
      • Pay attention to the pin to align properly

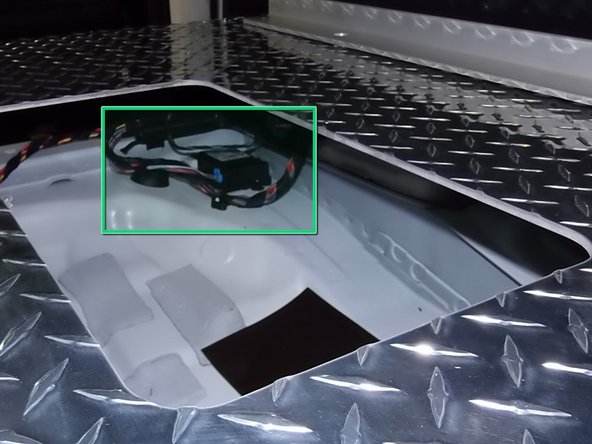
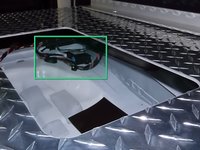
      • NOTE: To service TPMS control module remove drawers ad service through access door in bottom plate.

      Ask FixBot

      Add Comment

    6. Installing Mercedes W166 RAV Tool Box: step 6, image 1 of 3 Installing Mercedes W166 RAV Tool Box: step 6, image 2 of 3 Installing Mercedes W166 RAV Tool Box: step 6, image 3 of 3
      • 2. Installation of Front Box

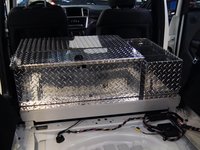
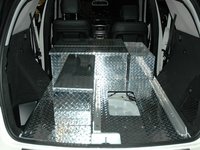
      • Place box inside vehicle. It fits through the rear doors. This is a 2 person job.

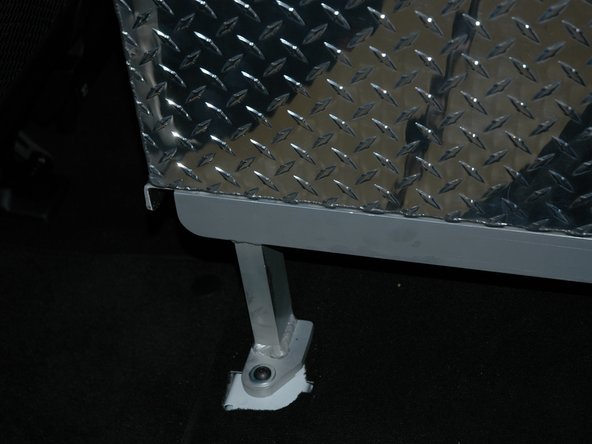
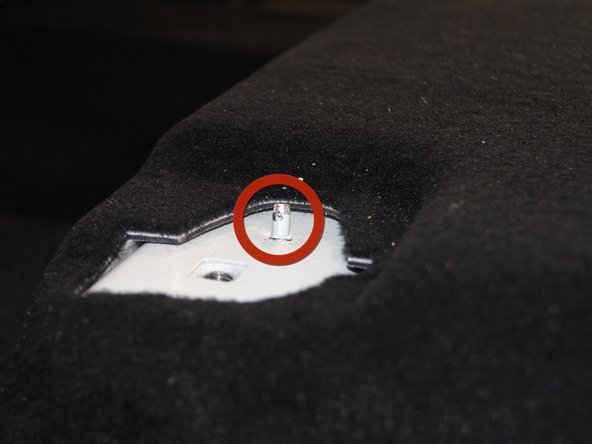
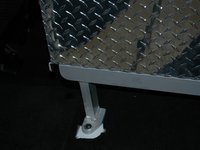
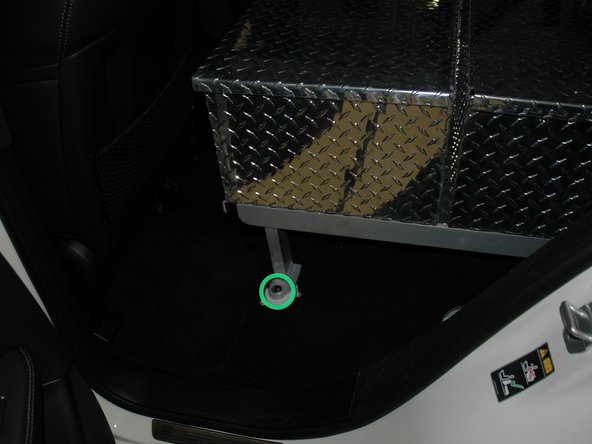
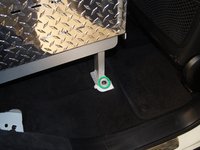
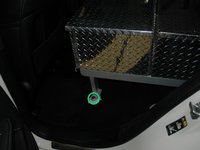
      • Mount front legs on front consoles, tighten loosely (2 Bolts M10 x 1.5 x35mm 6mm Allen cap, 10mm flat washers). Pay attention not to break off the alignment pin, which will be inside the post after mounting.

      • DO NOT mount the box to the center bracket at this point

      Ask FixBot

      Add Comment

    7. Installing Mercedes W166 RAV Tool Box: step 7, image 1 of 2 Installing Mercedes W166 RAV Tool Box: step 7, image 2 of 2
      • 3. Installation of the rear plate

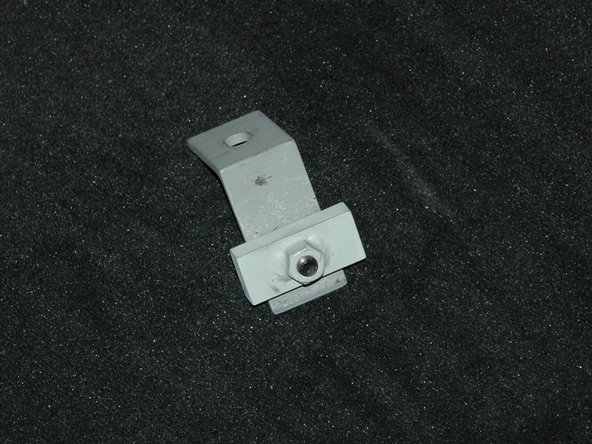
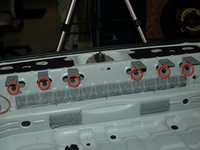
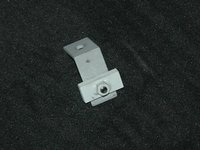
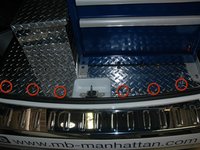
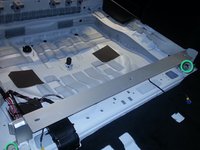
      • Install 6 rear support brackets and tighten finger tight

      Ask FixBot

      Add Comment

    8. Installing Mercedes W166 RAV Tool Box: step 8, image 1 of 3 Installing Mercedes W166 RAV Tool Box: step 8, image 2 of 3 Installing Mercedes W166 RAV Tool Box: step 8, image 3 of 3
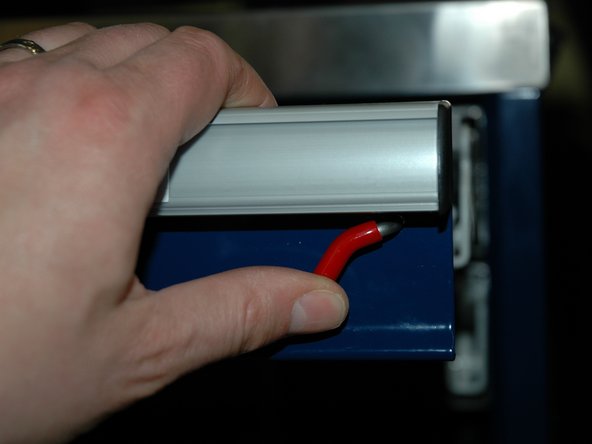
      • Set plate on brackets and align, overlapping the base plate of the front box on the center support bracket.

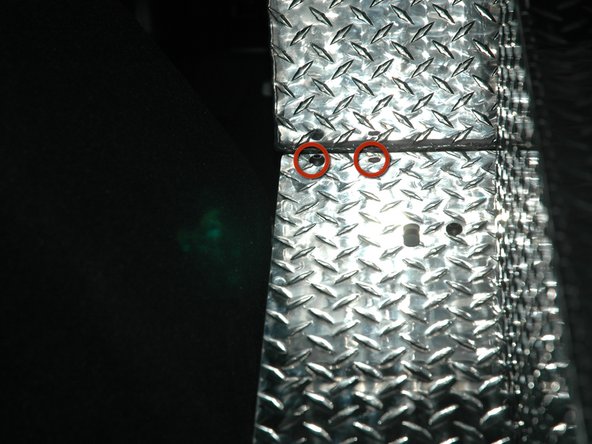
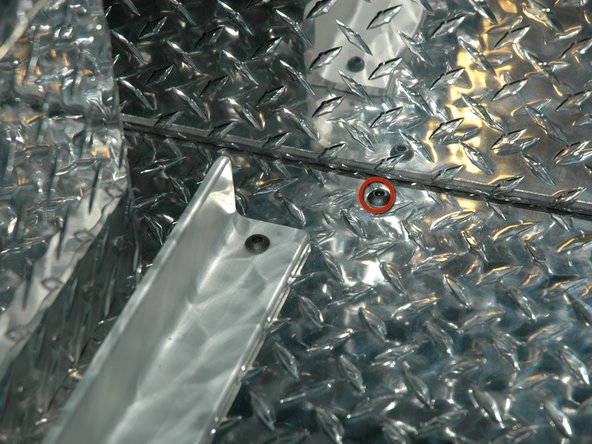
      • Use punch tool to align holes and drop in 2 bolts M8 x 1.25 x 40mm in holes on each side and one bolt M8 x 1.25 x 30 in the center hole.

      Ask FixBot

      Add Comment

    9. Installing Mercedes W166 RAV Tool Box: step 9, image 1 of 3 Installing Mercedes W166 RAV Tool Box: step 9, image 2 of 3 Installing Mercedes W166 RAV Tool Box: step 9, image 3 of 3
      • Secure plate to center support bracket with 2 bolts on the outside and on in the middle, align and finger tighten

      Ask FixBot

      Add Comment

    10. Installing Mercedes W166 RAV Tool Box: step 10, image 1 of 2 Installing Mercedes W166 RAV Tool Box: step 10, image 2 of 2
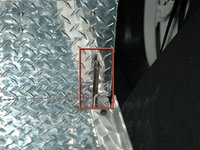
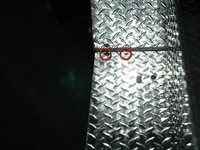
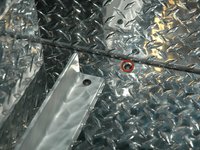
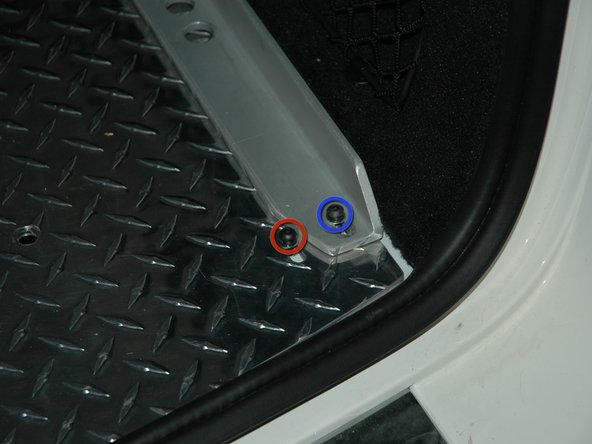
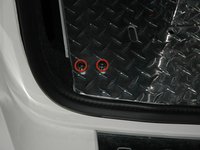
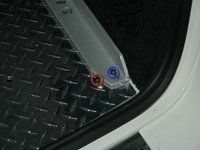
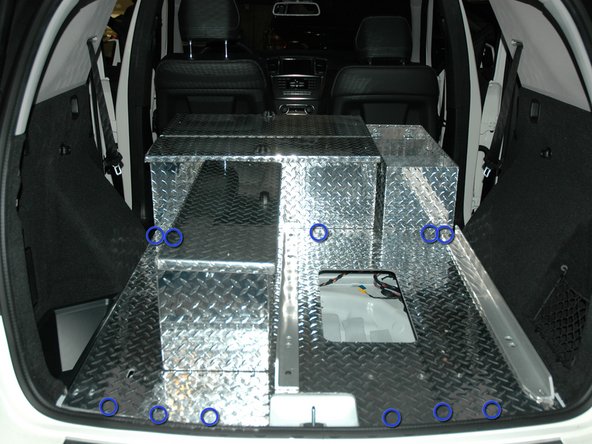
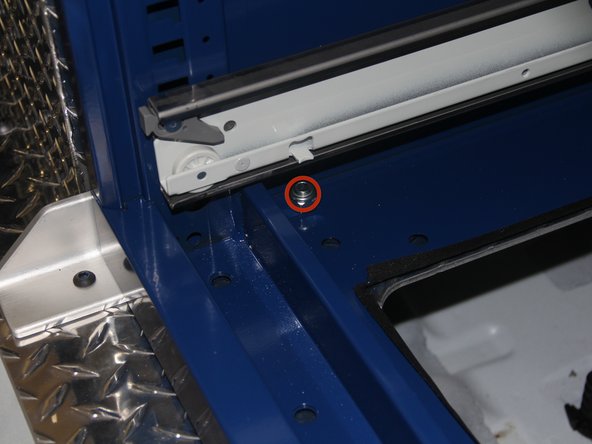
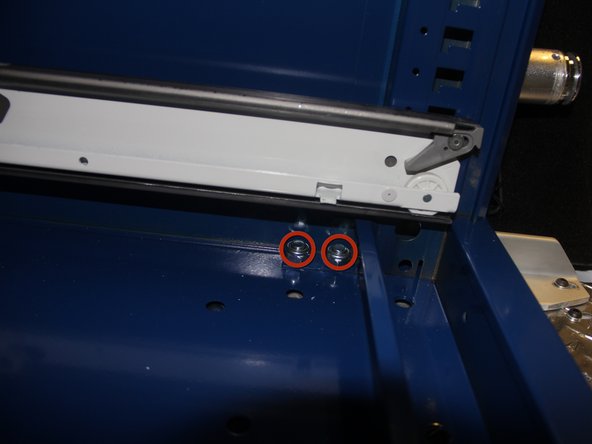
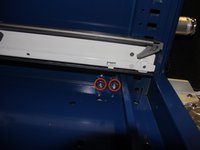
      • Install 3 bolts securing base plate to vehicle frame

      • and 4th bolt securing the tool box rail to the base plate and vehicle frame.

      • Put bolt sizes in

      Ask FixBot

      Add Comment

    11. Installing Mercedes W166 RAV Tool Box: step 11, image 1 of 2 Installing Mercedes W166 RAV Tool Box: step 11, image 2 of 2
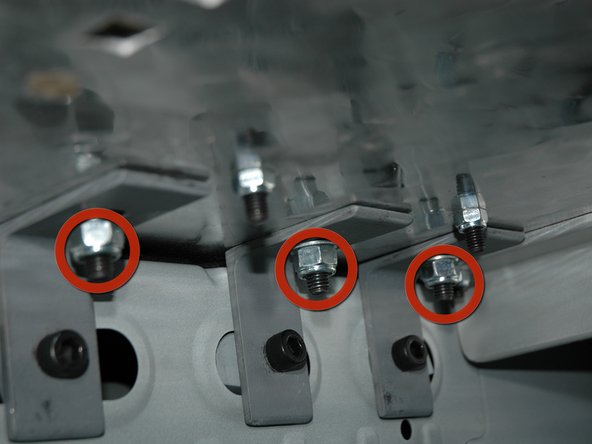
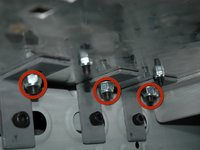
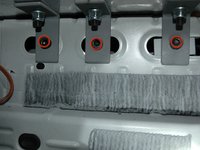
      • Install and loosely tighten 3 M8 black oxide bolts on each side until L bracket touches the underside of the base plate

      Ask FixBot

      Add Comment

    12. Installing Mercedes W166 RAV Tool Box: step 12, image 1 of 2 Installing Mercedes W166 RAV Tool Box: step 12, image 2 of 2
      • Fully tighten M8 (20 Nm)

      • Fully tighten M6 (8 Nm)

      Ask FixBot

      Add Comment

    13. Installing Mercedes W166 RAV Tool Box: step 13, image 1 of 3 Installing Mercedes W166 RAV Tool Box: step 13, image 2 of 3 Installing Mercedes W166 RAV Tool Box: step 13, image 3 of 3
      • Fully tighten M10 bolts (35 Nm)

      Ask FixBot

      Add Comment

    14. Installing Mercedes W166 RAV Tool Box: step 14, image 1 of 3 Installing Mercedes W166 RAV Tool Box: step 14, image 2 of 3 Installing Mercedes W166 RAV Tool Box: step 14, image 3 of 3
      • 4. Install box

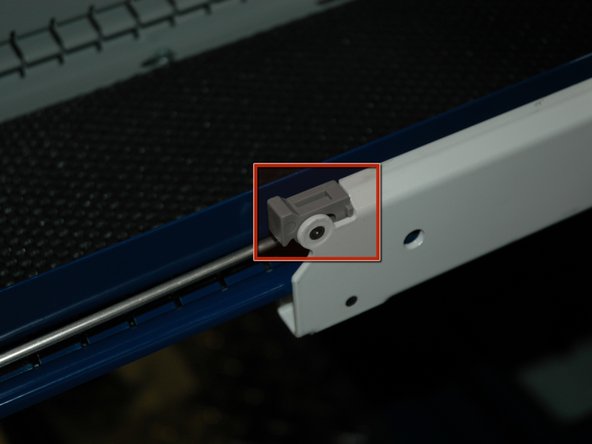
      • Remove drawers and slide box on rail guides, align with bolt holes

      • Install 6 (M12) bolts and fully tighten to 66 Nm

      Ask FixBot

      Add Comment

    15. Installing Mercedes W166 RAV Tool Box: step 15, image 1 of 3 Installing Mercedes W166 RAV Tool Box: step 15, image 2 of 3 Installing Mercedes W166 RAV Tool Box: step 15, image 3 of 3
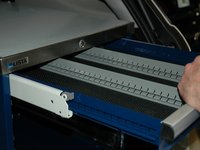
      • Install drawers.

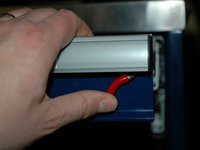
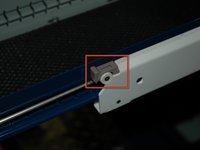
      • After drawer is installed move rail clip to locked position

      Ask FixBot

      Add Comment

    16. Installing Mercedes W166 RAV Tool Box: step 16, image 1 of 1
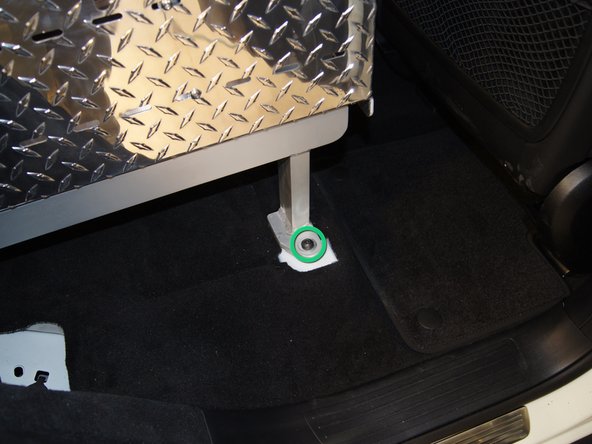
      • Fasten seat belt with bolt to floor

      Ask FixBot

      Add Comment

Finish Line

Cancel: I did not complete this guide.

5 other people completed this guide.

Stefan

Member since: 02/22/13

302 Reputation

1 Guide authored

0 Guide Comments

Add Comment

View Statistics:

Past 24 Hours: 2

Past 7 Days: 22

Past 30 Days: 115

All Time: 5,772