Introduction
Is the power button no longer powering on your device? This guide will help replace the power button so you can turn your speaker on and off.
What you need
-
-
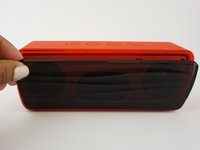
Push the Spudger into the crevice between the grated panel of the speaker and the base of the speaker.
-
Angle the spudger to create a separation between the grate and the base.
 Ask FixBot
-
-
-
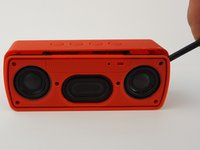
Slide the spudger along the separation between the grate and the base of the speaker to loosen the grate. Do this to the entire perimeter of the speaker.
-
-
-
-
Remove the six 3mm screws using the J00 JIS screw bit. This will require a long, narrow screwdriver.
-
-
-
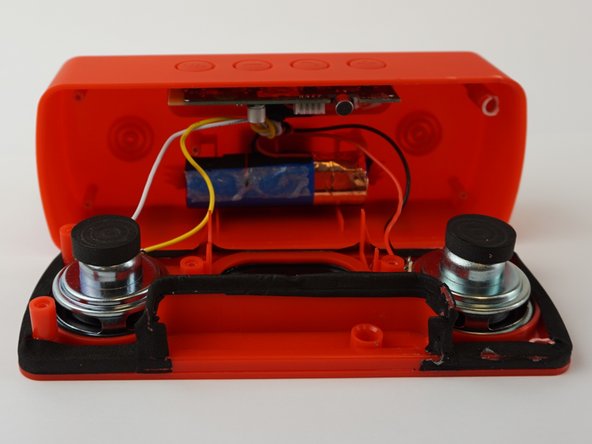
Push the spudger into the crevice between the base and the face of the speaker and create a separation.
-
Slide the spudger along the entire perimeter and gently pull off the face of the speaker.
-
-
-
Use the spudger to release the battery by sliding it underneath the battery to create a separation.
-
Remove the battery.
-
-
Tool used on this step:Tweezers$4.99
-
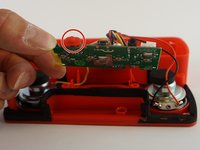
Pull the motherboard from the base of the speaker.
-
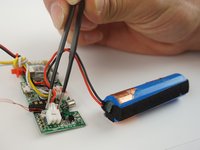
Using tweezers, squeeze and pull on the white plastic clip that connects the battery wires to the motherboard.
-
Unclip the battery from the motherboard.
-
-
Tool used on this step:Tweezers$4.99
-
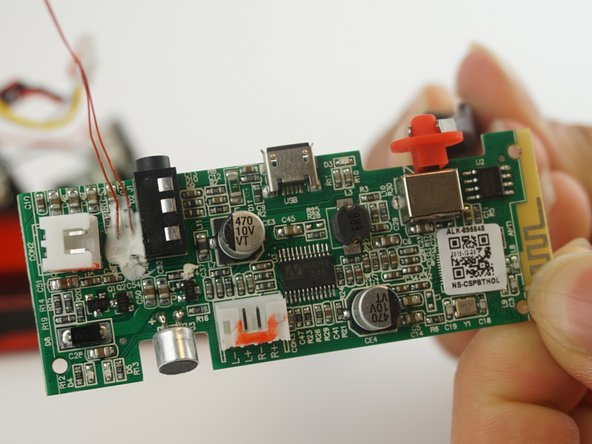
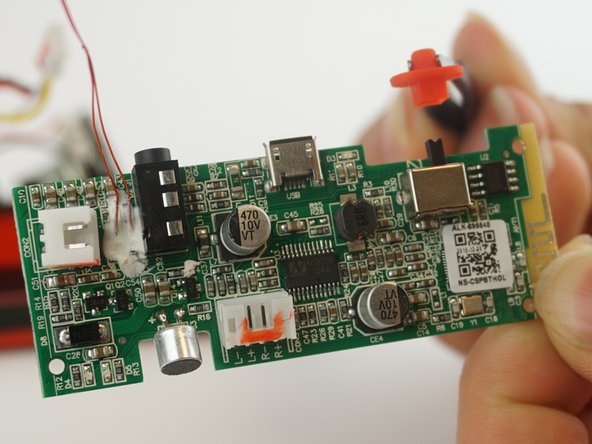
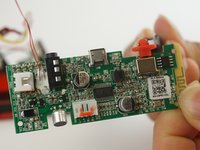
Using tweezers, detach the power button from the mother board.
-


To reassemble your device, follow these instructions in reverse order.
Cancel: I did not complete this guide.
2 other people completed this guide.
Team

USF Tampa, Team 12-6, Eyestone Spring 2017 Member of USF Tampa, Team 12-6, Eyestone Spring 2017
USFT-EYESTONE-S17S12G6
3 Members
8 Guides authored