Introduction
The InFocus LP540 Projector is intended to provide clear audio. If your InFocus LP540 Projector produces distorted, intermittent, or no sound, use this guide to understand your audio problems and determine if replacing the speakers is the best step.
Before using this guide, troubleshoot to identify whether replacing the speakers is necessary. Audio problems can come from issues unrelated to the speaker, such as the mute button being on. Troubleshooting steps can be found in this guide from Projector1.com.
Before proceeding with this guide, please ensure your projector is unplugged. Please note, "Step 2 requires that you take extra care when you lift the lid: move slowly and carefully to avoid ripping the electrical strips."
This guide demonstrates step-by-step instructions on how to remove the speakers in your InFocus LP540 Projector. No special skills are needed; it's as simple as unscrewing screws and removing the two speakers.
According to the InFocus LP540 manual located on Manuallibs.com, the speakers are 3-inch diameter and 8 Ohm. This product has been discontinued, but replacement speakers can be found on sites like Amazon.com.
What you need
-
-
-
Flip the projector right-side up and turn it so the backports face you.
-
Remove the 7mm metallic hex screws using the screwdriver.
-
Remove the two black 10mm screws using the T10 Torx screwdriver head. The screws are located at the center of the back panel.
 Ask FixBot
-
-
-
Remove the two 77mm screws that are located nearest to the back panel ports using a T10 Torx screwdriver.
-
Remove the two 10mm screws located near the lens side with the T10 Torx screwdriver.
-
Flip the projector back over.
-
-
-
-
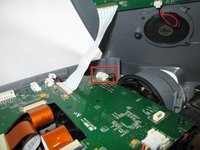
Unplug the speaker wire from the circuit board by squeezing the sides and pulling.
-
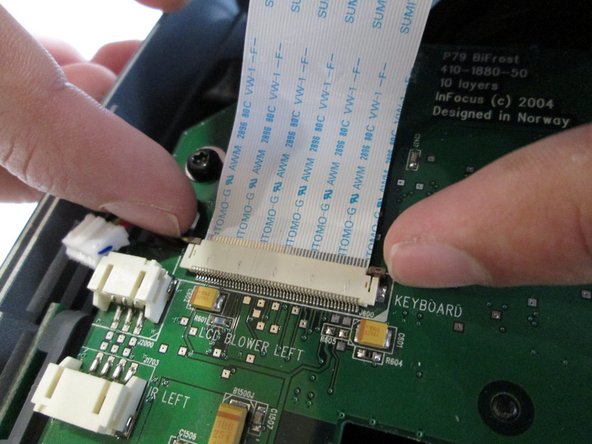
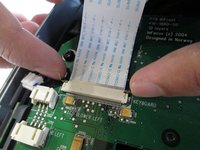
Pull on the brown tabs located at the sides of the white plastic ribbon holder and pull the ribbon out.
-
-
-
Place the top shell of the projector down.
-
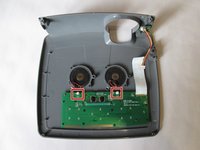
Remove the speaker wires from the white tabs.
-
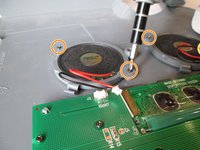
Use a Phillips #0 screwdriver to remove the four 5.5 mm screws.
-
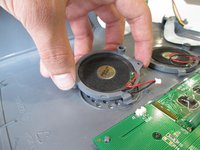
Carefully lift the speakers to remove them.
-
-




Reassembly: Close the speaker compartment and replace the light cover. Screw it back into place to secure all parts.

Team

Cal Poly, Team 13-17, Regan Winter 2014 Member of Cal Poly, Team 13-17, Regan Winter 2014
CPSU-REGAN-W14S13G17
6 Members
60 Guides authored
