Free Shipping on Domestic Orders $75+

InFocus LP540 Projector Lens Replacement

What you need

    1. InFocus LP540 Projector Lens Replacement, Main Board: step 1, image 1 of 3 InFocus LP540 Projector Lens Replacement, Main Board: step 1, image 2 of 3 InFocus LP540 Projector Lens Replacement, Main Board: step 1, image 3 of 3
      • Flip the projector right-side up and turn it so that the back ports are facing you.

      • Remove the 7 mm metallic screws using the flat-head screwdriver.

      • Using the T10 Torx screwdriver, remove the two black 10 mm screws located at the center of the back panel.

      Ask FixBot

      Add Comment

    2. InFocus LP540 Projector Lens Replacement: step 2, image 1 of 2 InFocus LP540 Projector Lens Replacement: step 2, image 2 of 2
      • Flip the projector over.

      • Use the T10 Torx screwdriver head to remove the two 77mm screws located nearest to the back panel ports.

      • Remove the two 10mm screws located near the lens side with the T10 Torx screwdriver head.

      • Flip the projector back over.

      • Lift up the main lid cautiously to avoid ripping the electrical ribbons.

      Ask FixBot

      Add Comment

    3. InFocus LP540 Projector Lens Replacement: step 3, image 1 of 3 InFocus LP540 Projector Lens Replacement: step 3, image 2 of 3 InFocus LP540 Projector Lens Replacement: step 3, image 3 of 3
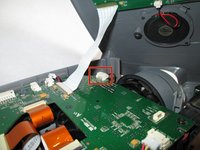
      • Unplug the speaker wire from the circuit board by simultaneously squeezing the sides and pulling.

      • Pull on the brown tabs located at the sides of the white plastic ribbon holder and pull the ribbon out.

      • Remove the top cover.

      Ask FixBot

      Add Comment

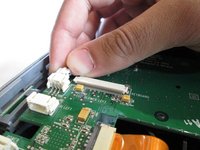
    4. InFocus LP540 Projector Lens Replacement: step 4, image 1 of 2 InFocus LP540 Projector Lens Replacement: step 4, image 2 of 2
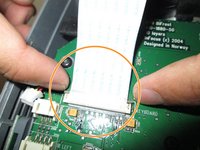
      • Hold down the release tabs to remove the cables from the white tabs.

      Ask FixBot

      Add Comment

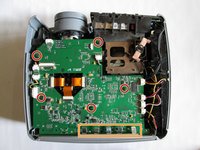
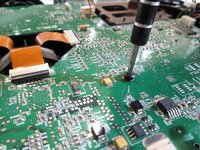
    5. InFocus LP540 Projector Lens Replacement: step 5, image 1 of 3 InFocus LP540 Projector Lens Replacement: step 5, image 2 of 3 InFocus LP540 Projector Lens Replacement: step 5, image 3 of 3
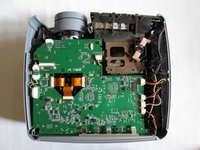
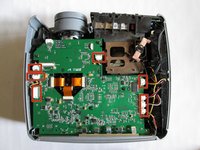
      • Use the T10 Torx screwdriver to remove the five 5mm screws located throughout the motherboard.

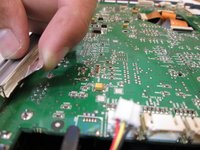
      • Pull up the five metal tabs located at the rear of the projector.

      • Do not pull up on the metal tabs too hard or too fast because they can break easily.

      Ask FixBot

      Add Comment

    6. InFocus LP540 Projector Lens Replacement: step 6, image 1 of 3 InFocus LP540 Projector Lens Replacement: step 6, image 2 of 3 InFocus LP540 Projector Lens Replacement: step 6, image 3 of 3
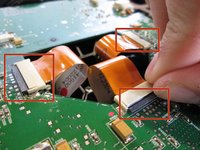
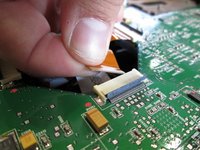
      • Remove the three gold ribbons by flipping up the black taps that hold the ribbon in place.

      • Pull the ribbons out carefully and place them under the main board.

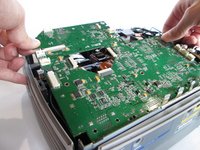
      • Carefully lift the entire main board up.

      Ask FixBot

      Add Comment

    1. InFocus LP540 Projector Lens Replacement, Lens: step 7, image 1 of 2 InFocus LP540 Projector Lens Replacement, Lens: step 7, image 2 of 2
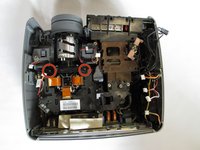
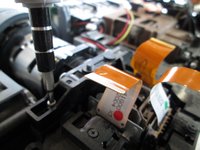
      • Remove the two 10 mm screws using the Philips 0 screwdriver head.

      Ask FixBot

      Add Comment

    2. InFocus LP540 Projector Lens Replacement: step 8, image 1 of 2 InFocus LP540 Projector Lens Replacement: step 8, image 2 of 2
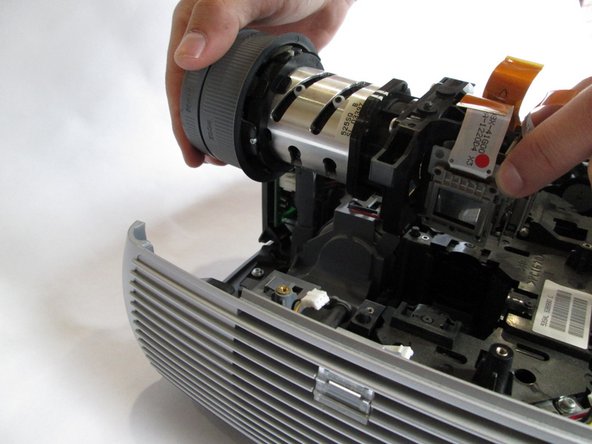
      • Carefully hold the lens from both ends and lift up simultaneously

      Ask FixBot

      Add Comment

Conclusion

To reassemble your device, follow these instructions in reverse order.

Cancel: I did not complete this guide.

Jorge L Navarro

Member since: 01/22/14

533 Reputation

5 Guides authored

Team

Cal Poly, Team 13-17, Regan Winter 2014 Member of Cal Poly, Team 13-17, Regan Winter 2014

CPSU-REGAN-W14S13G17

6 Members

15 Guides authored

0 Guide Comments

Add Comment

View Statistics:

Past 24 Hours: 2

Past 7 Days: 12

Past 30 Days: 37

All Time: 3,028