Introduction
Disassembly outline
- Battery
- Hard Drive
- Optical Drive
- Memory Cover
- RAM Memory
- Keyboard/Trackpad/Top Cover
- Mini-PCI Slot
- Wi-Fi Card
- Internal Battery
- Display
- Side Bezel
- Video Card / Fan
- Processor
- Video Card / Fan
- Metal Casings
- Plastics
- Motherboard
What you need
-
-
-
Removing the battery
-
Unplug the power cable before removing the battery.
-
Slide the 2 sliders on the under side of the laptop to the unlock position, as shown.
-
Grasp the battery and pull it straight out - not at an angle.
 Ask FixBot
-
-
-
Removing the Hard Drive
-
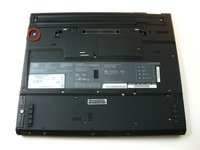
Unscrew the screw holding the Hard Drive slot in place.
-
Pull the hard drive out with the help of pictured ridges. Cautiously maneuver it out - it might help to open the display slightly.
-
-
-
Removing the Optical Drive
-
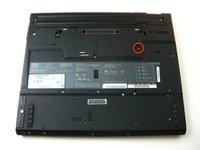
Remove the screw holding the optical drive on the underside of the laptop
-
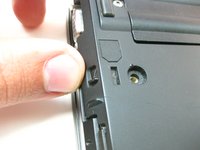
Push the small slider to unlock position, a tab will automatically pop out.
-
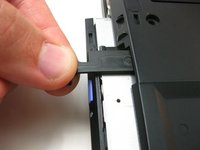
Pull tab to dislodge the optical drive, then pull the drive out.
-
-
-
Removing Memory Cover/Replacing RAM
-
Unscrew the pictured screwed holding the memory cover in place.
-
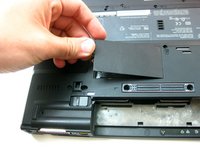
Pry the cover open carefully (flathead screwdriver might help)
-
To remove the RAM memory stick, push both metal pieces holding it in place outwards, and the stick will pop up. -picture of RAM inside -
-
Pull the stick out carefully. - Picture of the RAM stick -
-
-
-
Removing Rear Cover
-
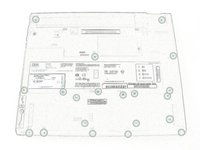
Unscrew the rest of the screws on the underside of the T42.
-
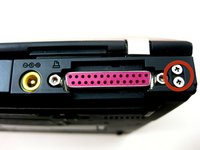
Unscrew the 4 screws on either side the rear end of the laptop.
-
Note: for ease of reassembly, keep track of which screws go where.
-
[ a line-drawing version is included so it can be printed and screws can be taped on ]
-
-
-
Removing Keyboard and Trackpad
-
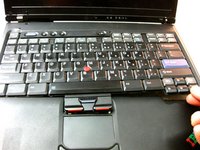
Flip the laptop over and open the display carefully - the keyboard, palm rest and bezel will be loose.
-
Maneuver the palm rest away from the keyboard carefully, both the keyboard and palm rest/trackpad will come off together.
-
**WARNING** Both the keyboard and trackpad have connectors to the motherboard. Disconnect these before completely removing either component.
-
-
-
From here you can remove multiple components.
-
Removing Wi-Fi Card
-
To remove Wi-Fi card, first disconnect both display wires on the top right.
-
Then slide both of the metal pieces holding it down outwards, and it will pop up.
-
Carefully pull it out.
-
-
-
-
Removing Mini-PCI Port
-
Unscrew the screw holding the port's bracket down, then remove the bracket.
-
Carefully disconnect it from the motherboard.
-
-
-
Removing Top Plastic
-
Starting from the bottom right, carefully pry off the bezel. Use a small, flathead screwdriver if necessary.
-
-
-
Removing the Display
-
To remove the display, unscrew the screws holding it down. Along with the one pictured, there is another one on the top right edge.
-
Carefully unplug the its connection with the motherboard.
-
Now it will be free to move. Carefully maneuver it out.
-
-
-
Removing Lower Bracket
-
The bracket will be free to move, so remove it.
-
Then remove the small rubber piece covering the small battery.
-
-
-
Removing Speakers
-
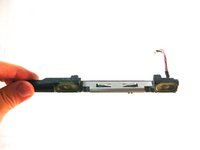
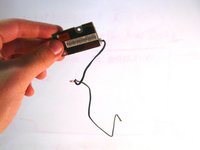
This component is free to move, so disconnect it's connector and pull it out carefully.
-
-
-
Removing Fan
-
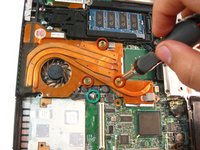
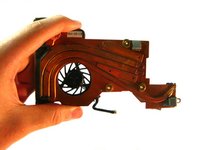
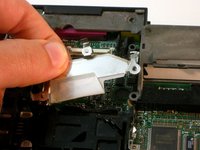
Unscrew the three shown screws, then unplug its connection with the motherboard.
-
**Since both the processor and graphics processor unit are attached to this fan with thermal paste, removing the fan might require some force and a flathead screwdriver to separate the paste from the fan.
-
-
-
Removing Processor
-
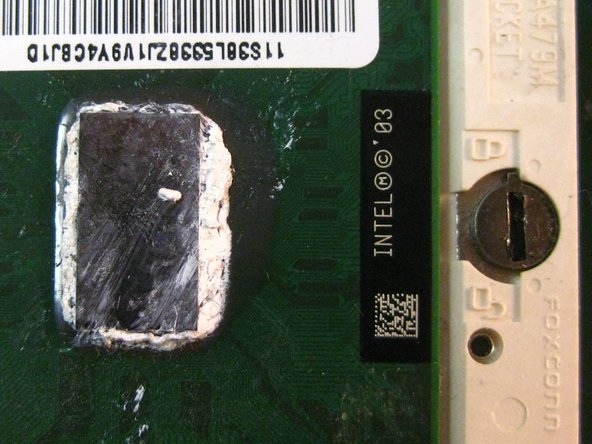
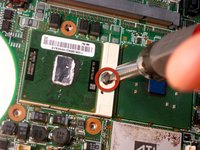
After removal of the fan, you have access to the processor. Locate its locking mechanism.
-
Use a flat head screwdriver and twist it carefully to the "unlocked" position.
-
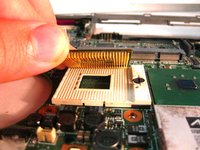
Carefully pull the processor out.
-
***CAUTION - If replacing the processor, make sure the small arrow on the corner aligns with socket.
-
-
-
Removing Modem Daughter Card
-
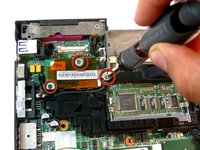
Unscrew three phillips screws as shown.
-
The connector cables are wrapped around components for organization so follow these, unplug them and carefully pull them free.
-
Then remove the bracket that was sitting beneath it.
-
-
-
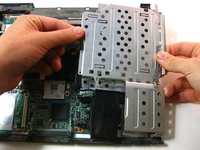
Removing Metal Casing
-
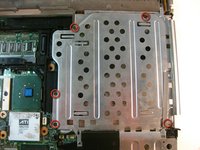
Unscrew the Philips head screws as shown
-
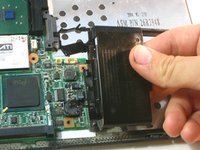
It is attached to the smaller black plastic piece below it - carefully maneuver both of them out at the same time.
-
-
-
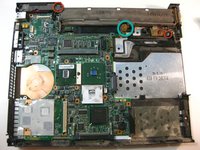
Removing Motherboard
-
Unscrew Phillips screws shown in red in the picture.
-
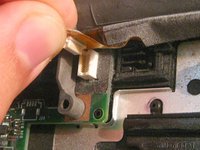
Unplug the connector (shown in turquoise)
-
Carefully remove the board
-
-
-
Congratulations
-
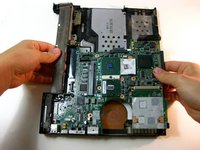
Now you're left with the motherboard and the bottom casing
-
This is as far as the teardown goes.
-
-








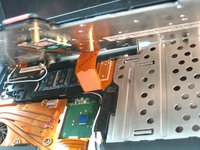
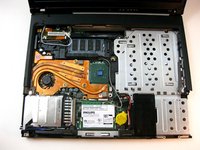


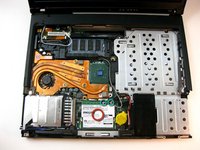
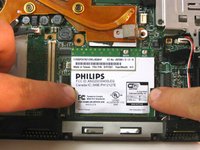
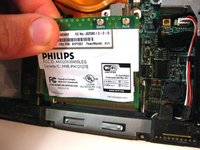


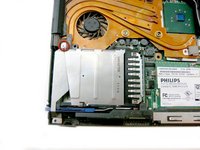
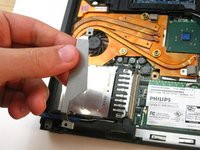
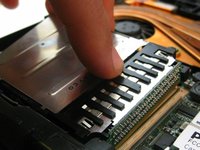


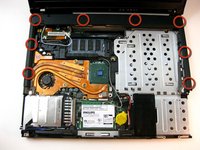
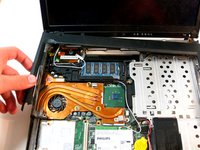


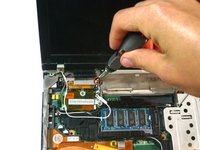
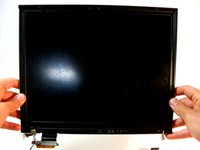


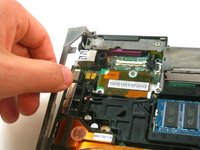
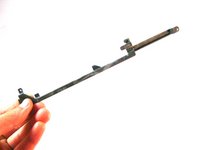
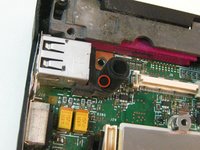


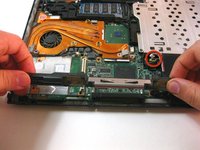




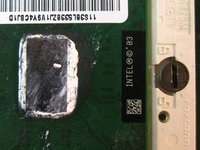








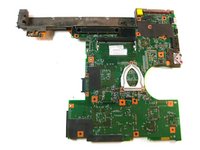
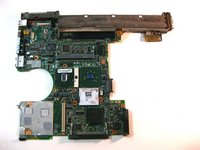
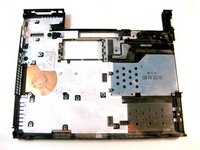
To reassemble your device, follow these instructions in reverse order. Remember when reassembling to apply a thin layer of thermal compound on the CPU block.
Cancel: I did not complete this guide.
17 other people completed this guide.

Team

Cal Poly, Team 29-76, Johann Spring 2010 Member of Cal Poly, Team 29-76, Johann Spring 2010
CPSU-JOHANN-S10S29G76
4 Members
180 Guides authored
