Introduction
This guide will show you how to properly open up your Hyperkin Retron 3 console in the event you need to make repairs.
What you need
-
-
In order to get into the system you're going to have to remove the 4 rubber boots on the bottom of the console in order to access 4 hidden screws underneath. The other two screws are already accessible.
 Ask FixBot
-
-
-
-
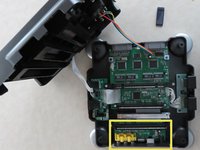
You can barely see it but the upper shell is standing upright on the front right corner.
-
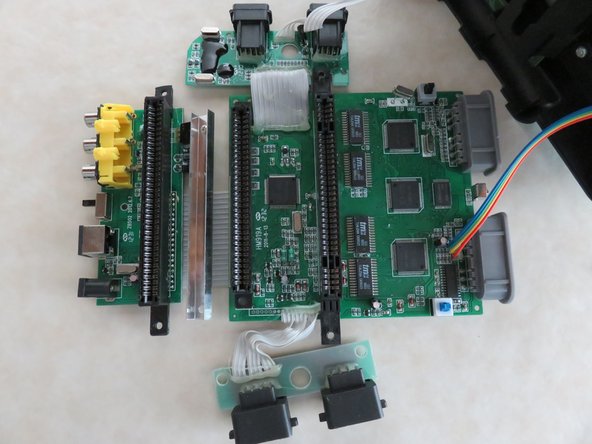
There are 11 screws that need to be removed in order to remove the entire PCB unit.
-
-
-
The AV/Power/NES PCB will be the last to remove during disassembly and first to replace during reassembly.
-


To reassemble your device, follow these instructions in reverse order.
Cancel: I did not complete this guide.
2 other people completed this guide.