
Huawei Ascend XT Screen Replacement

Jimmy Shields and 2 other contributors
Last updated on Dec 11, 2018
Views: 2K
View statistics:
- Past 24 Hours:
- 2
- Past 7 Days:
- 14
- Past 30 Days:
- 69
- All Time:
- 2,000
Comments: 0
No one has left comments on this guide. Will you be first?
Go to guide commentsCompleted: 1 2
1 person has marked this guide "completed." Will you be next?
2 people have marked this guide "completed." Including you — great job!
Favorites: 0 1
No one has favorited (and subscribed to) this guide. Will you be the first?
1 person has favorited (and subscribed to) this guide — and that's you!
Missing Details
Some of this guide's details are missing. Help users by adding tools, difficulty, or time.
Introduction
Go to step 1 ↓In this guide, you will be shown how to disassemble the phone and remove the faulty screen assembly so that you can replace it with a new one. You must have a new screen assembly ready to complete this guide. Be sure to use only the parts shown in the guide, and follow the directions carefully as to not damage the device. The device must be shut off before starting this guide.
The following tools will be needed for this replacement:
- Spudger
- Opening tool
- 0.8 SIM Eject Bit
- Bit Driver
- Phillips head bit
What you need
Tools
-
Spudger4.9
-


-
-
-
Use the 0.8 Sim driver bit to remove the SIM tray by inserting it into the hole on the side of the device.
-
Once the hole is pressed in firm, the SIM tray will pop out. This allows you to grab it and extract it from the device.
 Ask FixBot
-
-
-
Make a thumbs-up and use it to grip the plastic opening tool with the flat end pointing in the direction of your thumb.
-
Place the flat end of the opening tool slightly inside the charging port and place your thumb on the back of the phone.
-
Press into the phone with your thumb while pulling the opening tool back with your fist to begin prying the back off.
-
-
-
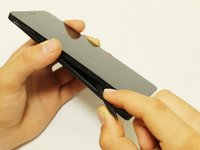
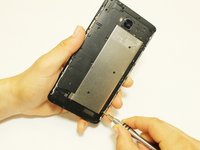
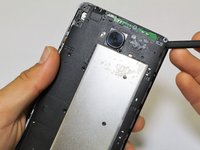
Slide the flat end of the spudger along the edge of the device, prying off the back cover.
-
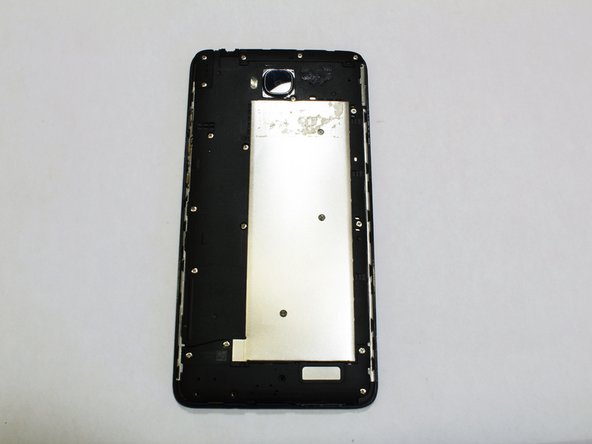
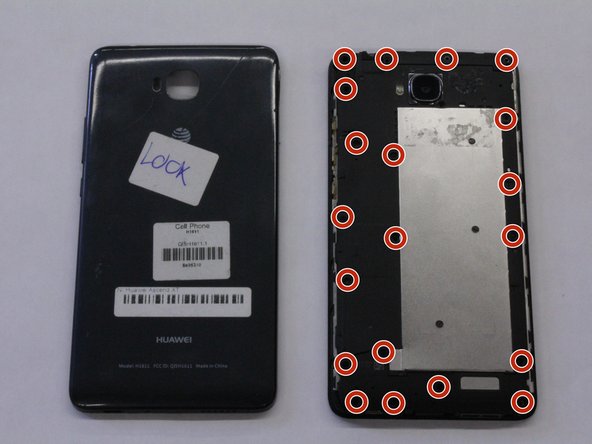
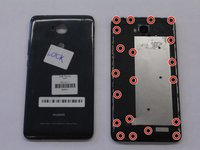
Carefully remove the back cover. This may be difficult due to glue on the inside.
-
-
-
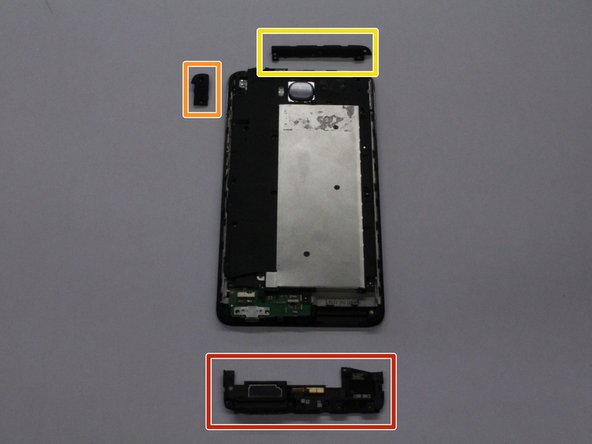
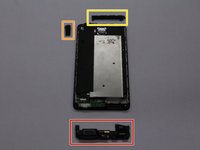
Carefully pull off the speaker assembly.
-
Carefully pull off the antenna assembly.
-
Carefully pull off the top left tab.
-
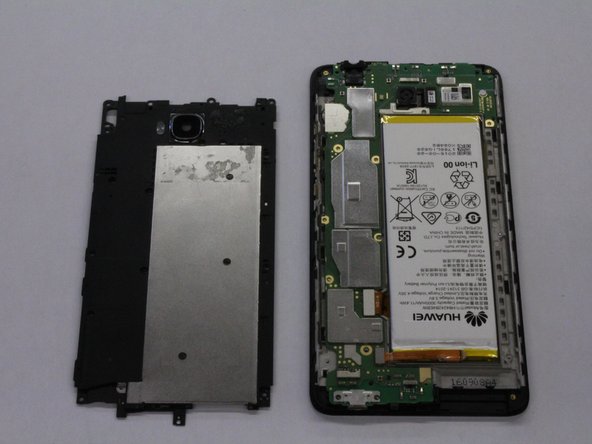
Carefully remove the back plate assembly.
-
-
-
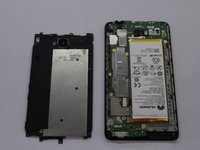
Carefully disconnect battery ribbon wire from lower left corner of circuit board.
-
-
-
-
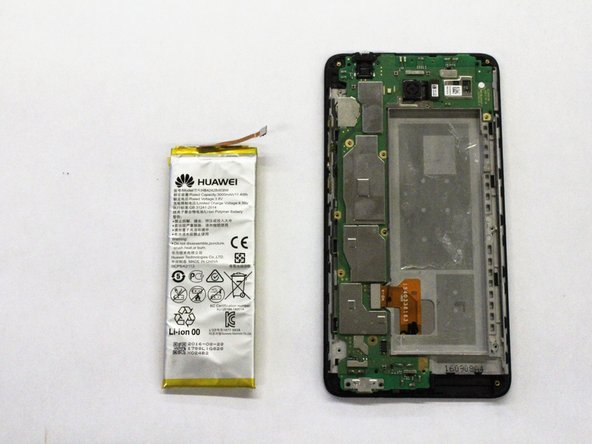
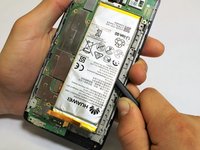
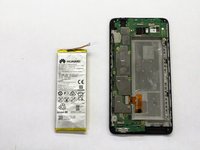
Use the spudger to pry lithium battery away from battery compartment.
-
Insert new battery and connect.
-
-
-
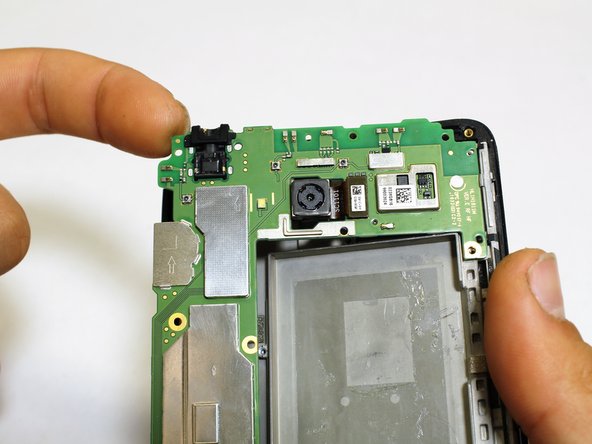
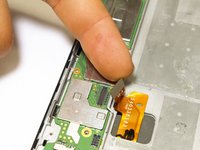
Carefully disconnect screen assembly ribbon wire from mother board.
-
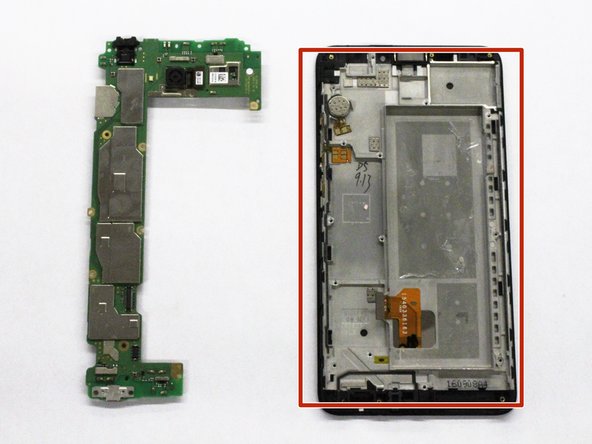
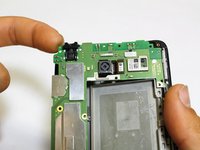
Carefully remove the mother board from the screen assembly.
-
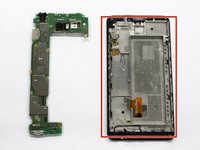
Replace screen assembly.
-
-







To reassemble your device, follow these instructions in reverse order.
Cancel: I did not complete this guide.
One other person completed this guide.

Team

The Citadel Military College of South Carolina, Team S3-G8, Eggleston Fall 2018 Member of The Citadel Military College of South Carolina, Team S3-G8, Eggleston Fall 2018
CMCSC-EGGLESTON-F18S3G8
5 Members
60 Guides authored
