Free Shipping on Domestic Orders $75+

Matsunichi M97 9 inch Screen Replacement

Views: 415

View statistics:

Past 24 Hours:
2
Past 7 Days:
12
Past 30 Days:
60
All Time:
415
Comments: 0

No one has left comments on this guide. Will you be first?

Go to guide comments
Completed: 0

No one has marked this guide "completed." Will you be the first?

Favorites: 0

No one has favorited (and subscribed to) this guide. Will you be the first?

Time Required: 15 - 20 minutes
Difficulty: Moderate
Better Introduction

Improve this guide by completing or revising its introduction.

Matsunichi M97 9 inch Screen Replacement

Introduction

Go to step 1 ↓

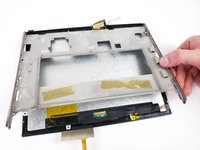
If the Display of your Matsunichi M97 9 inch has stopped working or is damaged, this guide will show you how to replace it step by step. This guide requires the removal of tape which may be difficult to replace. You will need to replace the Kapton tape with a new strip once it is removed.

What you need

Tools

    1. Matsunichi M97 9 inch Screen Replacement, Battery: step 1, image 1 of 1
      • Open the micro SD cover located on the back of the device.

      Ask FixBot

      Add Comment

    2. Matsunichi M97 9 inch Screen Replacement: step 2, image 1 of 1
      • Using the Phillips #00 screwdriver, remove the two 4mm screws next to the micro SD port.

      Ask FixBot
      Add Comment

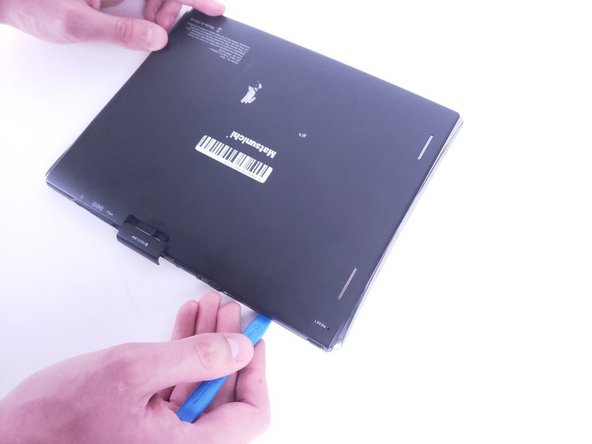
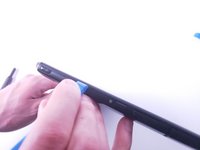
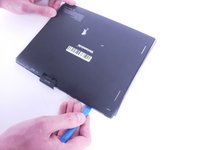
    3. Matsunichi M97 9 inch Screen Replacement: step 3, image 1 of 3 Matsunichi M97 9 inch Screen Replacement: step 3, image 2 of 3 Matsunichi M97 9 inch Screen Replacement: step 3, image 3 of 3
      • Use the iFixit opening tool to pry off the back cover of the device.

      • The volume buttons and the lock switch will come loose when the back comes off.

      Ask FixBot
      Add Comment

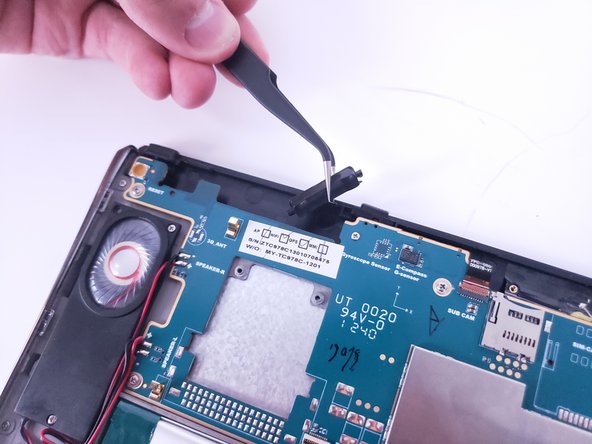
    4. Matsunichi M97 9 inch Screen Replacement: step 4, image 1 of 2 Matsunichi M97 9 inch Screen Replacement: step 4, image 2 of 2
      Tool used on this step:
      Tweezers
      $4.99
      Buy
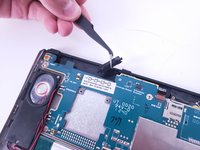
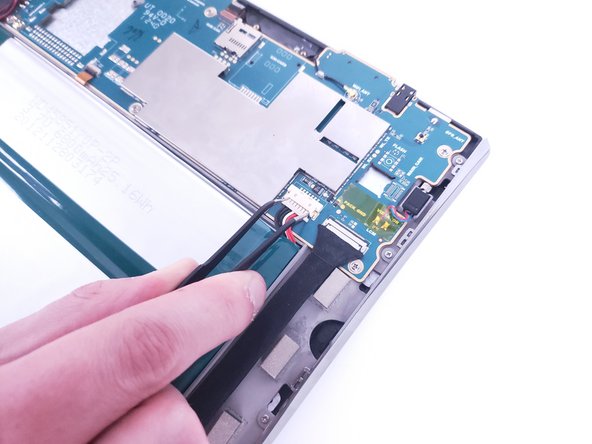
      • Use a pair of tweezers to disconnect the battery from the motherboard.

      Ask FixBot
      Add Comment

    5. Matsunichi M97 9 inch Screen Replacement: step 5, image 1 of 2 Matsunichi M97 9 inch Screen Replacement: step 5, image 2 of 2
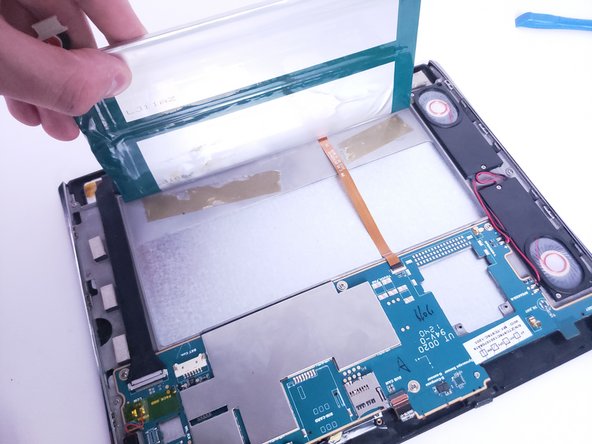
      • Carefully unstick the battery from the frame using the spudger.

      • Do not bend or puncture the battery during removal.

      Ask FixBot

      Add Comment

    1. Matsunichi M97 9 inch Screen Replacement, Motherboard: step 6, image 1 of 2 Matsunichi M97 9 inch Screen Replacement, Motherboard: step 6, image 2 of 2
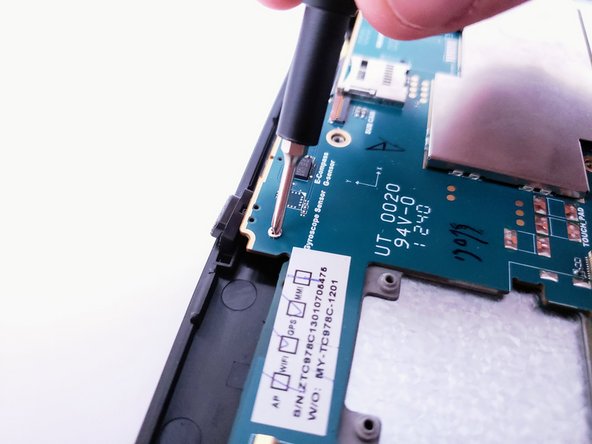
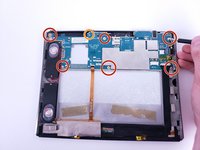
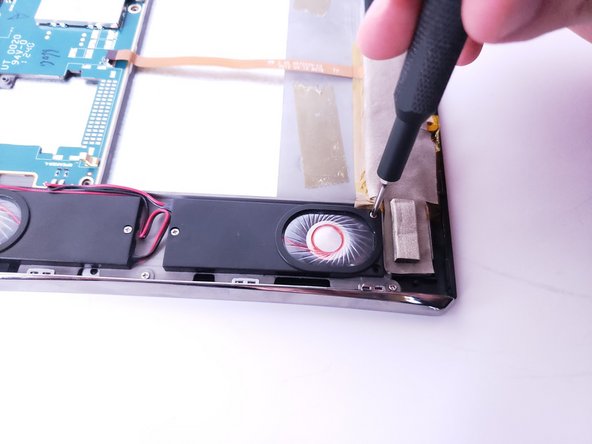
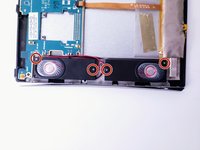
      • Remove the six 2mm screws that hold the motherboard onto the case using the Phillips #00 screwdriver.

      • Use the same screwdriver to remove the single 4mm screw.

      Ask FixBot
      Add Comment

    2. Matsunichi M97 9 inch Screen Replacement: step 7, image 1 of 2 Matsunichi M97 9 inch Screen Replacement: step 7, image 2 of 2
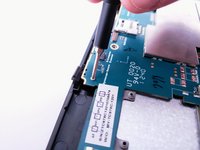
      • Gently pull the display ribbon cable to unplug it from the motherboard.

      Ask FixBot
      Add Comment

    3. Matsunichi M97 9 inch Screen Replacement: step 8, image 1 of 1
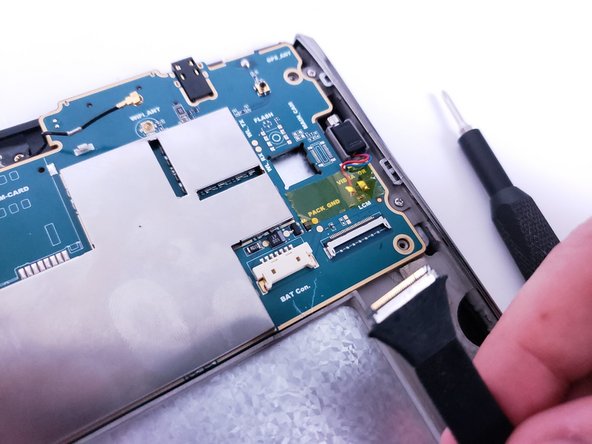
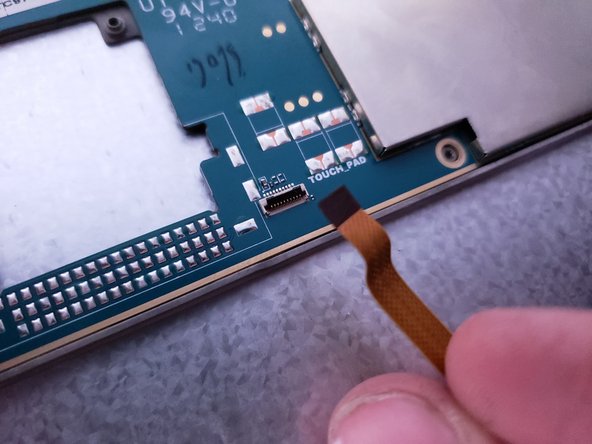
      • Use a spudger or an iFixit opening tool to lift the locking mechanism holding the camera ribbon cable.

      Ask FixBot
      Add Comment

    4. Matsunichi M97 9 inch Screen Replacement: step 9, image 1 of 2 Matsunichi M97 9 inch Screen Replacement: step 9, image 2 of 2
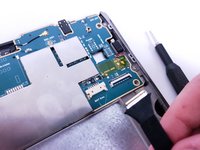
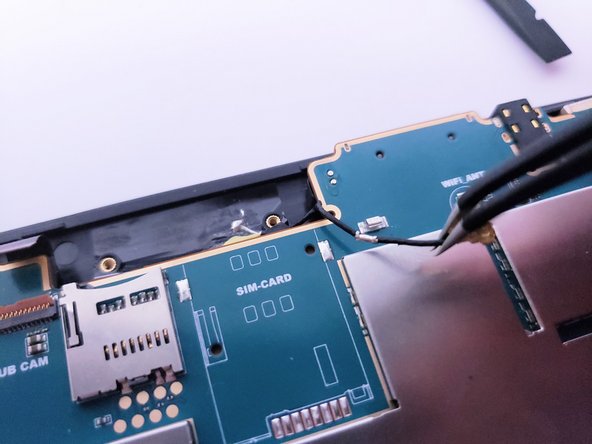
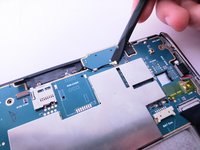
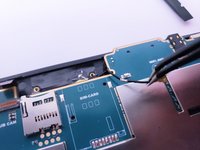
      • Lift up on the wifi antenna cable to unsnap it from the motherboard.

      • Then unhook the cable from the holding bracket.

      Ask FixBot

      Add Comment

    5. Matsunichi M97 9 inch Screen Replacement: step 10, image 1 of 2 Matsunichi M97 9 inch Screen Replacement: step 10, image 2 of 2
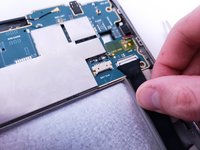
      • Use the spudger or iFixit opening tool to lift up on the locking mechanism for the digitizer ribbon cable.

      • Pull the cable from its connection.

      Ask FixBot

      Add Comment
    6. Matsunichi M97 9 inch Screen Replacement: step 11, image 1 of 2 Matsunichi M97 9 inch Screen Replacement: step 11, image 2 of 2
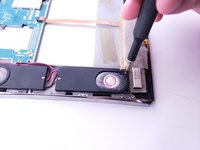
      • Use the Phillips #00 screwdriver to remove the four 4mm screws that hold the speakers in place.

      Ask FixBot

      Add Comment

    7. Matsunichi M97 9 inch Screen Replacement: step 12, image 1 of 1
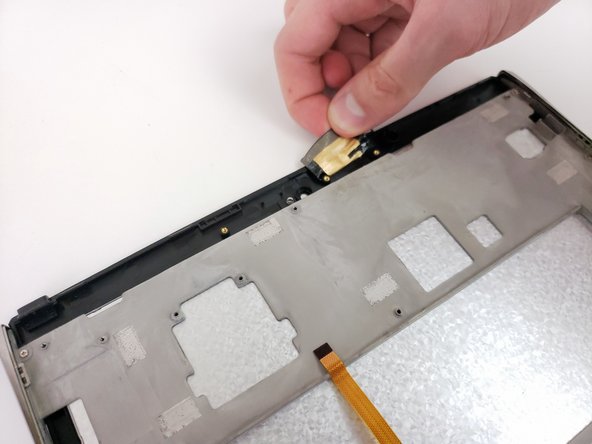
      • Pull the vibration motor out of its housing.

      Ask FixBot

      Add Comment

    8. Matsunichi M97 9 inch Screen Replacement: step 13, image 1 of 2 Matsunichi M97 9 inch Screen Replacement: step 13, image 2 of 2
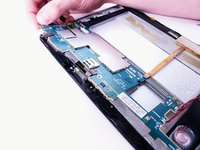
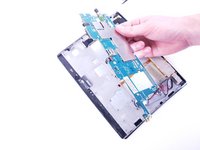
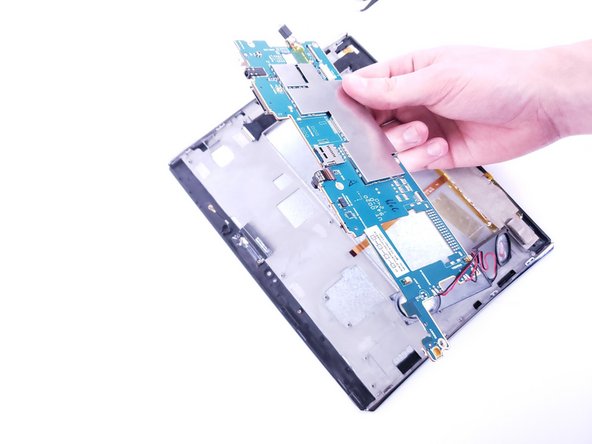
      • Lift the motherboard off the frame.

      Ask FixBot

      Add Comment

    1. Matsunichi M97 9 inch Screen Replacement, Camera: step 14, image 1 of 2 Matsunichi M97 9 inch Screen Replacement, Camera: step 14, image 2 of 2
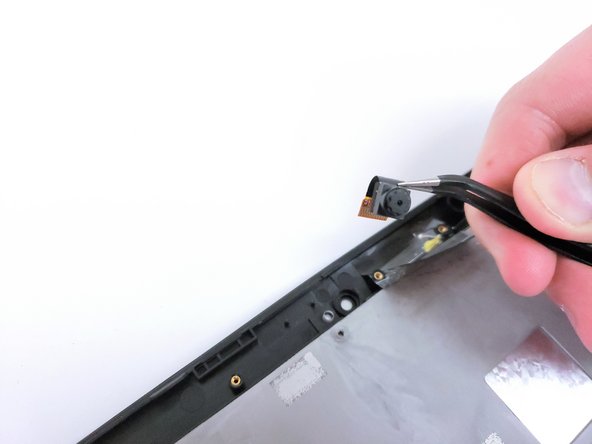
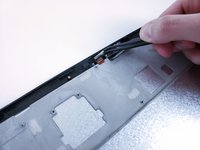
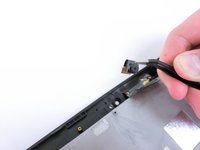
      • Remove the camera from the device.

      Ask FixBot

      Add Comment

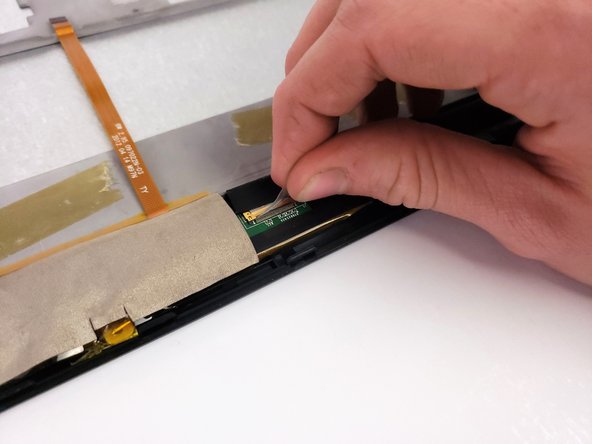
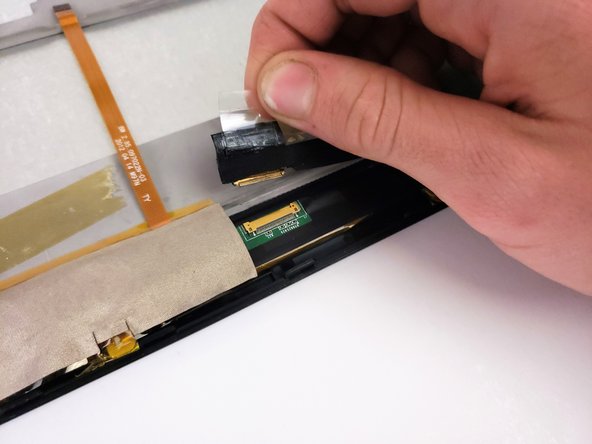
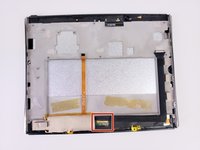
    1. Matsunichi M97 9 inch Screen Replacement, Screen: step 15, image 1 of 3 Matsunichi M97 9 inch Screen Replacement, Screen: step 15, image 2 of 3 Matsunichi M97 9 inch Screen Replacement, Screen: step 15, image 3 of 3
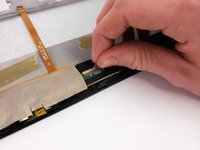
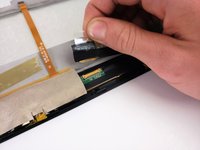
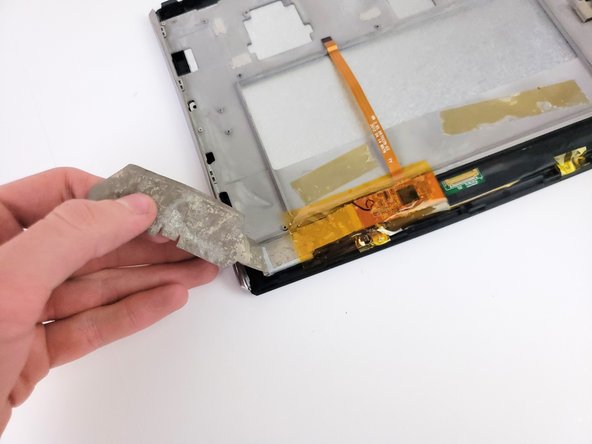
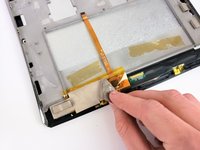
      • Peel off the black and the clear tape covering the display cable connection.

      • Pull the display cable to disconnect it from the display.

      Ask FixBot

      Add Comment

    2. Matsunichi M97 9 inch Screen Replacement: step 16, image 1 of 2 Matsunichi M97 9 inch Screen Replacement: step 16, image 2 of 2
      • Peel off the conductive tape covering the display board.

      Ask FixBot

      Add Comment

    3. Matsunichi M97 9 inch Screen Replacement: step 17, image 1 of 2 Matsunichi M97 9 inch Screen Replacement: step 17, image 2 of 2
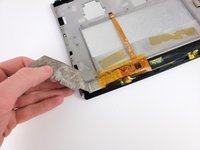
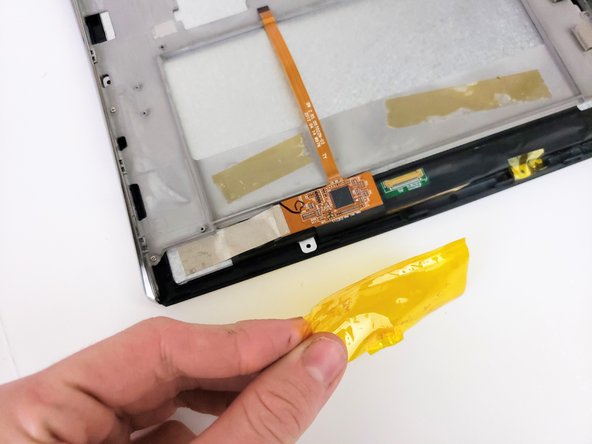
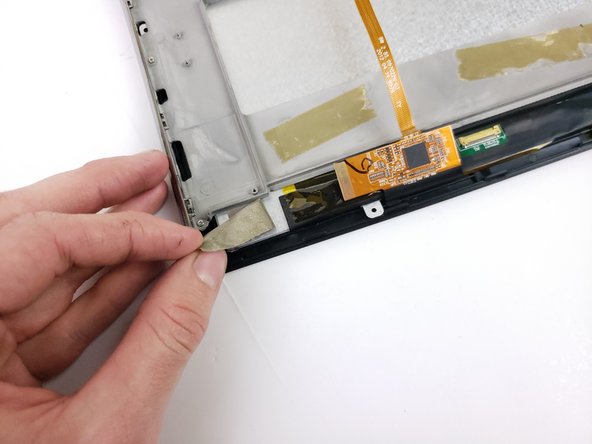
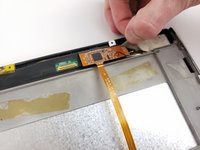
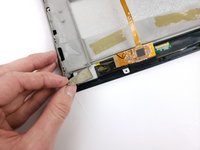
      • Peel off the Kapton thermal tape from the display board.

      Ask FixBot

      Add Comment

    4. Matsunichi M97 9 inch Screen Replacement: step 18, image 1 of 2 Matsunichi M97 9 inch Screen Replacement: step 18, image 2 of 2
      • Peel off the grounding tape attached to the display board.

      Ask FixBot

      Add Comment

    5. Matsunichi M97 9 inch Screen Replacement: step 19, image 1 of 2 Matsunichi M97 9 inch Screen Replacement: step 19, image 2 of 2
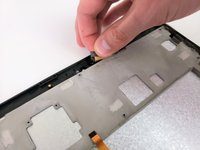
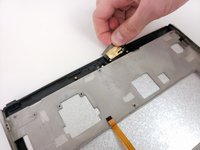
      • Peel off the black tape near the wifi antenna from the frame.

      • Do not pull the tape completely off to avoid damage to the wifi antenna.

      Ask FixBot

      Add Comment

    6. Matsunichi M97 9 inch Screen Replacement: step 20, image 1 of 2 Matsunichi M97 9 inch Screen Replacement: step 20, image 2 of 2
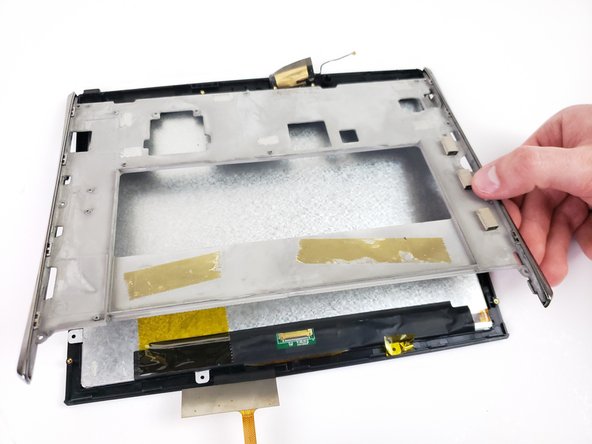
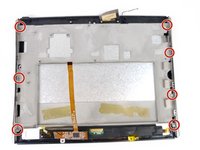
      • Using the Phillips #00 screwdriver, unscrew the seven 4mm screws holding the frame to the front glass.

      • Gently lift the frame off the LCD panel

      Ask FixBot

      Add Comment

    7. Matsunichi M97 9 inch Screen Replacement: step 21, image 1 of 1
      • Lift up the LCD panel from the glass digitizer.

      Ask FixBot

      Add Comment

Conclusion

To reassemble your device, follow these instructions in reverse order.

Cancel: I did not complete this guide.

0 Guide Comments

Add Comment

View Statistics:

Past 24 Hours: 2

Past 7 Days: 12

Past 30 Days: 60

All Time: 415