Introduction
This guide will show you how to resolve problems with your Xiaomi Redmi Note 3 phone after it experiences water damage. When a Xiaomi Redmi Note 3’s logic board becomes damaged by water, it may require a new logic board. Users can also replace a specific component on the logic board without replacing the whole component.
Alternatively, see this YouTube video on repairing your Xiaomi Redmi Note 3 after it experiences water damage.
What you need
Video Overview
Xiaomi Redmi Note 3 repair boot loop after water damage
-
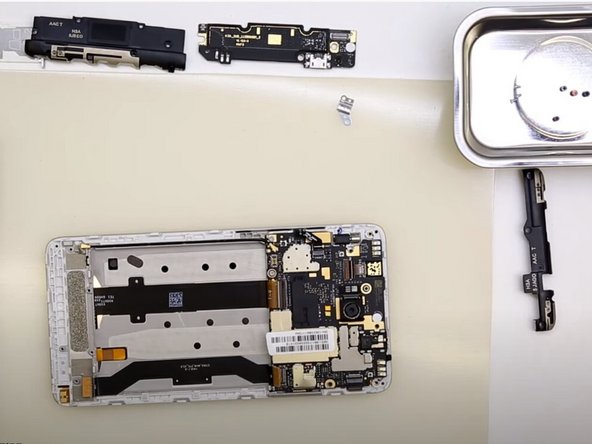
Step 1 Motherboard
Careful: steps 1-16 are sourced from a guide that's marked as in-progress.
-
Insert and gently push the SIM card ejector tool (or an unfolded paperclip) into the small hole on the left side of the phone's top edge.
-
Press gently to eject the SIM tray
-
Remove the SIM card tray from the device.
-
-
-
Insert a putty knife or opening tool into the seam between the phone's back cover and front cover.
-
Run the opening tool along the seam to loosen the back cover.
-
Open the back cover slightly so that you can see the flex cable connected between both halves of the phone.
-
-
-
Use a Phillips screwdriver to remove the five screws in the plastic covering at the bottom of the device.
-
-
-
Insert the flat end of a spudger under the plastic assembly cover at the bottom of the device.
-
Pry upwards with the spudger to lift the assembly cover.
-
Remove the assembly cover.
-
-
-
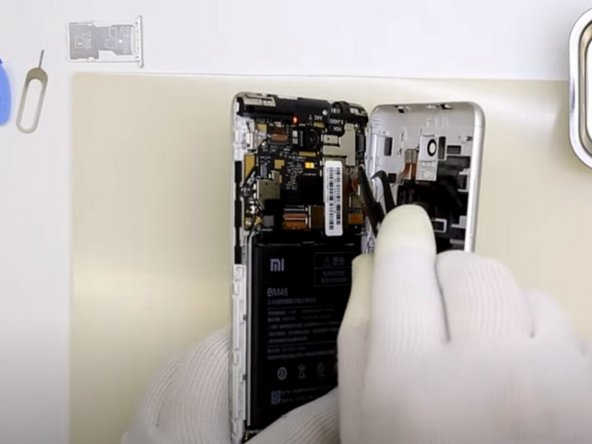
Use the flat end of a spudger to disconnect the battery flex cable from the lower assembly.
-
Use the flat end of a spudger to disconnect the ribbon cable on the left-hand side of the device.
-
-
-
-
Insert the flat end of a spudger under the assembly at the bottom of the device near the right-hand corner.
-
Pry upwards with the spudger to release the right-hand corner of the assembly.
-
Insert the flat end of a spudger under the assembly at the bottom of the device near the left-hand corner.
-
Pry upwards with the spudger to release the left-hand corner of the assembly.
-
Use your fingers to remove the assembly.
-
-
-
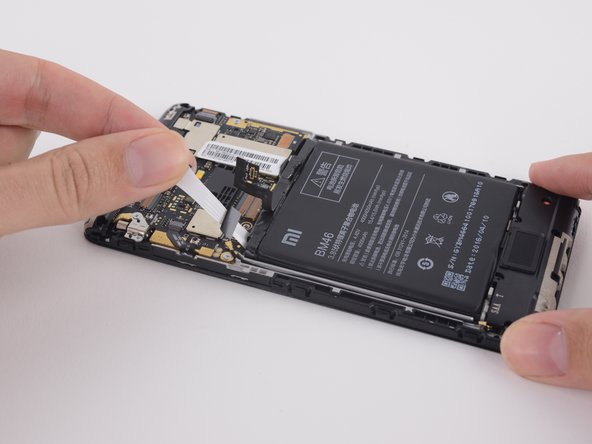
Peel back the barcode sticker so that it is disconnected from the battery.
-
Use your fingers to grasp the black battery adhesive tab and pull outwards firmly until the entire adhesive strip is released.
-
Repeat for the second battery adhesive strip.
-
-
-
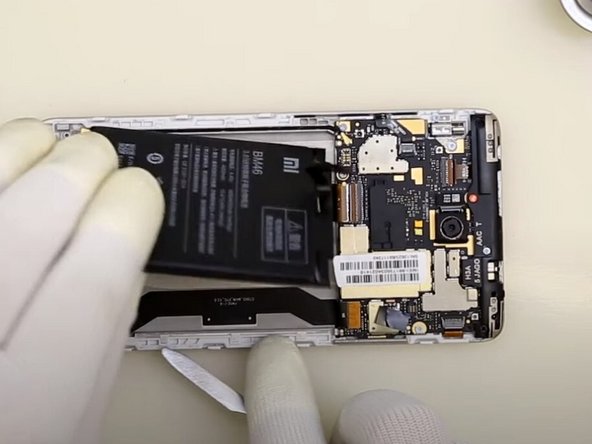
Insert the flat end of a spudger underneath the battery.
-
Use your fingers to remove the battery.
-
-
-
Use a Phillips #00 screwdriver to remove the eight screws fastening the motherboard to the phone's interior.
-
-
-
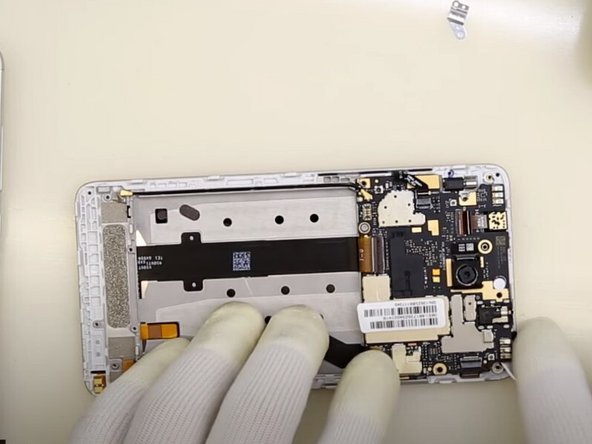
Slide an opening tool underneath the plastic assembly covering the upper portion of the motherboard.
-
Use your fingers or the opening tool to remove the plastic covering.
-
-
-
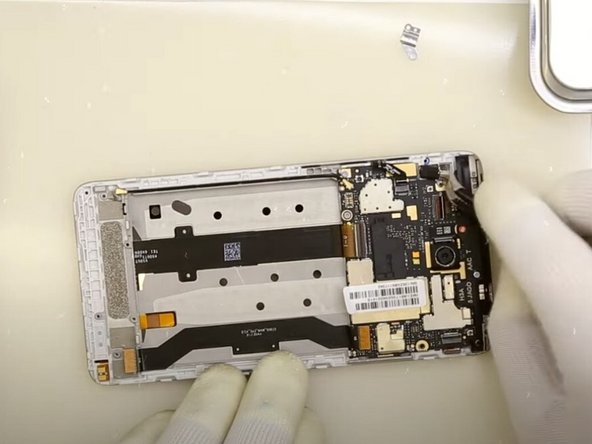
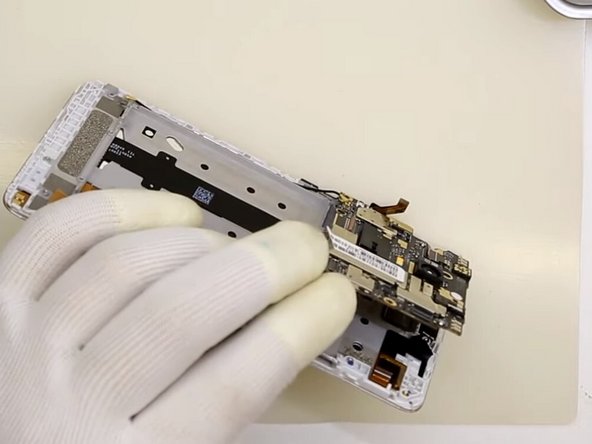
Slide an opening tool or the flat end of a spudger underneath the motherboard.
-
Pry upwards to loosen the motherboard from the phone's front cover.
-
-
-
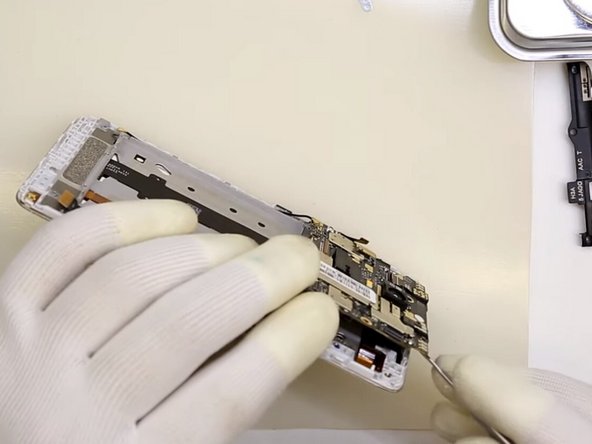
Gently lift the motherboard from its slot.
-
Use the flat end of a spudger to disconnect the cable from the bottom of the motherboard.
-
-
-
This guide will show you how to resolve problem with boot loop / not starting system in Xiaomi Redmi Note 3. To learn more about electronic repair just ask!
-