
How to diagnose Samsung Galaxy A40 Charging Problems

ZFix and
Last updated on Dec 15, 2025
Views: 14K
View statistics:
- Past 24 Hours:
- 13
- Past 7 Days:
- 71
- Past 30 Days:
- 235
- All Time:
- 14,443
Comments: 2
1 comment on steps, 1 guide comment.
Go to guide commentsCompleted: 8 9
8 people have marked this guide "completed." Will you be next?
9 people have marked this guide "completed." Including you — great job!
Favorites: 0 1
No one has favorited (and subscribed to) this guide. Will you be the first?
1 person has favorited (and subscribed to) this guide — and that's you!
Confusing Text
Some of this guide's text is confusing, duplicated, or off-topic. Clarify it by editing!
Community-Contributed Guide
An awesome member of our community made this guide. It was not created by iFixit staff.
Introduction
Go to step 1 ↓This guide will help you diagnose the Samsung Galaxy A70, Samsung Galaxy A50, and the Samsung Galaxy A20. This guide might also work for other Samsung models.
Video Overview
-
-
-
These photos depict the +5V line from the charging port to the motherboard.
 Ask FixBot
-
-
-
Heat the device to soften the adhesive.
-
Tools you may find of use include a playing card, suction cup, plastic tools such as picks and a spudger and isopropyl alcohol (preferably not rubbing alcohol - contains oils and perfumes).
-
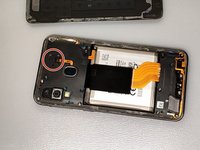
Remove the silver Phillips screws from the device's frame.
-
-
-
-
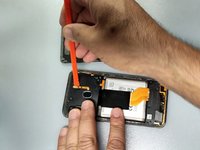
Remove the plastic cap from the fingerprint flex cable connector and disconnect the cable.
-
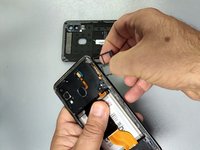
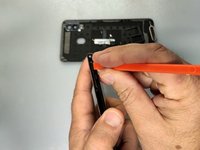
Remove the SIM Tray.
-
-
-
Use a plastic tool to separate the back cover from the frame. Start from the SIM tray hole.
-
-
-
Disconnect the main flex cable and connect the charger.
-
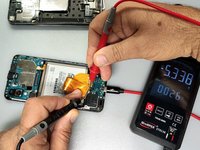
Use a multimeter to measure the voltages at the large end pins of the FPC connector of the charging board. (See the second image)
-
If the reading is okay (~5V) continue with the next step, if not - change the Charging board.
-
Attach the main flex cable and measure the large end pins of the Main flex FPC connector - pic.3.
-
If the reading is okay, continue with the next step, if not - change the Main flex cable.
-
-
-
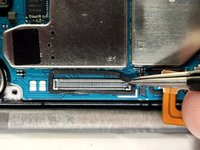
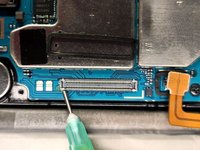
Remove the adhesive rubber around the main flex connector on the logic board.
-
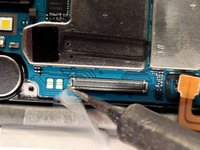
Use some flux and a soldering iron to re-solder the first pin of the motherboard FPC.
-
-




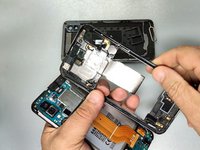
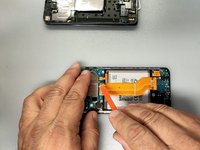


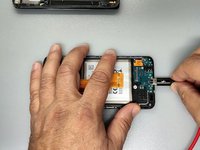
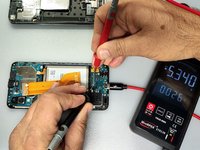


To reassemble your device, follow these instructions in reverse order.
Cancel: I did not complete this guide.
8 other people completed this guide.

Team

1 Guide Comment
How to fix samsung A50s with termometer logo on screen when charging
