
How to Replace a Sash Window Lock

Seb S and one other contributor
Last updated on Jun 14, 2021
Views: 6K
View statistics:
- Past 24 Hours:
- 17
- Past 7 Days:
- 54
- Past 30 Days:
- 180
- All Time:
- 5,994
Comments: 2
1 comment on steps, 1 guide comment.
Go to guide commentsCompleted: 0 1
No one has marked this guide "completed." Will you be the first?
1 person has marked this guide "completed." It's you — great job!
Favorites: 0 1
No one has favorited (and subscribed to) this guide. Will you be the first?
1 person has favorited (and subscribed to) this guide — and that's you!
Introduction
Go to step 1 ↓If your window lock is broken or getting stuck when you try to lock or unlock your window, then it may be time to replace your lock, for both convenience and safety reasons.
This guide helps users successfully remove and replace a window sash lock with minimal effort. Some tips to follow for this guides are:
When removing the lock, keep the lock in a half-locked neutral position if possible. This position allows the user to easily access both screws that need to be removed.
When removing the lock keeper, keep pressure on the keeper when removing the last screw as the keeper will fall off the window when the screws are removed. This tip is mainly for those concerned with loosing old pieces, or for those with small children/pets that may get a hold of fallen pieces.
What you need
Tools


-
-
-
Measure the length between the two screws on the lock.
-
Measure the width of the lock from the screw to the keeper.
 Ask FixBot
-
-
-
Move the lock into a neutral position.
-
Remove the 12.7 mm screw on the left side of the lock with a Phillips #2 screwdriver.
-
-
-
Remove the 12.7 mm Phillips #2 screw on the right side of the lock.
-
Remove the lock.
-
-
-
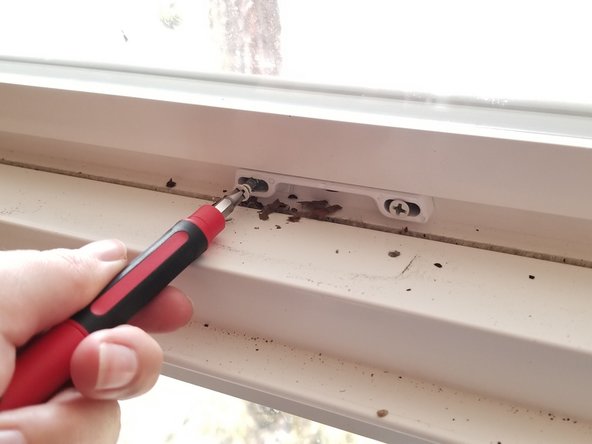
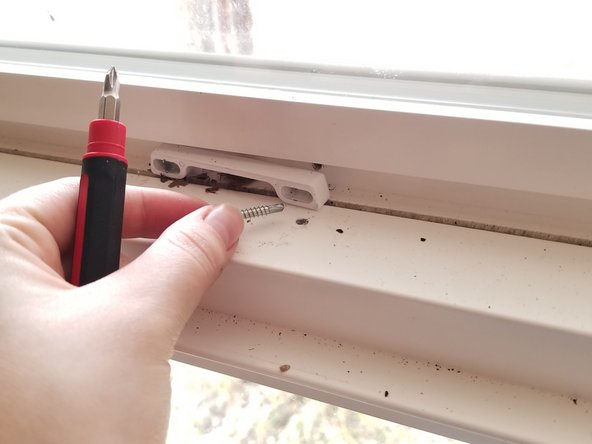
Remove the left 12.7 mm screw on the lock keeper with a Phillips #2 screwdriver.
-
-
-
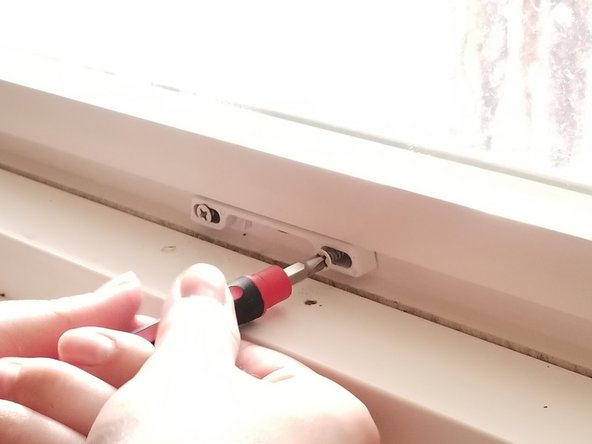
Line up the new lock keeper with the existing holes in the window.
-
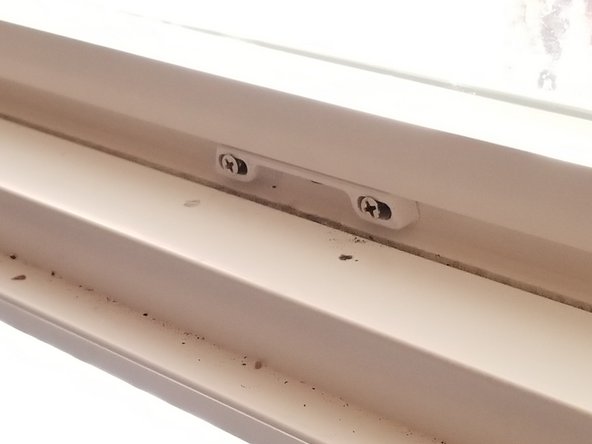
Hold the keeper in place while inserting and tightening both the left and right 12.7 mm Phillips screws with a Phillips #2 screwdriver.
-
-
-
-
Line up the new lock with the existing holes.
-
Hold the new lock in place while inserting and tightening the right 12.7 mm screw with a Phillips #2 screwdriver.
-
-
-
Put the lock into a locked position.
-
Hold the new lock in place while inserting and tightening the left 12.7 mm Phillips #2 screw.
-
-








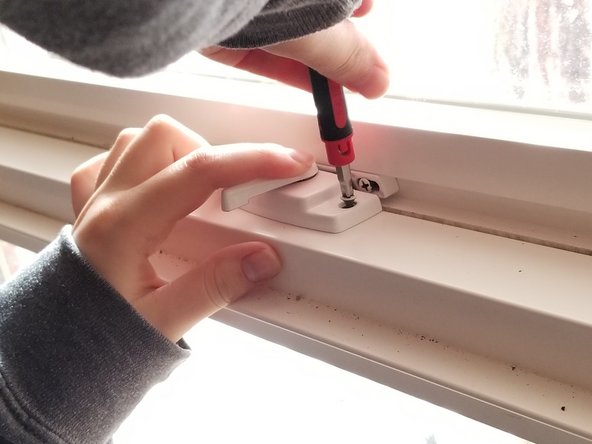




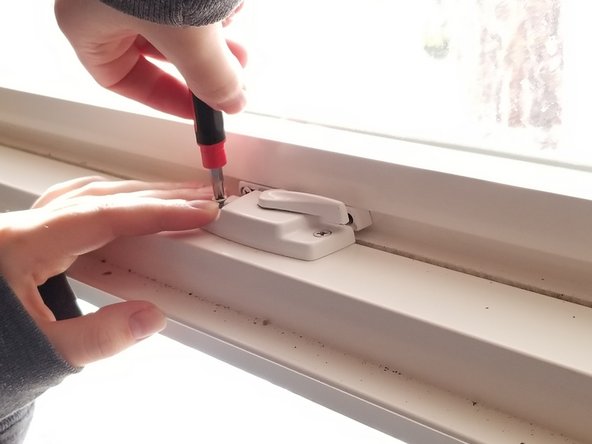
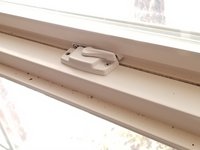


To reassemble your device, follow these instructions in reverse order.

Team

Eastern Washington University, Team S1-G30, Carnegie Winter 2021 Member of Eastern Washington University, Team S1-G30, Carnegie Winter 2021
EWU-CARNEGIE-W21S1G30
1 Member
12 Guides authored
1 Guide Comment
This replacement of sash hardware information is really fantastic, know I want to say that it's really appreciated, We also are providing builder hardware if you want in bulk. You can contact us
