Introduction
Use this guide to repair a partially detached vinyl baseboard. It is extremely important to repair any loose baseboards as they may pose a tripping hazard to people in the home. This maintenance item will help protect your walls from water damage and stains from floor spills.
Before repair, make the floor is clean and you have acquired all the necessary tools for this project.
What you need
-
-
Use sandpaper to sand the back of the baseboard to remove clinging adhesive.
-
Sand the area of the wall that the baseboard covered.
 Ask FixBot
-
-
-
Using the flat blade knife, slice off the remaining adhesive on both the baseboard and the wall.
-
-
-
-
Using a pen, draw a zig-zag shape where the glue will go on the baseboard, starting from the top and continuing to the bottom of the board.
-
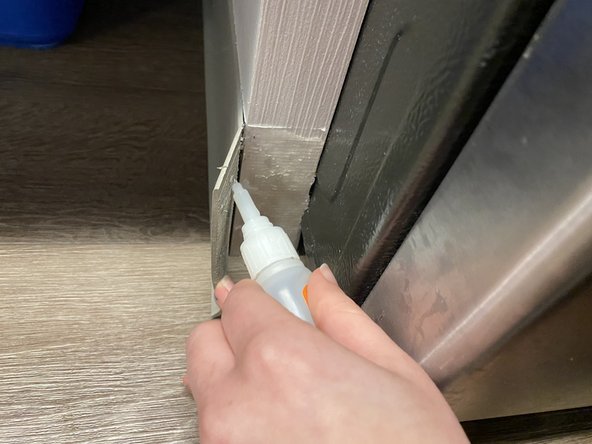
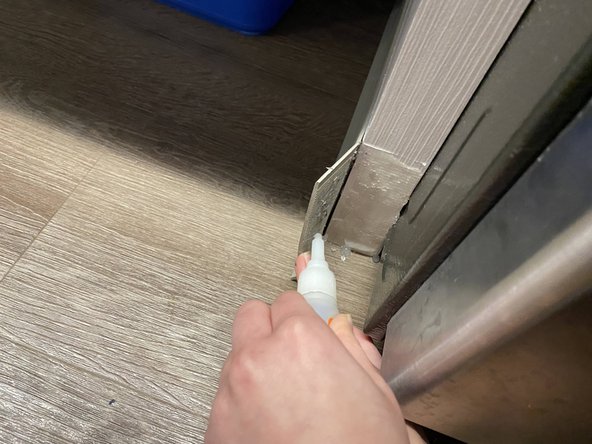
Apply the glue/adhesive to the line drawn.
-
-
-
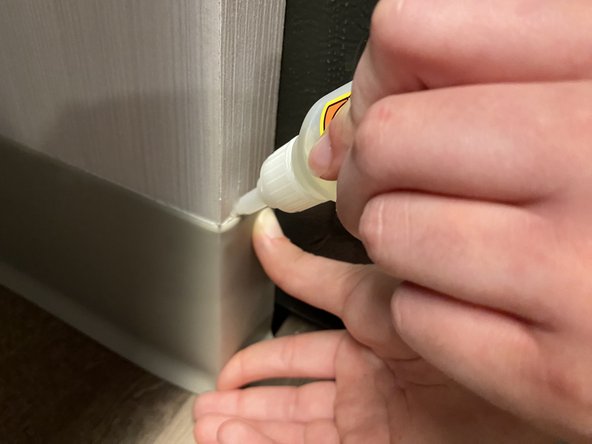
Press the baseboard lining against the wall and flatten it until there are no gaps between the baseboard and the wall.
-
Hold the baseboard against the wall for 2 minutes before moving to step 5.
-
-
-
Press weights against the wall for 2 minutes, making sure the weight is leaning against the flat surface of your board.
-
Leave the weights against the wall for at least 30 minutes.
-
-
-
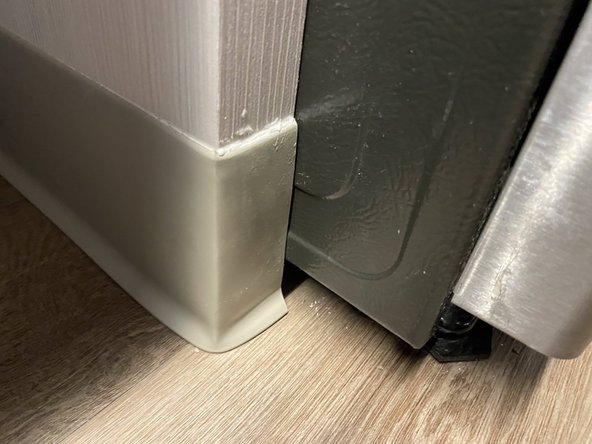
Remove the weight from the wall and check if the adhesive has completely dried. This can be done by trying to move the baseboard.
-
If dry, use a small piece of damp cloth to remove any leftover residue from the wall and outer side of the baseboard.
-


To reassemble your device, follow these instructions in reverse order.
Cancel: I did not complete this guide.
One other person completed this guide.
Team

UC Davis, Team 2-11, Morris Winter 2023 Member of UC Davis, Team 2-11, Morris Winter 2023
UCD-MORRIS-W23S2G11
2 Members
12 Guides authored