Introduction
If your Squareplug SP400 patch cable isn’t producing clear audio, use this guide to resolder the broken connections.
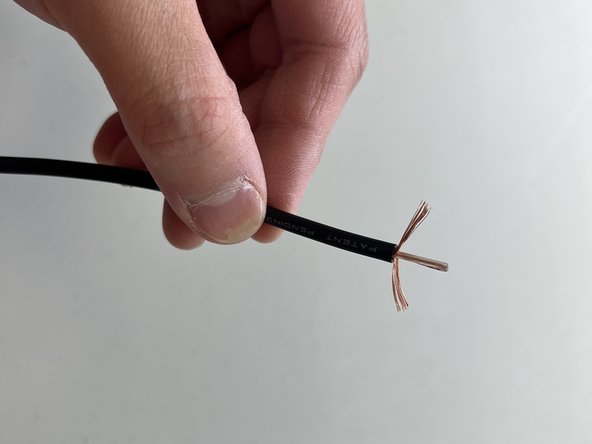
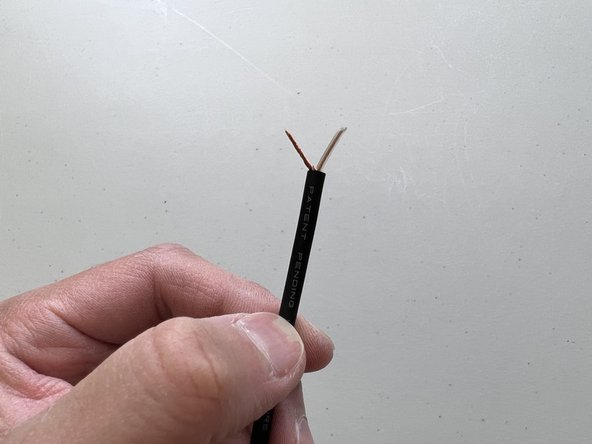
Patch cables, even well-soldered ones, are susceptible to stress-breaks at their connections. This is usually caused by repeated plugging/unplugging with regular use. A simple resolder with fresh wire ends and solder balls should bring the cable back to life.
Before using this guide, double-check that it’s your patch cable that is faulty. It’s possible the source of the signal loss is elsewhere in the signal chain.
What you need
-
-
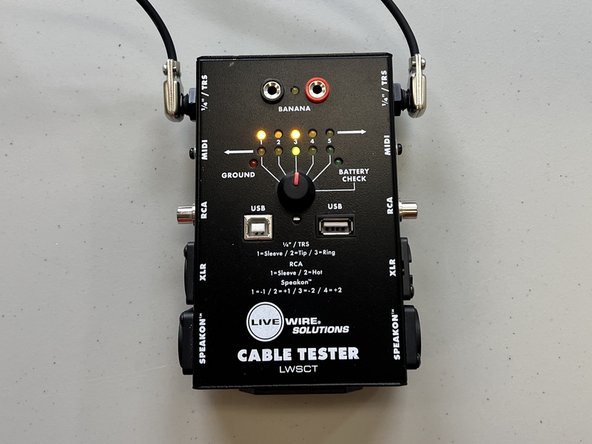
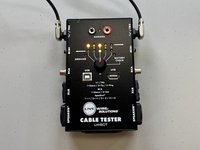
Verify that the cable is faulty (unresponsive yellow and green LED indicators).
-
Yellow LED indicator
-
Green LED indicator
-
-
-
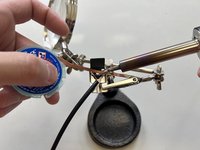
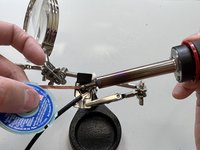
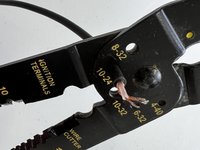
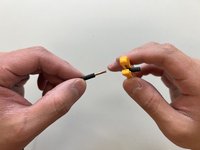
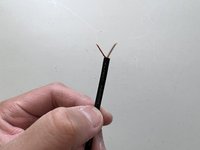
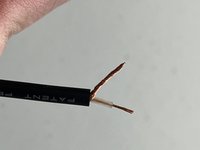
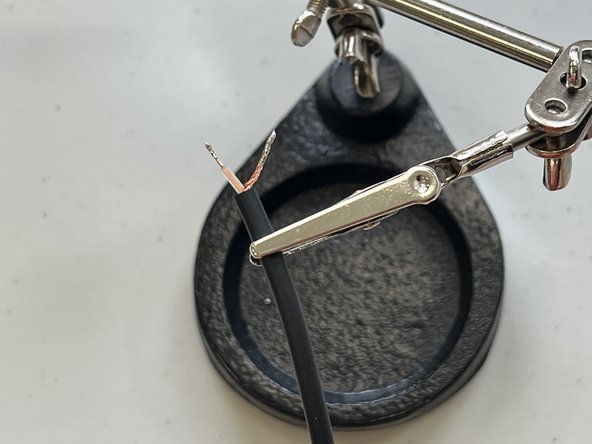
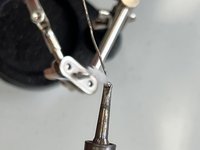
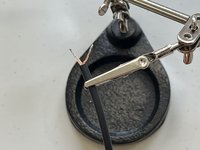
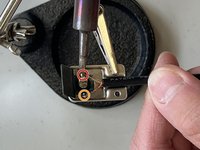
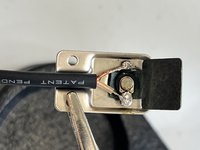
Desolder the existing solder connections.
-
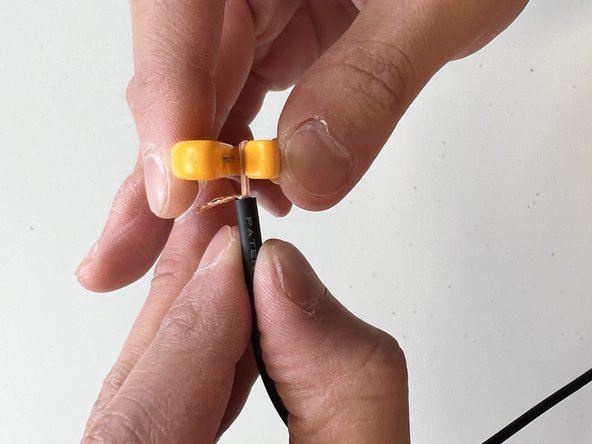
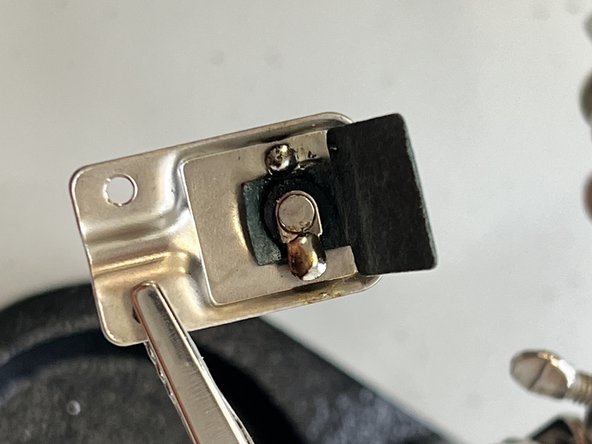
Wick the existing solder completely off of the plug connections.
-
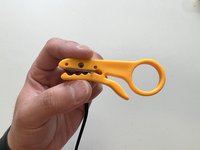
For more information on soldering, check out the How to Solder and Desolder Connections guide.
-
-


Cancel: I did not complete this guide.
One other person completed this guide.
Team

University of North Texas, Team 1-3, Raign Spring 2022 Member of University of North Texas, Team 1-3, Raign Spring 2022
UNT-RAIGN-S22S1G3
2 Members
5 Guides authored