
How to Repair a Ripped Dog Toy

What you need

  1. How to Repair a Ripped Dog Toy, How to Repair a Ripped Dog Toy: step 1, image 1 of 1
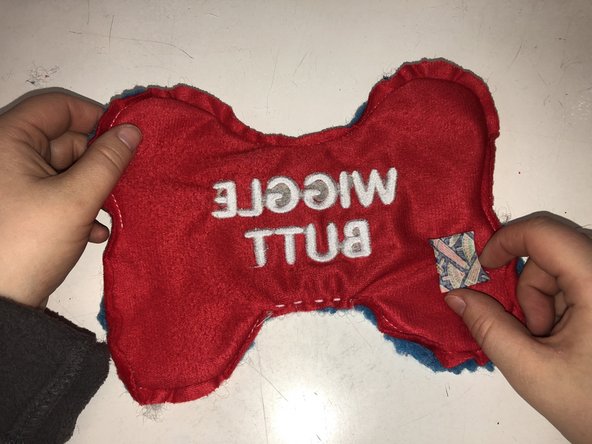
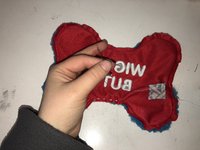
    • Remove any stuffing and the current squeaker from the toy.

  2. How to Repair a Ripped Dog Toy: step 2, image 1 of 1
    • Turn the empty toy inside out through the biggest hole and inspect for other holes to repair.

  3. How to Repair a Ripped Dog Toy: step 3, image 1 of 3 How to Repair a Ripped Dog Toy: step 3, image 2 of 3 How to Repair a Ripped Dog Toy: step 3, image 3 of 3
    • Place the fabric square facing the outside of the toy over the hole.

  4. How to Repair a Ripped Dog Toy: step 4, image 1 of 3 How to Repair a Ripped Dog Toy: step 4, image 2 of 3 How to Repair a Ripped Dog Toy: step 4, image 3 of 3
    • Begin sewing the patch to cover the hole.

    • To do so pinch both layers of fabric and put the needle through the other side and pull it back out of the top.

    • Repeat this process until you sew the lining of the square.

  5. How to Repair a Ripped Dog Toy: step 5, image 1 of 1
    • Turn the toy right side out.

  6. How to Repair a Ripped Dog Toy: step 6, image 1 of 2 How to Repair a Ripped Dog Toy: step 6, image 2 of 2
    • Re-stuff the toy by evenly putting the stuffing back inside.

    • When about half of the stuffing is put back, inside insert the squeaker and continue to add stuffing.

  7. How to Repair a Ripped Dog Toy: step 7, image 1 of 3 How to Repair a Ripped Dog Toy: step 7, image 2 of 3 How to Repair a Ripped Dog Toy: step 7, image 3 of 3
    • To sew the last hole pinch the fabric together and insert the needle through the top side and pull through the bottom.

    • Repeat this process until the hole is gone.

Conclusion

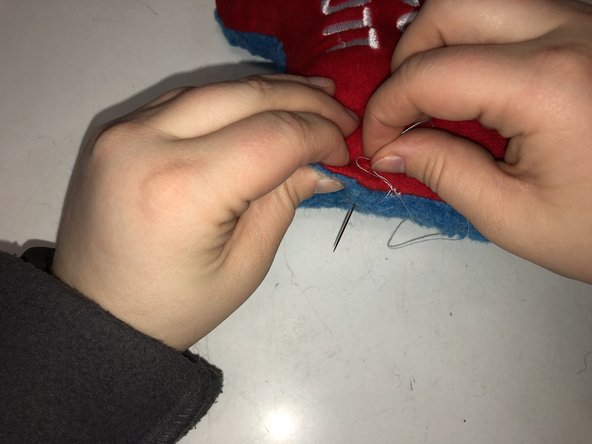
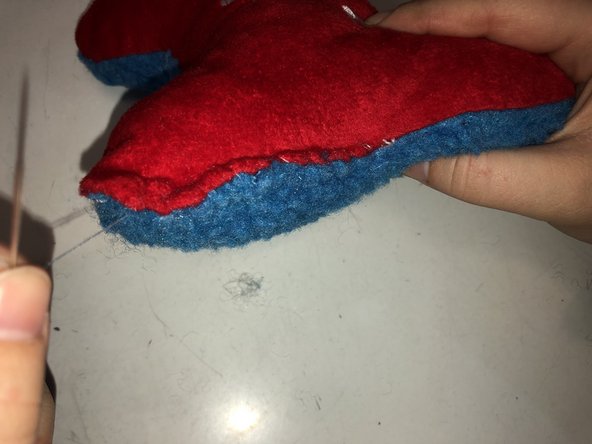
To reassemble your device, follow these instructions in reverse order.

One other person completed this guide.

0 Comments

Add Comment

View Statistics:

Past 24 Hours: 0

Past 7 Days: 4

Past 30 Days: 22

All Time: 5,314