
How to Repair a Knotted Chain

Momena Masood and one other contributor
Last updated on Sep 1, 2020
Views: 1.4K
View statistics:
- Past 24 Hours:
- 3
- Past 7 Days:
- 15
- Past 30 Days:
- 109
- All Time:
- 1,445
Comments: 0
No one has left comments on this guide. Will you be first?
Go to guide commentsCompleted: 2 3
2 people have marked this guide "completed." Will you be next?
3 people have marked this guide "completed." Including you — great job!
Favorites: 0 1
No one has favorited (and subscribed to) this guide. Will you be the first?
1 person has favorited (and subscribed to) this guide — and that's you!
Introduction
Go to step 1 ↓Individuals often find themselves in a complex situation when dealing with chains. To open a knotted chain is another challenge in itself. If the chain is delicate in nature, it becomes riskier to untangle the knot. Attempting to open the knot can make it much tighter or break the chain entirely. However, with the help of the right tools and techniques, you can unknot your tangled chain within minutes.
What you need
Tools
-
×2
-
-
-


-
-
-
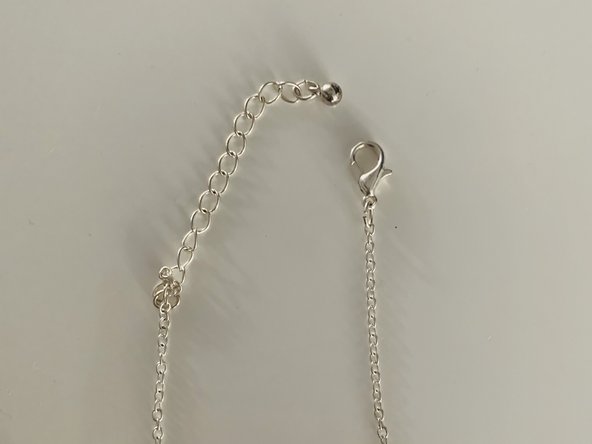
Find a flat surface.
-
Remove all clutter from your workspace to ensure you can access the chain easily.
 Ask FixBot
-
-
-
Rest the chain on the surface.
-
Slowly spread the chain out so you can recognize the tangled areas.
-
-
-
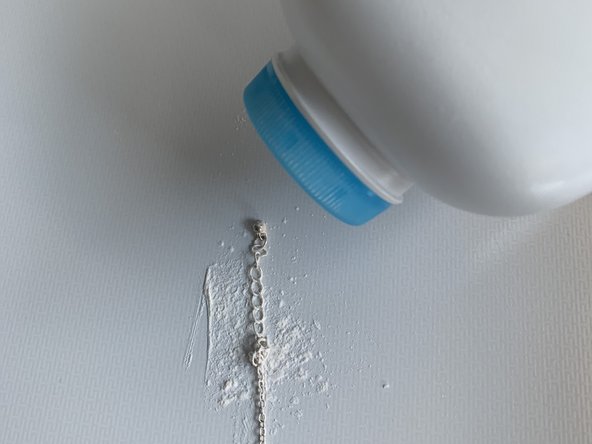
Gently sprinkle baby powder onto the knotted area.
-
Sprinkle the powder until the knot is lightly coated.
-
-
-
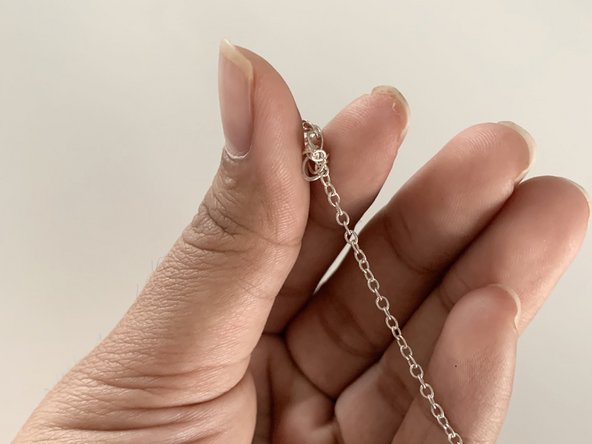
Bring your thumb and index finger into a pinching pose.
-
Put the knot between the thumb and index finger.
-
Carefully and gently lightly rub the knot together.
-
-
-
-
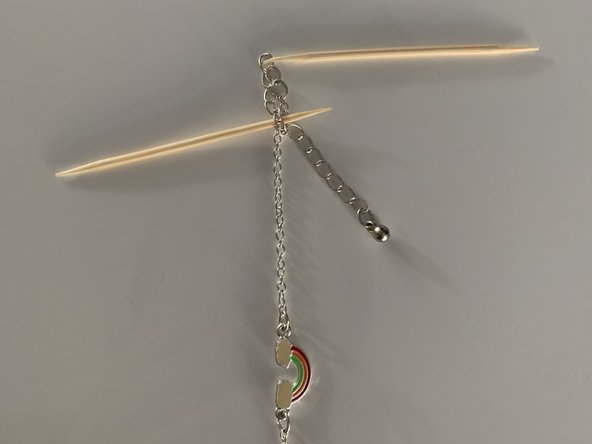
Gently draw the toothpicks from one another to open and release the tight knot.
-
When you get an opening in the knot using the toothpicks, take it apart by pulling each separated strand through the knot to fully open it.
-
Then slowly pull apart the loosened knot to separate the chain strands.
-
-
-
Restore chain back into its original form.
-
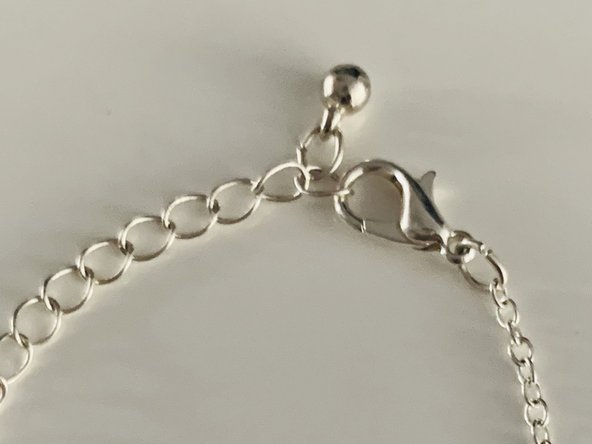
Clasp the chain to avoid it from re-tangling.
-
-












Cancel: I did not complete this guide.
2 other people completed this guide.
Team

York University, Team S1-G19, O'Regan Summer 2020 Member of York University, Team S1-G19, O'Regan Summer 2020
YORK-O'REGAN-SU20S1G19
1 Member
12 Guides authored
