Introduction
This guide is for a 2007 GMC Envoy with a jammed tailgate. One of the most common reasons for a stuck tailgate is a bent or warped latch bracket. This guide will show how to un-jam and open the tailgate to replace the latch bracket.
For the sake of clarity, here is an explanation of terms that will be used often throughout the instructions:
- Tailgate: the back portion of the car that opens (often referred to as the trunk)
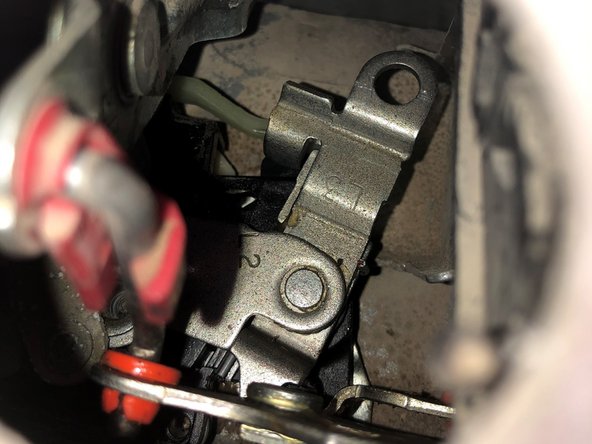
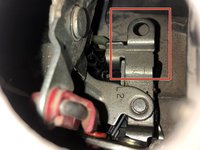
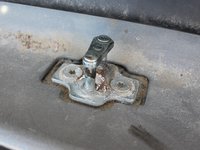
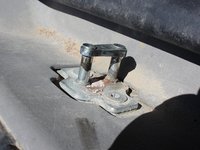
- Latch bracket: the metal arch/upside down ‘u’ shaped piece fixed to your car that the tailgate latches onto. (see step 5 for a photo)
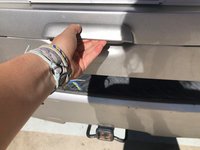
Lowering the back seat of the Envoy will give adequate space to perform this repair.
Once you have visual access to the bracket, inspect it for damage. If there is none visible, simply clean the rust and corrosion to see if this eliminates the problem. If not, you will need to install a new latch bracket, which requires a special Torx screwdriver.
What you need
-
-
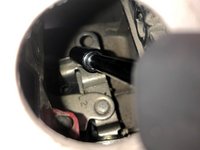
Use the flat head screwdriver to pry off the small round access panel on the interior of the tailgate.
-
-


To reassemble your device, follow these steps in reverse order.
Cancel: I did not complete this guide.
One other person completed this guide.

Team

Embry-Riddle Aeronautical University, Team S3-G6, Cromer Twal Fall 2020 Member of Embry-Riddle Aeronautical University, Team S3-G6, Cromer Twal Fall 2020
ERAU-CROMER TWAL-F20S3G6
1 Member
1 Guide authored