Introduction
Welcome to the guide on fixing the buttons of the Timex T121B alarm clock. The Timex T121B alarm clock is a popular and reliable choice for many people who need a simple and easy-to-use alarm clock. However, over time, the buttons on the alarm clock may become unresponsive or malfunction, making it difficult to use the alarm clock effectively. If you are experiencing issues with the buttons on your Timex T121B alarm clock, this guide is here to help.
What you need
-
-
-
Flip the alarm clock upside down and open the lid.
-
Take out the batteries and leave them aside.
 Ask FixBot
-
-
-
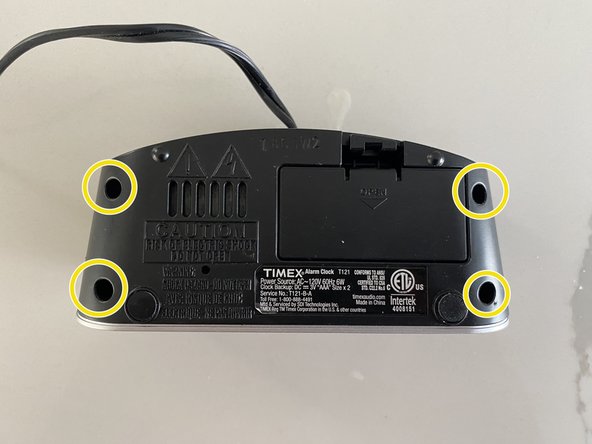
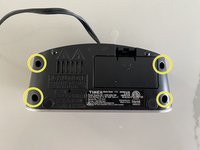
Use a Phillips screwdriver to remove all of the screws on the underside of the clock.
-
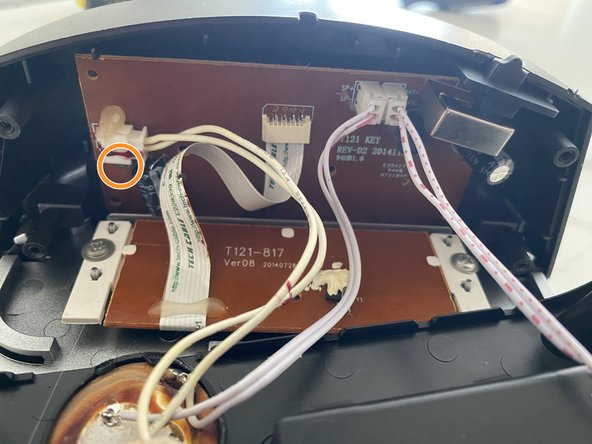
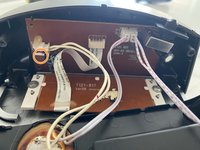
Carefully lift the cover and lay it down as shown in the third image.
-
-
-
-
Flip the alarm clock until the top of the clock is facing down.
-
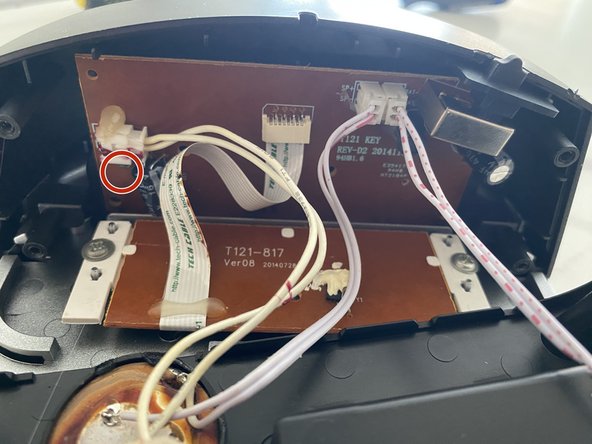
Take out the first screw (1.2 mm Phillips) as shown in the second image.
-
Take out the second screw (1.2 mm Phillips) as shown in the third image.
-
-
-
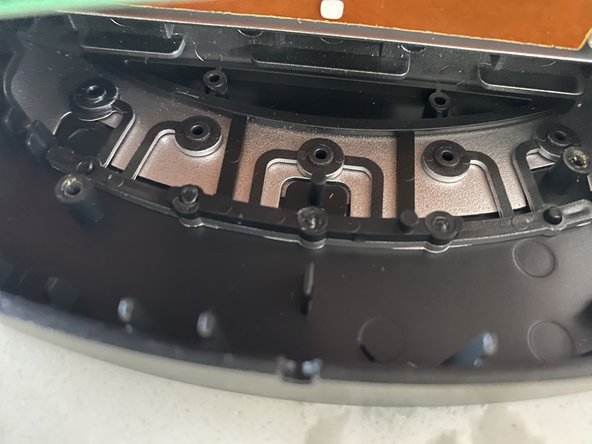
Carefully check the buttons and make sure you are able to press all the buttons.
-
Clean any dust that might be interfering with the buttons.
-
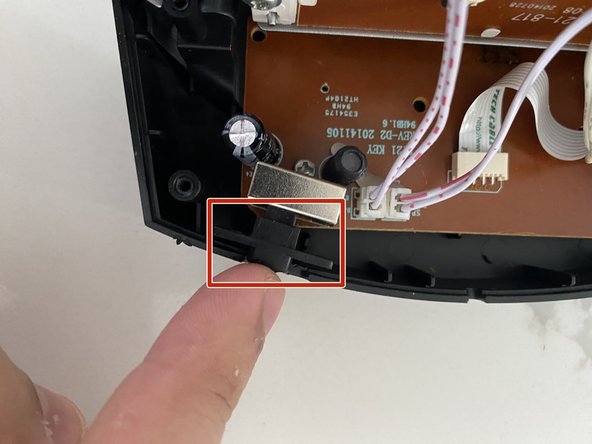
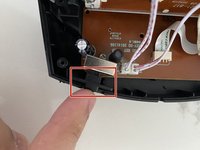
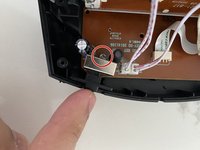
Adjust and push the alarm slide button to its proper position as shown in the third image.
-
-
-
Put the board back in place and place the first screw (1.2 mm Phillips) as shown in the first image.
-
Place the second screw (1.2 mm Phillips) as shown in the second image.
-
Carefully place the two halves of the clock back together and put all 4 screws (1.2 mm Phillips) as shown in the third image.
-
Open the back lid and place the batteries.
-
-





To reassemble your device, follow these instructions in reverse order.
Cancel: I did not complete this guide.
2 other people completed this guide.

Team

York University, Team O-11, Woodhouse Winter 2023 Member of York University, Team O-11, Woodhouse Winter 2023
YORK-WOODHOUSE-W23SOG11
1 Member
12 Guides authored
