How to Repair Parts of a Damaged Gunpla Model Kit

What you need

  1. How to Repair Parts of a Damaged Gunpla Model Kit, How to Repair Parts of a Damaged Gunpla Model Kit: step 1, image 1 of 2 How to Repair Parts of a Damaged Gunpla Model Kit, How to Repair Parts of a Damaged Gunpla Model Kit: step 1, image 2 of 2
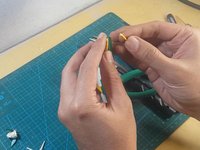
    • Identify the original look of your part. This can most easily be done by simply taking the two broken pieces and fitting them together, but if needed, consult the instruction manual that came with your model kit.

    • Your part may be in a different shape or look to the ones used for this specific guide. Despite this, this guide will work for any Gunpla part, so you can feel safe to follow the steps regardless of if your piece matches the picture.

  2. How to Repair Parts of a Damaged Gunpla Model Kit: step 2, image 1 of 3 How to Repair Parts of a Damaged Gunpla Model Kit: step 2, image 2 of 3 How to Repair Parts of a Damaged Gunpla Model Kit: step 2, image 3 of 3
    • Apply a thin coating of Tamiya instant cement to both broken ends of the part.

    • Attach the pieces together and try to align them as best as you can.

    • Let the piece dry for approximately five minutes.

    • Make sure you line up the parts as perfectly as possible before leaving to dry. If your piece has edges sticking out when it tries or isn't completely lined up, it will be incredibly difficult to fix the piece again.

  3. How to Repair Parts of a Damaged Gunpla Model Kit: step 3, image 1 of 2 How to Repair Parts of a Damaged Gunpla Model Kit: step 3, image 2 of 2
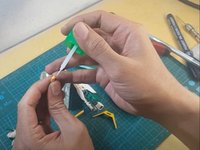
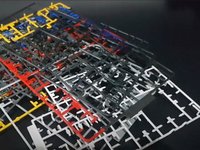
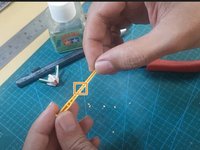
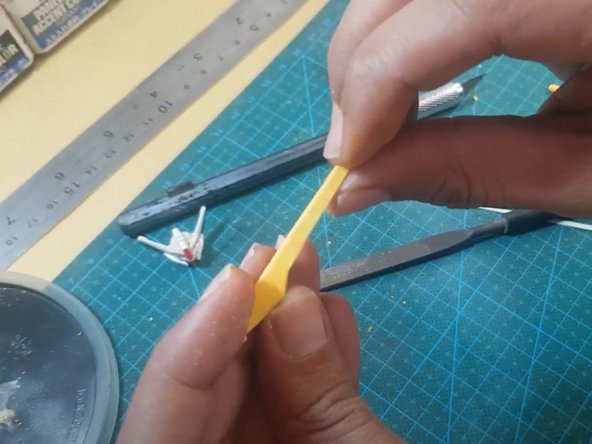
    • Grab one of the empty plastic frames (runners) that came with your kit, preferably one of the same color as your piece.

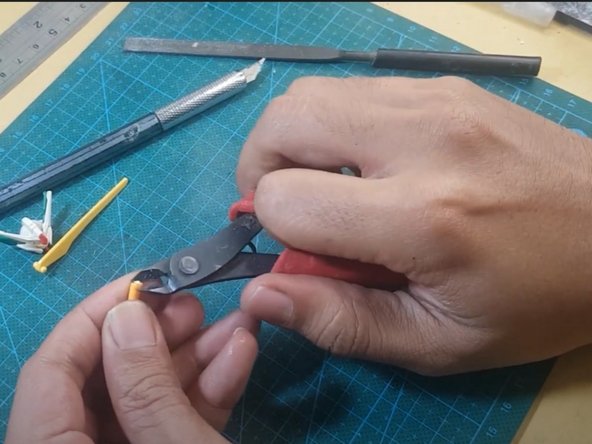
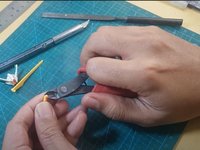
    • File or clip down a piece of the runner to use as support.

    • In this guide, we will be clipping the part for support as the piece is too small to fit a filed down support piece.

    • It is not mandatory to use a runner of the same color, or even one from the same box of your original kit. It is simply recommended for visual appeal.

  4. How to Repair Parts of a Damaged Gunpla Model Kit: step 4, image 1 of 2 How to Repair Parts of a Damaged Gunpla Model Kit: step 4, image 2 of 2
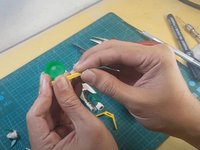
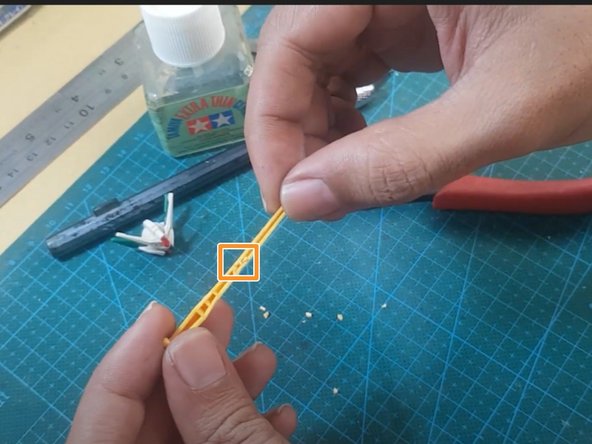
    • Take the cut out piece/pieces of the plastic frame and place them inside of the piece to act as support.

    • Try to make the support as snug as possible inside of the piece for the best results.

    • Make sure to cut/file the pieces so that they're small enough to fit inside of your part as support. If you mess up the first time, you can simply take another piece of the plastic frame you have and try again.

  5. How to Repair Parts of a Damaged Gunpla Model Kit: step 5, image 1 of 1
    • Apply a final thin layer of Tamiya cement to the support piece to make sure it stays in place.

    • Let the cement dry for about five minutes.

  6. How to Repair Parts of a Damaged Gunpla Model Kit: step 6, image 1 of 2 How to Repair Parts of a Damaged Gunpla Model Kit: step 6, image 2 of 2
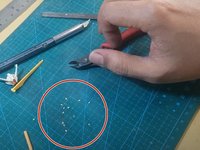
    • File down any pieces of support that are sticking out of the part.

    • Ideally the piece should have absolutely no edges jutting out from the support.

Conclusion

Wait for the glue to dry and you’ll be able to build with it as intended.

One other person completed this guide.

ethan eng

Member since: 01/18/22

212 Reputation

1 Guide authored

0 Comments

Add Comment

View Statistics:

Past 24 Hours: 5

Past 7 Days: 25

Past 30 Days: 110

All Time: 3,177