
How to Reassemble a Pyraminx

gstandr and one other contributor
Last updated on Dec 20, 2023
Views: 1.4K
View statistics:
- Past 24 Hours:
- 4
- Past 7 Days:
- 31
- Past 30 Days:
- 119
- All Time:
- 1,382
Comments: 0
No one has left comments on this guide. Will you be first?
Go to guide commentsCompleted: 1 2
1 person has marked this guide "completed." Will you be next?
2 people have marked this guide "completed." Including you — great job!
Favorites: 0 1
No one has favorited (and subscribed to) this guide. Will you be the first?
1 person has favorited (and subscribed to) this guide — and that's you!
Introduction
Go to step 1 ↓Greetings iFixit Community,
Welcome to our Fast Fix Project! In this guide, we aim to assist you in the seamless reassembly of your Pyraminx Rubik's cube, ensuring it returns to a fully functional state. Follow our step-by-step instructions to easily bring your Pyraminx back to life. Let's dive into the world of Pyraminx reassembly together!
What you need
Tools

-
-
-
Place the pieces and core on a flat surface for easy building.
 Ask FixBot
-
-
-
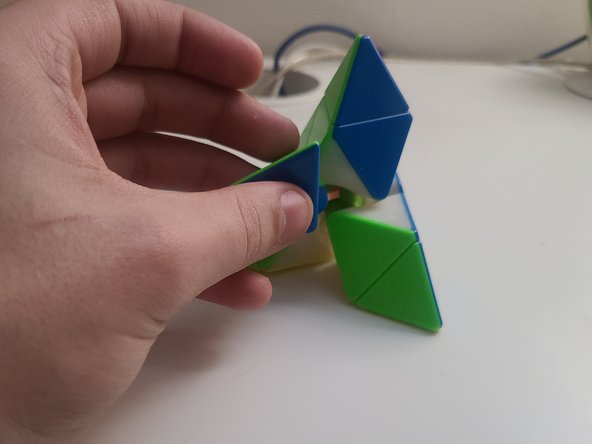
Adjust the top to a 45-degree angle and place red and green in the center of each other.
-
-
-
Adjust the top to a 45-degree angle and place red and blue in the center of each other.
-
-
-
Rotate the tip to 45 degrees and position the blue and green pieces so their centers line up.
-
-
-
-
Adjust the tilt to 45 degrees and position the blue and yellow pieces so their centers line up.
-
Adjust the tilt to 45 degrees and position the blue and green pieces so that their centers line up.
-
-
-
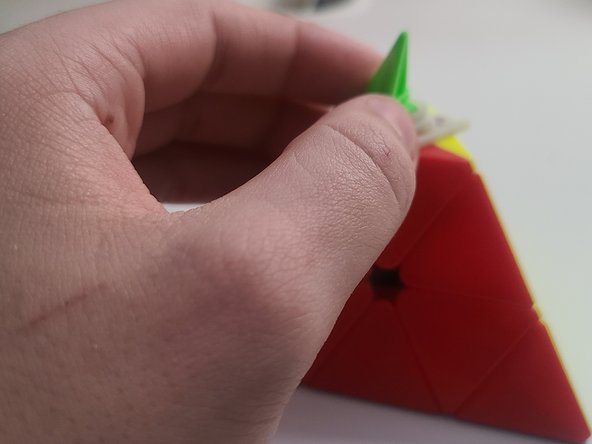
Now grab the Phillips head screwdriver and turn towards the left, just enough to loosen it for you to put the edge in. Remember, lefty loosey, righty tighty.
-
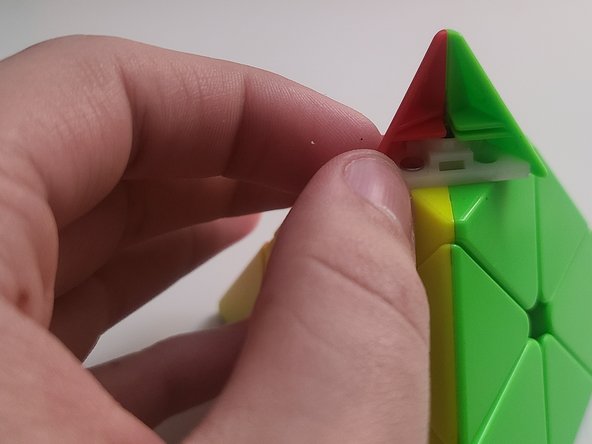
Tighten the screw to your memory after adding edges. Put back the tip pieces.
-
-






Thank you for exploring the Pyraminx assembly guide. I trust it helped you successfully reassemble your puzzle. Any questions, comments, or suggestions are highly valued; please share them below. Your feedback is instrumental in refining the guide for future users. Happy solving!
Cancel: I did not complete this guide.
One other person completed this guide.

Team

CSU Los Angeles, Team 2-1, Briggs Fall 2023 Member of CSU Los Angeles, Team 2-1, Briggs Fall 2023
CSULA-BRIGGS-F23S2G1
5 Members
60 Guides authored
