Free Shipping on Domestic Orders $75+

2010-2017 Suzuki Swift Trunk Light Replacement

What you need

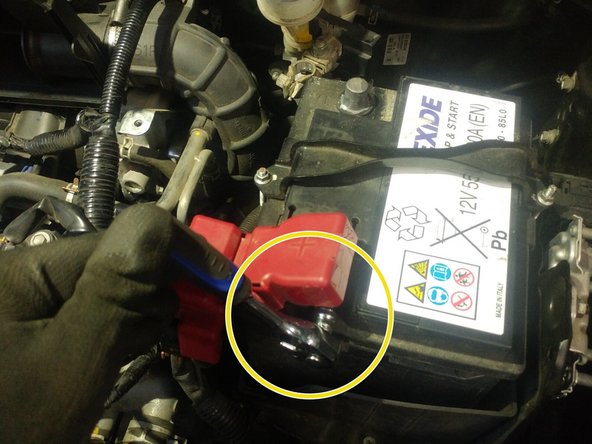
    1. 2010-2017 Suzuki Swift Trunk Light Replacement, disconnect the battery: step 1, image 1 of 2 2010-2017 Suzuki Swift Trunk Light Replacement, disconnect the battery: step 1, image 2 of 2
      • Use the 10mm socket to disconnect the negative terminal first.

      • Disconnect the positive terminal next, also with the 10mm.

      Ask FixBot

      Add Comment

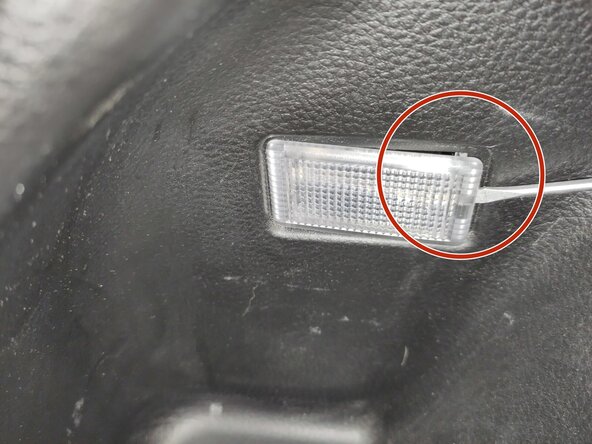
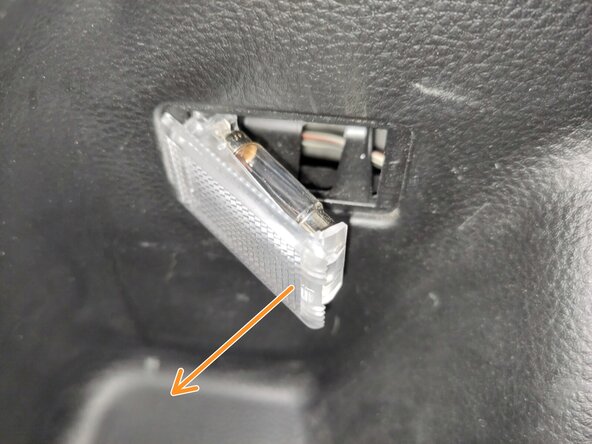
    1. 2010-2017 Suzuki Swift Trunk Light Replacement, access the light fixture: step 2, image 1 of 3 2010-2017 Suzuki Swift Trunk Light Replacement, access the light fixture: step 2, image 2 of 3 2010-2017 Suzuki Swift Trunk Light Replacement, access the light fixture: step 2, image 3 of 3
      • Open the fixture from the trunk panel with a small flathead.

      • Turn the fixture towards you.

      • Pull out the entire fixture.

      Ask FixBot

      Add Comment

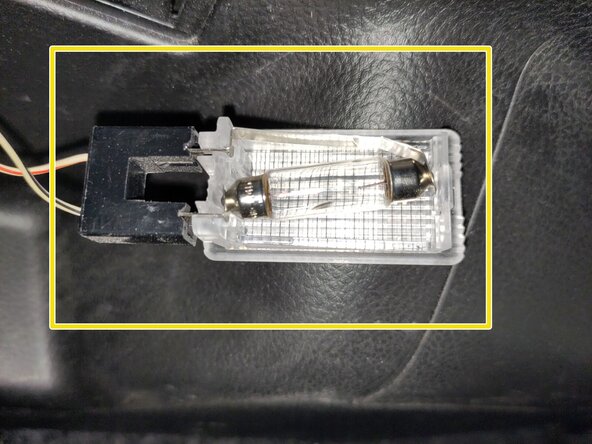
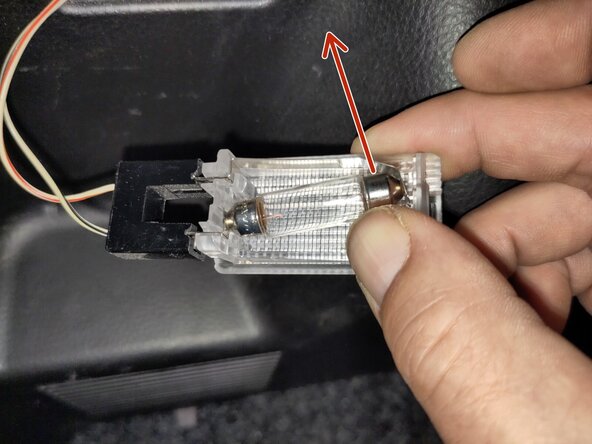
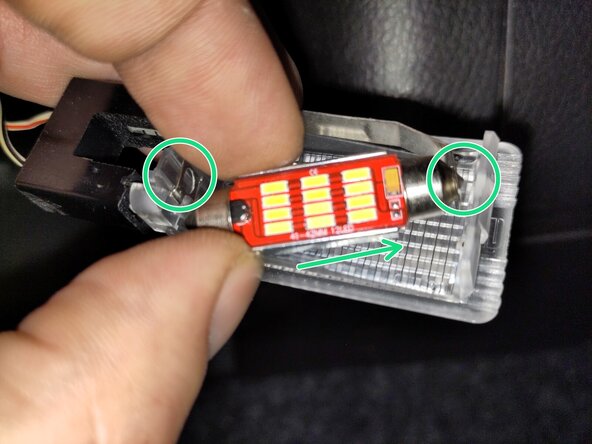
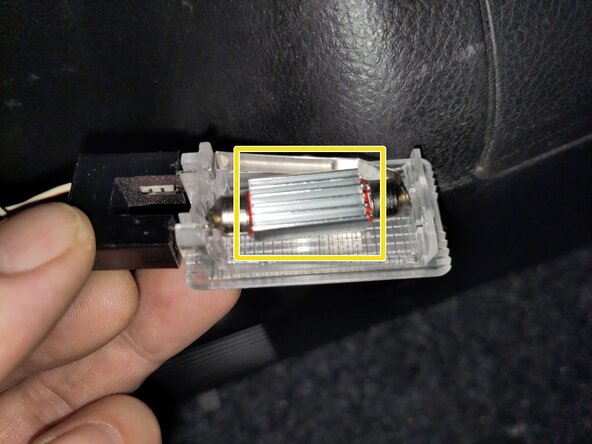
    2. 2010-2017 Suzuki Swift Trunk Light Replacement, replace the light bulb: step 3, image 1 of 3 2010-2017 Suzuki Swift Trunk Light Replacement, replace the light bulb: step 3, image 2 of 3 2010-2017 Suzuki Swift Trunk Light Replacement, replace the light bulb: step 3, image 3 of 3
      • Push the right side of light bulb up to remove it from the fitting.

      • Insert the new bulb by pushing in one end in the flexible end of the fitting, and pushing in the other side next.

      • If you are using a LED light, make sure you turn the lights towards the lens after installation

      Ask FixBot

      Add Comment

Conclusion

To reassemble your device, follow these instructions in reverse order.

Cancel: I did not complete this guide.

One other person completed this guide.

knipwim

Member since: 09/01/18

16,366 Reputation

45 Guides authored

0 Guide Comments

Add Comment

View Statistics:

Past 24 Hours: 3

Past 7 Days: 25

Past 30 Days: 127

All Time: 842