Introduction
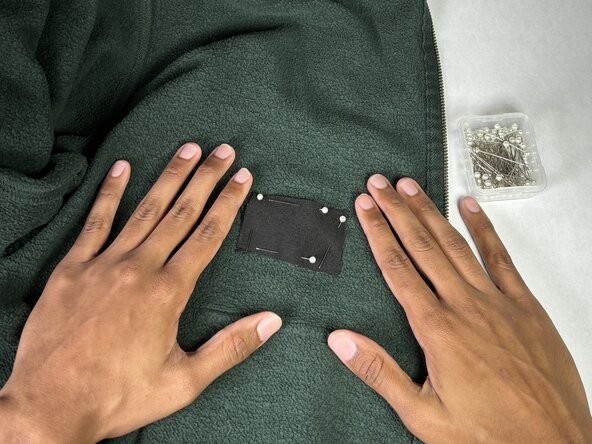
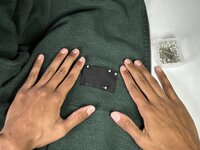
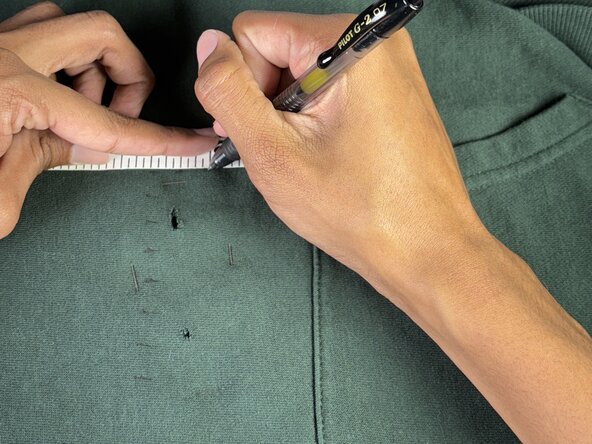
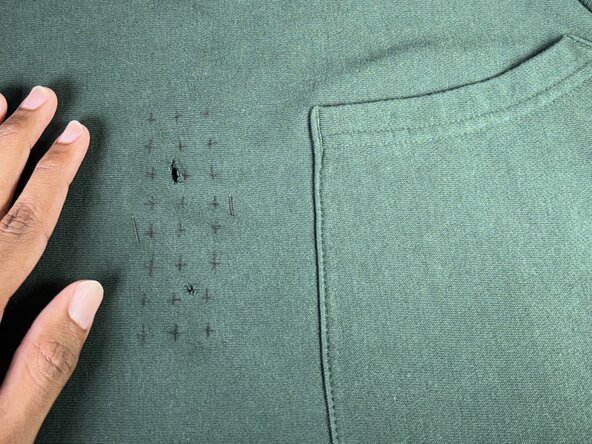
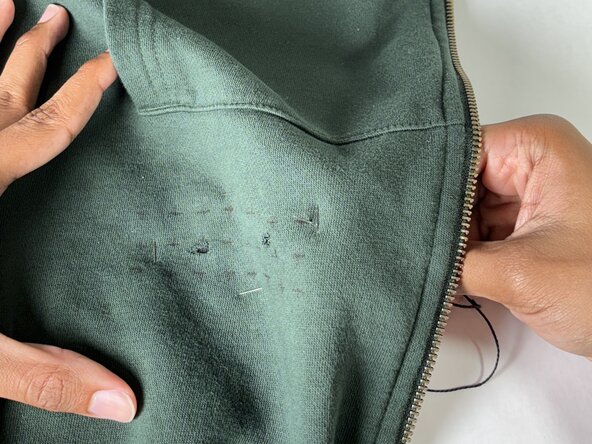
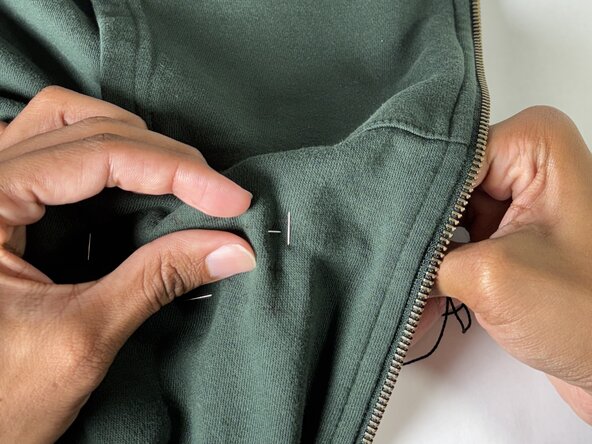
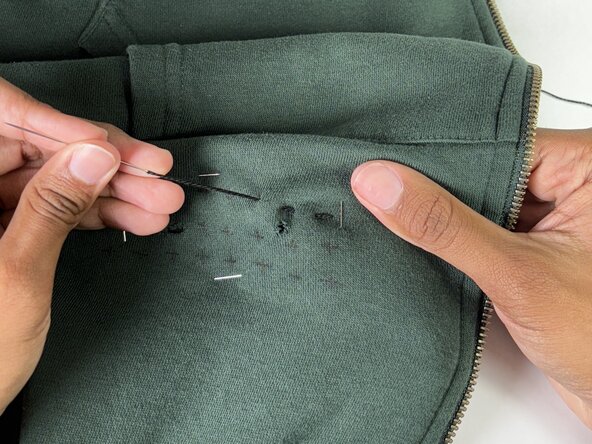
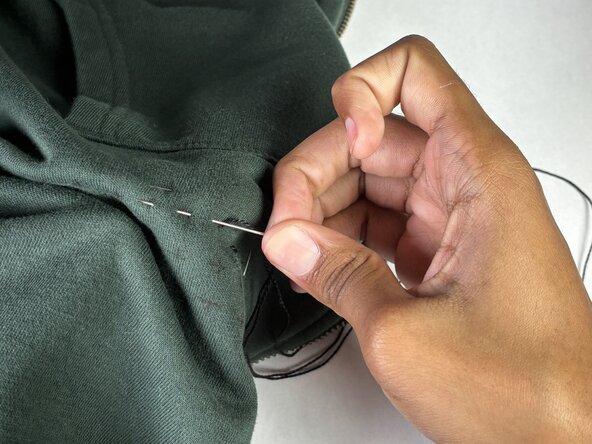
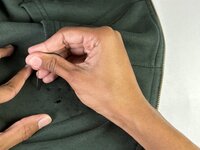
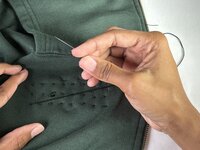
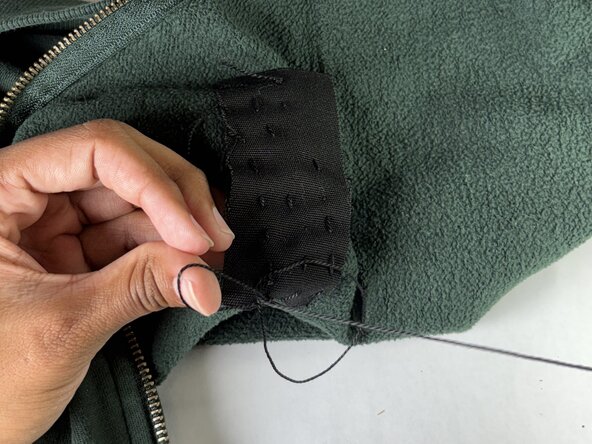
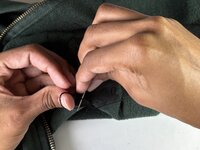
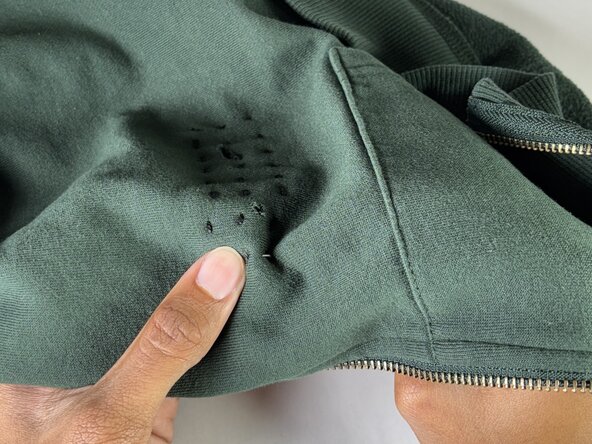
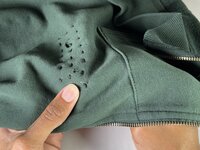
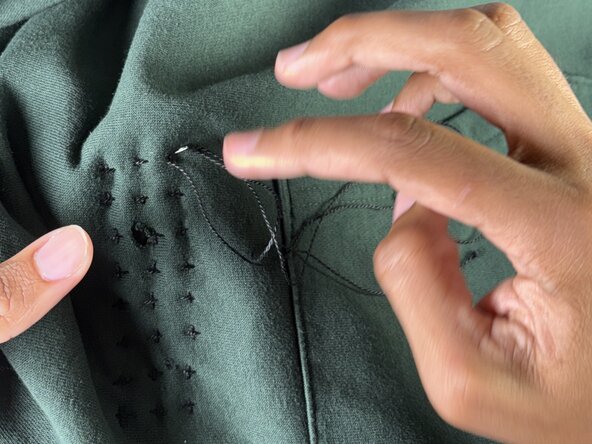
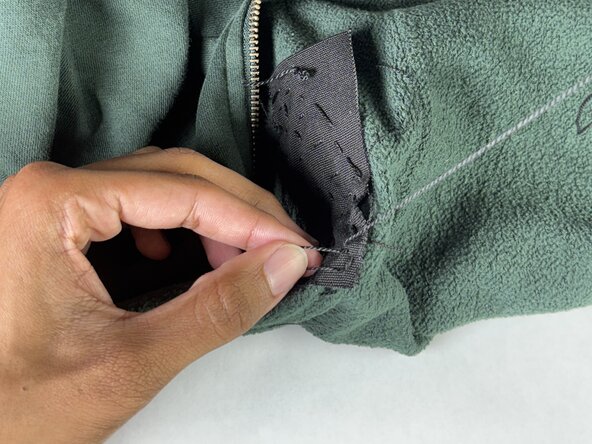
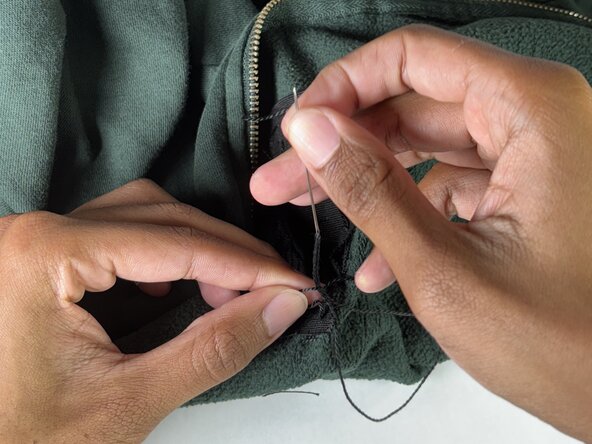
If your garment has a tear or hole, don’t throw it away! Instead, use this guide to repair it with Sashiko stitching, a traditional Japanese embroidery technique that reinforces fabric while adding a unique decorative touch. This method not only extends the life of your clothing, but also embraces sustainable fashion by reducing waste and encouraging creativity.
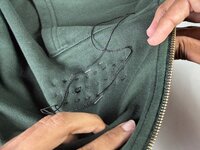
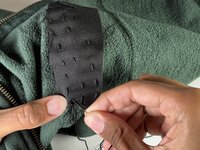
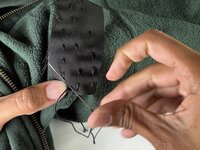
While this guide focuses on mending a sweatshirt, Sashiko stitching can be used to repair any article of clothing and it works particularly well with denim, cotton, and other woven fabrics. The stitch pattern reinforces worn areas, preventing further fraying, while transforming a simple repair into a bold design. There are no special skills necessary for this fix as this guide covers a beginner friendly approach. If you would like to explore more advanced designs, we would recommend the following resources: Up Cycle Stitches, Waste Free Planet, Seam Work.
What you need


You have now successfully mended your garment! Revisit this guide to mend other garments with any holes or tears.
Cancel: I did not complete this guide.
One other person completed this guide.

Team

UC Davis, Team 3-5, Andersen Winter 2025 Member of UC Davis, Team 3-5, Andersen Winter 2025
UCD-ANDERSEN-W25S3G5
3 Members
1 Guide authored