Introduction
Maybe you know that Koss has a lifetime guaranty but though that I live in Germany it takes some time and money to send it to the US. So I decided to replace it myself and be able to replace the original cable with a long lasting one.
What you need
-
-
You will need:
-
A cable with a 3.5mm stereo plug at one end
-
Side cutting nippers
-
(precision)solder with soldering tin
-
-
-
The first step is to remove the earphones from the rack. It's very easy because they are only clipped in. Put one finger between the rack and the phone and slowly pull to remove it.
-
You should also remove the protection pads for further steps
-
With the help of a flathead screwdriver remove the blue case that sits upon the connectors. Be careful with that step and lift it from both sides bit by bit
-
Notice some sort of glue patch between the connectors. DO NOT TRY TO REMOVE THIS GLUE as it protects two very small wires that take the signal from the connectors to the earphones on the other side.
-
-
-
-
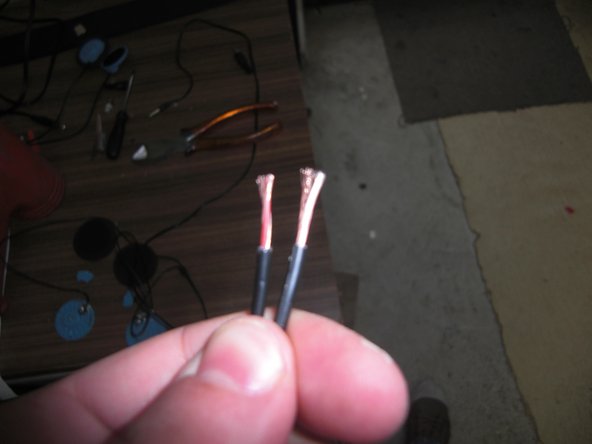
Cut the with the side cutting nippers behind the (cinch)plugs
-
remove about 1,5cm of insulation
-
part each 2 wires of each cable
-
As in the picture one cable is not extra insulated this is in my case the ground. The other one carries the signal.
-
Edit: The replacement cable in the pictures had problems... sadly. I think it was because of the long jack-plug. But I found some old apple In-Ear phones with a microphone and used that cable. Now I've got even a microphone on my koss Porta pro!
-
-
-
Put some soldering tin on the endings of the deinsulated cables
-
unsold the original cable from the earphones
-
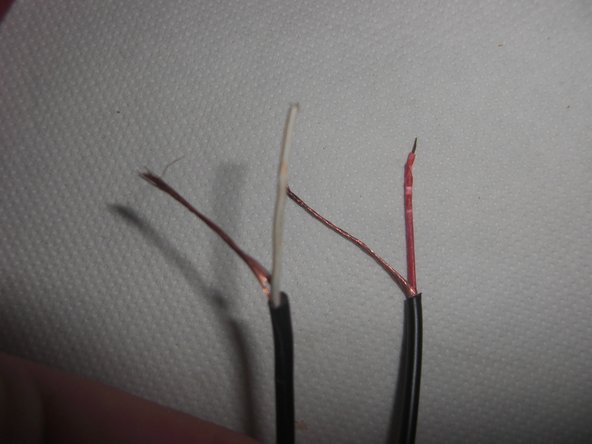
As you can see the right connection has a red dot. This is where you have to sold the cable that carries the signal(In the first picture the insulated one)
-
Arrange the cables before soldering like in the second picture. This formation seems like the best to fix the cable best
-
Sold them and put everything together again. Try this http://www.youtube.com/watch?v=e8ODm-F9-... to find out where to clip them into the rack again :)
-