Free Shipping on Domestic Orders $75+

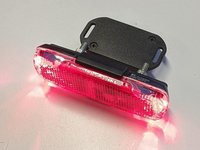
Busch + Müller Toplight 2C permanent battery replacement

Views: 4.1K

View statistics:

Past 24 Hours:
2
Past 7 Days:
38
Past 30 Days:
193
All Time:
4,119
Comments: 0

No one has left comments on this guide. Will you be first?

Go to guide comments
Completed: 1

1 person has marked this guide "completed." Will you be next?

Favorites: 0

No one has favorited (and subscribed to) this guide. Will you be the first?

Time Required: 2 hours
Difficulty: Difficult
Featured Guide

This guide has been found to be exceptionally cool by the iFixit staff.

Community-Contributed Guide

An awesome member of our community made this guide. It was not created by iFixit staff.

Busch + Müller Toplight 2C permanent battery replacement

Introduction

Go to step 1 ↓

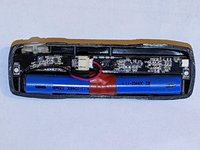
The manufacturer told me by email that the device is not repairable. We are doing it anyway. The cost of a new better battery is about half the purchase value for a new lamp.
The housing has a waterproof ultrasonic weld. To open the housing, it must be sawed open or destroyed. Subsequently, it is glued back together so that it becomes watertight.

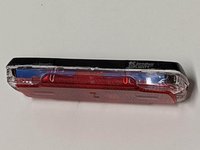
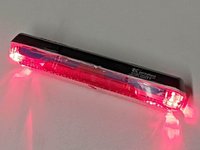
Busch + Müller Toplight 2C permanent

    1. Busch + Müller Toplight 2C permanent battery replacement, Sawing to open the housing: step 1, image 1 of 2 Busch + Müller Toplight 2C permanent battery replacement, Sawing to open the housing: step 1, image 2 of 2
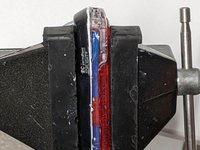
      • Saw the lamp along the ultrasonic welding seam with a fine saw (e.g. Japanese saw).

      • A total of four straight cuts must be made

      • Saw carefully so that the electronics or the battery do not get damaged

      Ask FixBot

      Add Comment

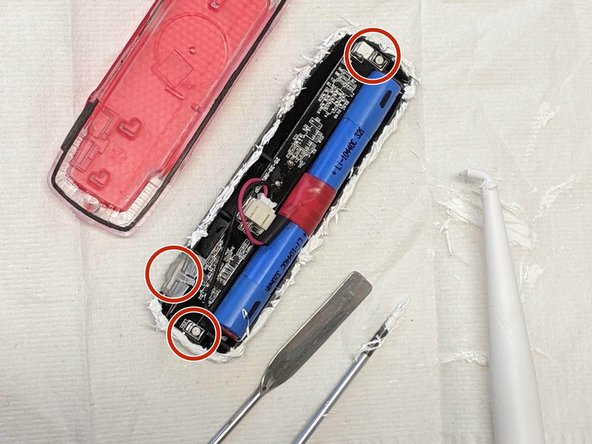
    2. Busch + Müller Toplight 2C permanent battery replacement, Open housing: step 2, image 1 of 3 Busch + Müller Toplight 2C permanent battery replacement, Open housing: step 2, image 2 of 3 Busch + Müller Toplight 2C permanent battery replacement, Open housing: step 2, image 3 of 3
      • The housing should fall apart into two halves after sawing

      Ask FixBot

      Add Comment

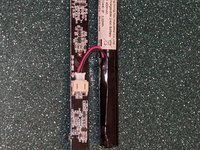
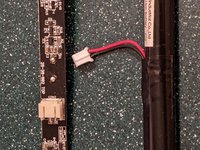
    3. Busch + Müller Toplight 2C permanent battery replacement, Remove battery: step 3, image 1 of 2 Busch + Müller Toplight 2C permanent battery replacement, Remove battery: step 3, image 2 of 2
      • Pull the old battery out of the socket

      • The plug may be relatively tight in the socket. Simply wiggle it until it can be pulled out or use pliers

      Ask FixBot

      Add Comment

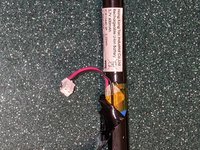
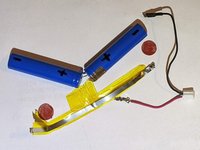
    4. Busch + Müller Toplight 2C permanent battery replacement, Disassemble & recycle battery: step 4, image 1 of 3 Busch + Müller Toplight 2C permanent battery replacement, Disassemble & recycle battery: step 4, image 2 of 3 Busch + Müller Toplight 2C permanent battery replacement, Disassemble & recycle battery: step 4, image 3 of 3
      • Under the black foil there are two Li-Io cells in AAA size.

      • At the two outer ends are the negative terminals, which are connected with a metal clip

      • Remove the round stickers and the long metal clip

      • Remove the cables including the socket

      Ask FixBot

      Add Comment

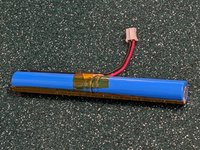
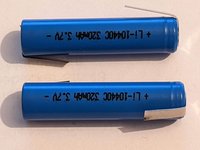
    5. Busch + Müller Toplight 2C permanent battery replacement, Prepare new batteries: step 5, image 1 of 3 Busch + Müller Toplight 2C permanent battery replacement, Prepare new batteries: step 5, image 2 of 3 Busch + Müller Toplight 2C permanent battery replacement, Prepare new batteries: step 5, image 3 of 3
      • Buy 2x ICR10440 with solder tag

      • (The batteries used here are ICR10440; 3,7V each 320mAh with Z-solder tag)

      • Put the batteries with the positive side to each other and solder the lugs

      • Now solder the red connection cable

      Ask FixBot

      Add Comment

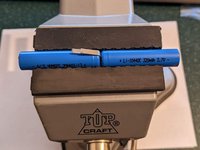
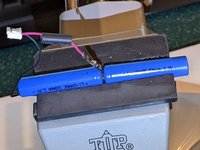
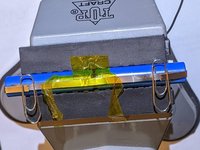
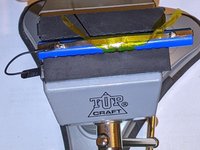
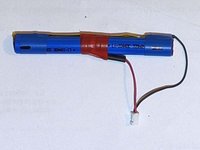
    6. Busch + Müller Toplight 2C permanent battery replacement, Soldering and packing new batteries together: step 6, image 1 of 3 Busch + Müller Toplight 2C permanent battery replacement, Soldering and packing new batteries together: step 6, image 2 of 3 Busch + Müller Toplight 2C permanent battery replacement, Soldering and packing new batteries together: step 6, image 3 of 3
      • The outer solder lugs are soldered to the sheet metal (paper clip as soldering aid).

      • The black connection cable is also soldered to the sheet metal

      • Stick the yellow adhesive tape on the open contacts

      • Stick the circular red stickers on the outer positive terminals again

      • Fix the new battery pack with insulating tape.

      Ask FixBot

      Add Comment

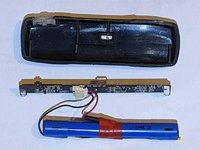
    7. Busch + Müller Toplight 2C permanent battery replacement, Assembly / Mounting: step 7, image 1 of 3 Busch + Müller Toplight 2C permanent battery replacement, Assembly / Mounting: step 7, image 2 of 3 Busch + Müller Toplight 2C permanent battery replacement, Assembly / Mounting: step 7, image 3 of 3
      • Plug the power connector into the socket of the board

      • Insert the board into the black housing with the USB socket pointing downwards

      • Put on the reflector

      • To make the housing watertight again, the previously sawed seam must be glued together with a gap-filling adhesive. This can be done for example with Sikaflex

      Ask FixBot

      Add Comment

    8. Busch + Müller Toplight 2C permanent battery replacement, Bonding the housing: step 8, image 1 of 3 Busch + Müller Toplight 2C permanent battery replacement, Bonding the housing: step 8, image 2 of 3 Busch + Müller Toplight 2C permanent battery replacement, Bonding the housing: step 8, image 3 of 3
      • Apply glue carefully along the contour (e.g. Sikaflex)

      • Make sure that the LEDs and the switch remain clean.

      • Close the housing and let the glue harden.

      Ask FixBot

      Add Comment

    9. Busch + Müller Toplight 2C permanent battery replacement, Ready, function test: step 9, image 1 of 3 Busch + Müller Toplight 2C permanent battery replacement, Ready, function test: step 9, image 2 of 3 Busch + Müller Toplight 2C permanent battery replacement, Ready, function test: step 9, image 3 of 3
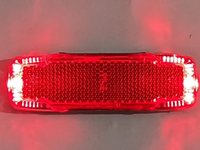
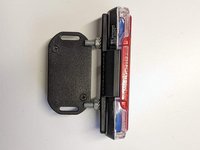
      • Clip the lamp into the holder

      Ask FixBot

      Add Comment

Conclusion

Work through the steps in reverse order to reassemble your device.

Cancel: I did not complete this guide.

One other person completed this guide.

Special thanks to these translators:

de en

100%

oldturkey03 is helping us fix the world! Want to contribute?
Start translating ›

Fritz

Member since: 07/11/17

198 Reputation

1 Guide authored

0 Guide Comments

Add Comment

View Statistics:

Past 24 Hours: 2

Past 7 Days: 38

Past 30 Days: 193

All Time: 4,119