Video Overview
-
-
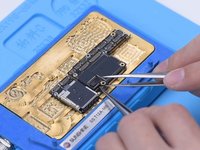
First of all, let’s check the motherboard. The motherboard is not deformed or water damaged.
-
Then we install the motherboard to test. Connect the display and battery. Turn on the phone. The touch screen is not working.
-
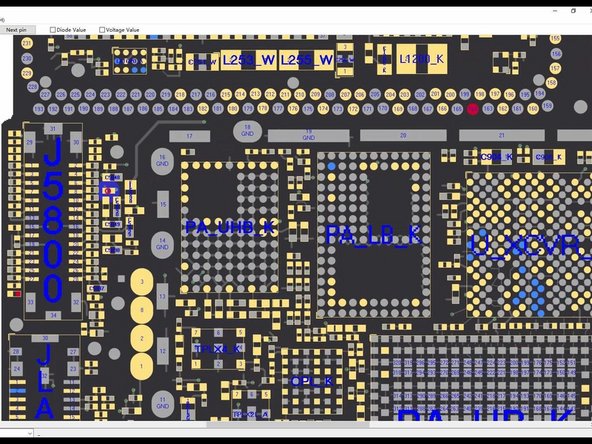
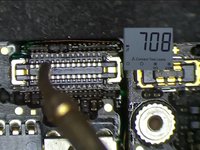
Next, we measure the touch connector. Pin 21 of the connector is found to be open-circuited, which indicates that the circuit connected to pin 21 is faulty.
-
-
-
Open the bitmap. Pin 21 is connected to resistor R5842. R5842 is a safety resistor, so the two ends are connected. We need to measure the resistor to see if it is damaged.
-
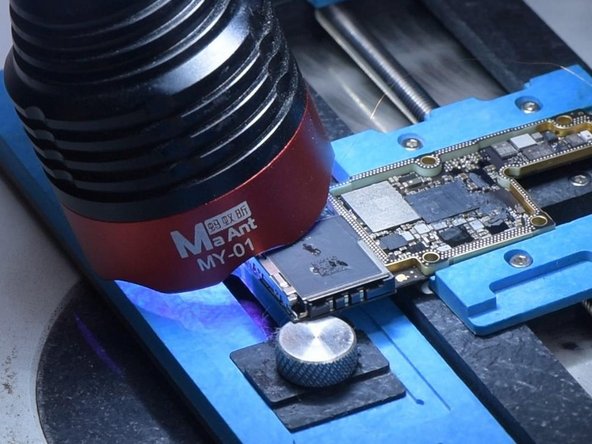
Attach the motherboard to the holder. Heat with Hot Air Gun at 260 °C and airflow 2 to remove the black adhesive.
-
Measure with the multimeter. The resistor is found to be good. It can be judged that the fault is not caused by the resistor. The fault should be in the circuit of the middle layer.
-
-
-
Tool used on this step:Tweezers$4.99
-
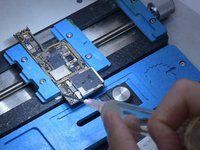
Then we separate the motherboard. Put the motherboard on the 160 °C Heating Platform to heat. After about one minute, remove the logic board and signal board with tweezers. It can be seen that the motherboard has been separated before.
-
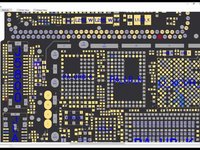
Open the bitmap. The other end of the resistor is connected to the power IC through the middle layer. Therefore we need to measure the circuit on the logic board firstly. The value of resistance is normal.
-
Then we measure the circuit between the signal board and the touch connector. The value of resistance is 1
-
-
-
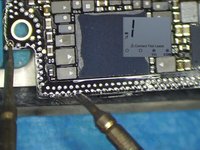
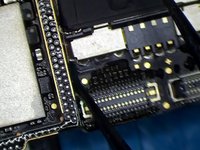
The circuit is open-circuited. Then we repair by jumping wire. Apply some Paste Flux to the resistor. Solder the copper wire to the resistor with Soldering Iron at 360 °C.
-
Because the two ends are too far apart, we need to fix the copper wire in the first place. Apply some Solder Mask. Solidify with UV Lamp. Check if the solder mask is solidified with tweezers. Next, fix the remaining copper wire with Solder Mask.
-
Cut the copper wire. Solder one end of the copper wire to the signal board. Measure with the multimeter. The value of resistance is 0, which indicates that the circuit between the touch connector and signal board is connected. Solidify pads on the signal board with Solder Mask. Scrape to show the pads. Clean the bonding pads with PCB Cleaner.
-
-
-
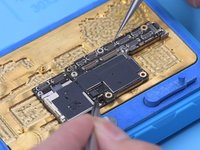
Then we recombine the signal board with the logic board in a direct way. Put the signal board on the 160 °C Heating Platform to heat. Apply some Paste Flux to the bonding pad. Put the logic board in position. Press gently with tweezers during heating. After about a minute, remove the motherboard.
-
Measure pin 21 of the connector after the motherboard has cooled. The value of resistance returns to normal. Install the motherboard to test. The touch screen works well.
-


To reassemble your device, follow these instructions in reverse order.
