Introduction
Use this guide to replace a worn or faulty gasket in your water bottle.
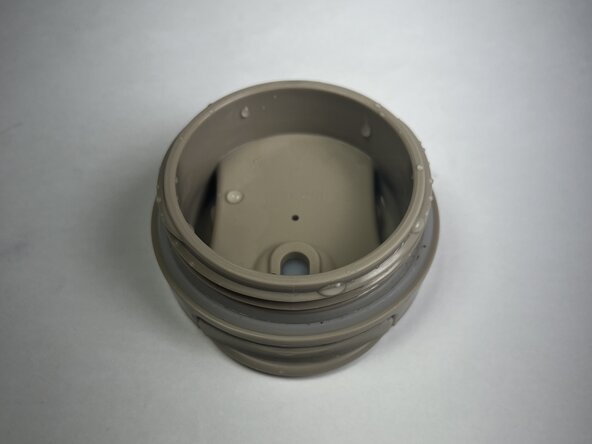
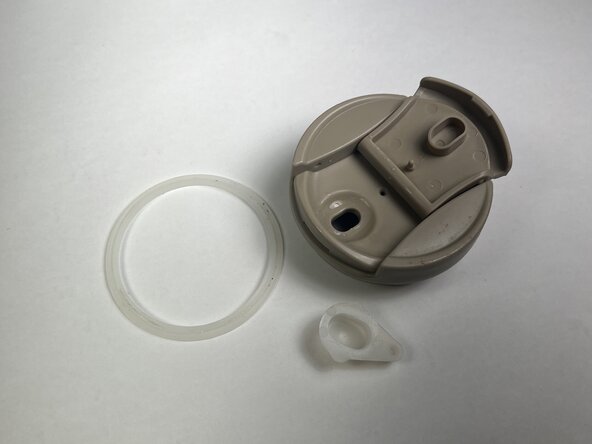
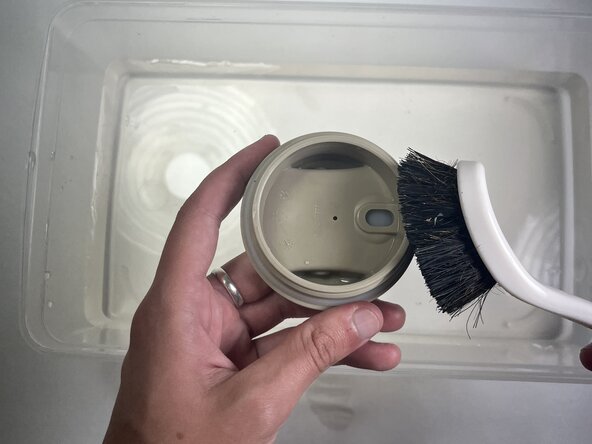
The gasket (also called an O-ring) is a ring-shaped piece of silicone that sits inside the lid and helps seal the connection between the lid and the bottle, filling in tiny gaps where water or air could escape. Over time, gaskets can wear down, become loose, or crack—causing the bottle to leak from the lid.
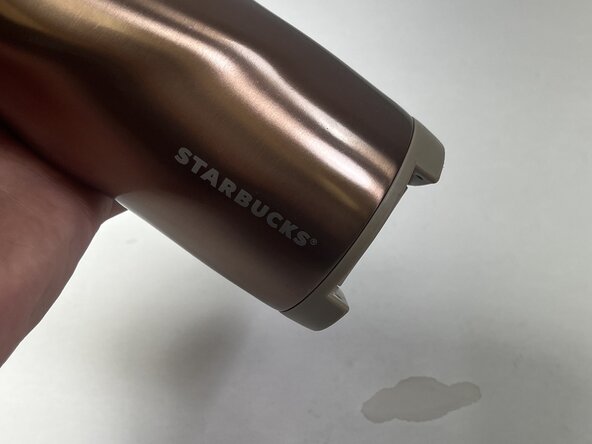
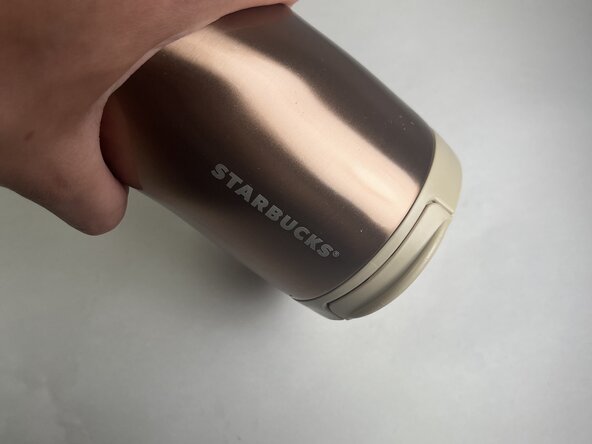
This guide features a Starbucks Twisted Thermal Bottle with a 3-inch diameter gasket, but the same steps can be applied to any leaking water bottle with a similar gasket design.
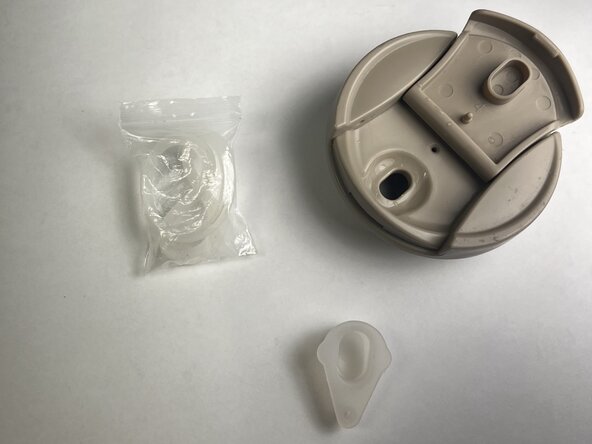
What you need


We hope this simple and practical guide helps people to give new life to their water bottles. This guide focuses on making this repair easy, accessible, and affordable with tools available at home. We believe that this repair is a great way to keep your bottle in use, and out of landfills for years to come. Thank you for reading our guide, happy fixing!
Cancel: I did not complete this guide.
3 other people completed this guide.

Team

UC Davis, Team 2-1, Whithaus Spring 2025 Member of UC Davis, Team 2-1, Whithaus Spring 2025
UCD-WHITHAUS-S25S2G1
3 Members
1 Guide authored