Introduction
In this guide, we will show you how to take apart the mouse carefully and how to readjust a deformed microswitch contact plate in order to get some more life out of the component. We will then demonstrate how to switch the contact plate from the right to the left, as the right one is generally used much less and will therefore likely have a longer lifespan before needing full replacement.
This guide can also be used as a basic disassembly guide in order to access the clicker for a full microswitch replacement. Follow this guide to fix a common double-clicking issue for the Roccat Kova gaming mouse. In order for the mouse to function properly, this fix is fundamental for the longevity of the mouse.
This guide applies only to the Roccat Kova gaming mouse, but should work for many different mice.
What you need
-
-
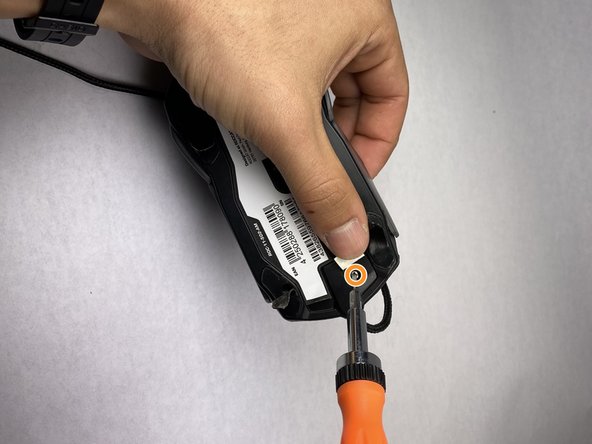
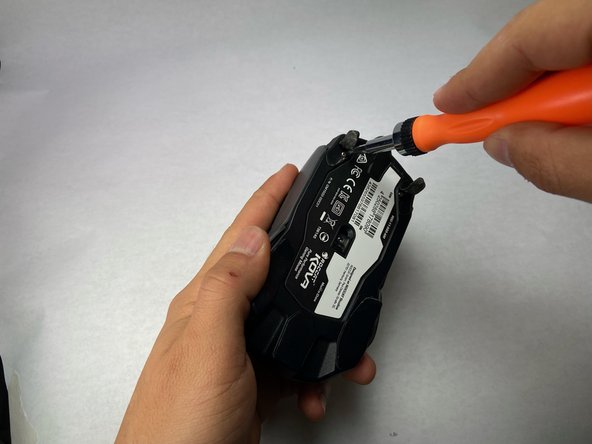
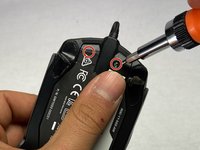
Turn the Roccat Kova over, with the bottom facing up.
-
-
-
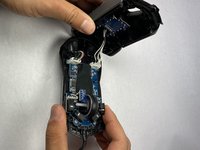
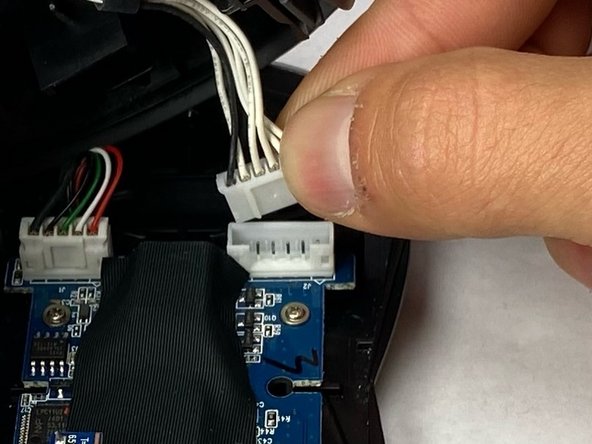
After unscrewing the mouse, you will be able to pull the two halves of the mouse apart. Open the mouse carefully until you are able to see the white wires that connect the top case of the mouse to the bottom housing.
-
Carefully set the mouse on your work surface. Move the top casing of the mouse to the side, giving you an unobstructed workspace on the bottom housing.
-
-
-
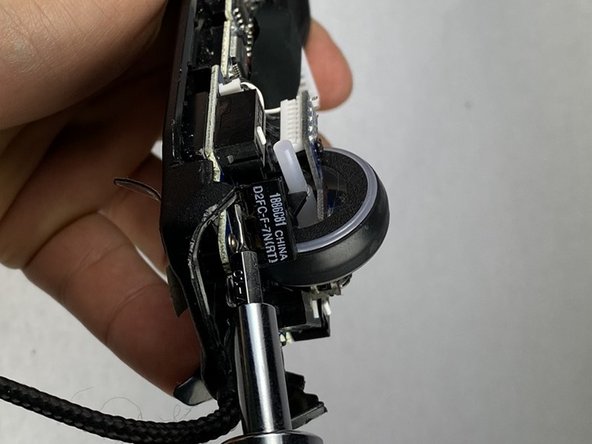
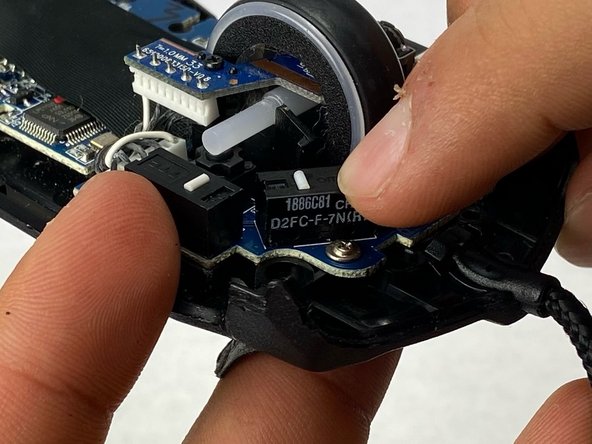
Locate the four microswitch boxes at the front edge of the mouse.
-
Each have a little white dash (clicking dash) in the middle.
-
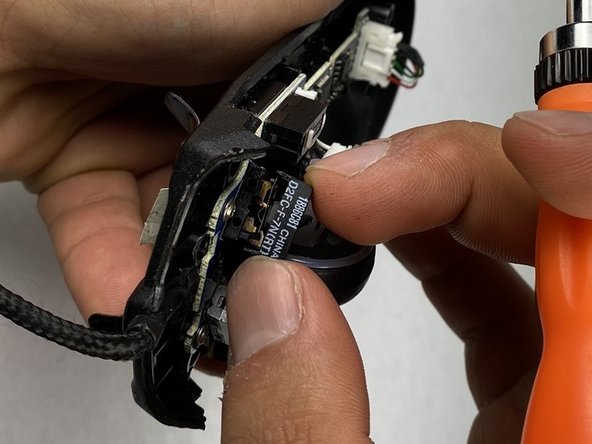
Focus on the two front microswitch boxes and locate the microswitch under the clicker that has been malfunctioning. If you are not sure which is malfunctioning, look for damage, dirt, or a loose connection.
-
-
-
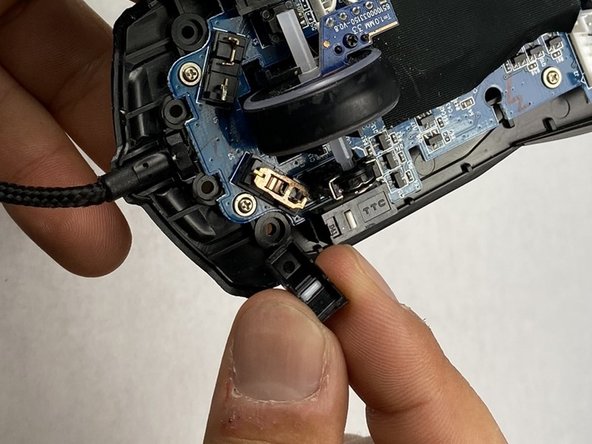
Grab the deformed contact plate from under the broken clicker.
-
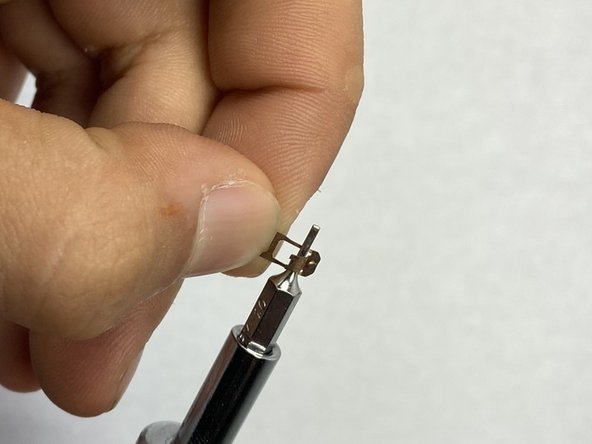
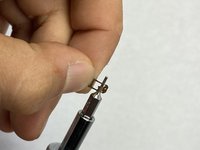
Insert a thin flat headed (1.0 mm) screwdriver in the arched metal area, and give it a little push as if you are trying to open that arched door.
-
Gently, push the arched area to an angle of 45-80 degrees to try to reinstall its integrity of functioning.
-


Now that you have repaired your mouse, you have extended its lifespan and corrected any clicking issues. Please let us know if you have any questions, and if there are any suggestions or feedback.
Cancel: I did not complete this guide.
4 other people completed this guide.

Team

UC Davis, Team 2-1, Morris Spring 2024 Member of UC Davis, Team 2-1, Morris Spring 2024
UCD-MORRIS-S24S2G1
3 Members
1 Guide authored
3 Guide Comments
Excellent, thank you very much! This helped me open the mouse. Didn't realize there are two more screws under the sticker.
However, I replaced the switches. There are ones that are 50M rated. They should last much longer that the 5M ones the mouse came with.
The six screws under the mouse supriesed me. Couldn't do the bend correcly so I soldered just a new switch, works perfectly. Non then less, thanks ifixit for the guide. It's a quite rare mouse and it's good to see that for this type of devices there is a repair guide.