Introduction
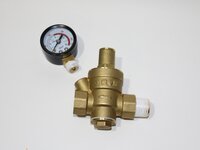
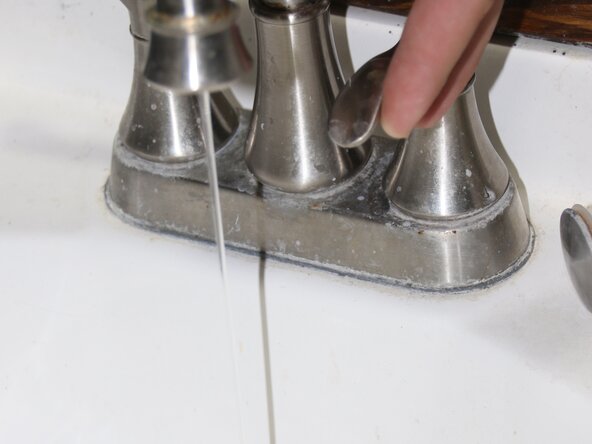
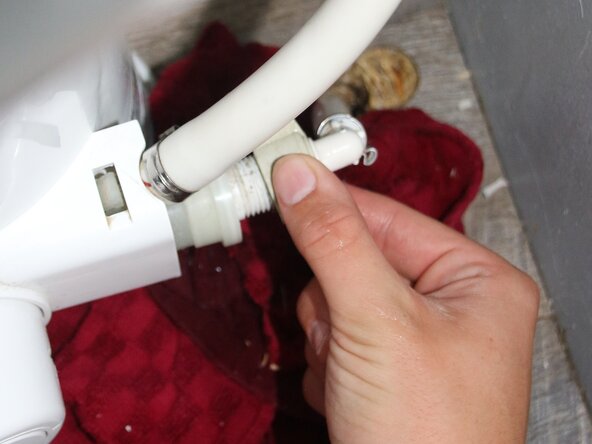
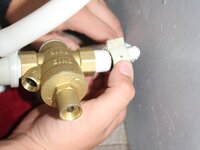
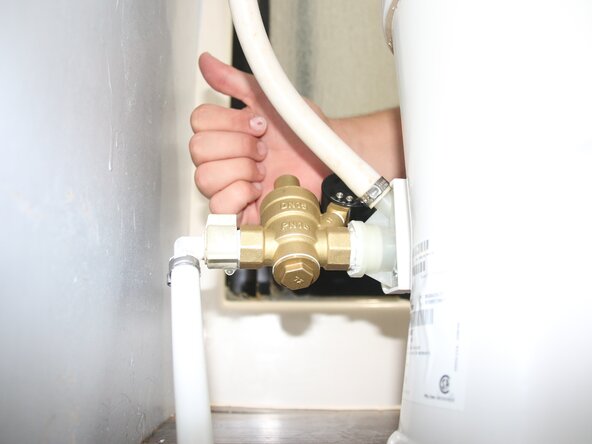
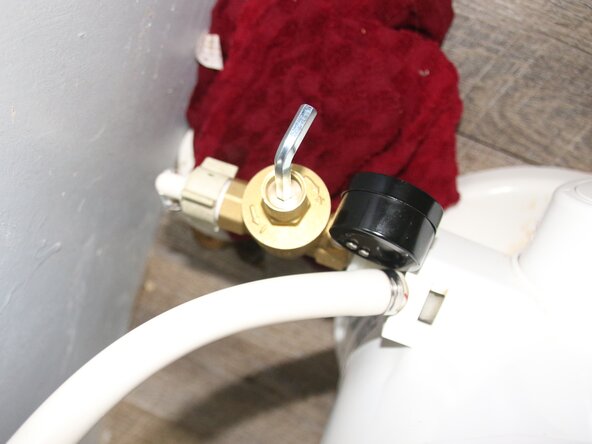
If your RV toilet sprays water outside the bowl when flushing, the water pressure may be too high. Installing a water pressure regulator will reduce the toilet’s pressure without lowering water pressure to the rest of your RV.
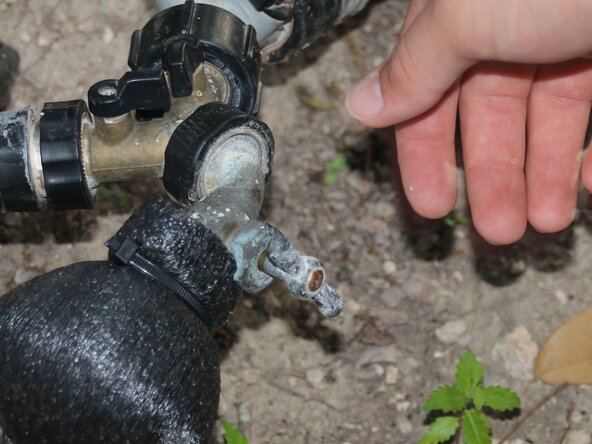
This repair is straightforward and doesn’t require special skills, but you will need to know how to turn off the RV’s water supply before starting. Some regulators include a wrench and hex key, so check before buying extra tools. Refer to your RV manual for details about your specific system.
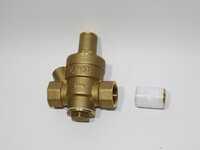
What you need
-
-
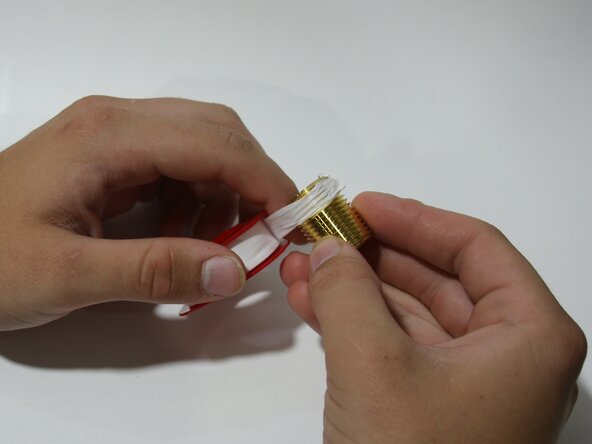
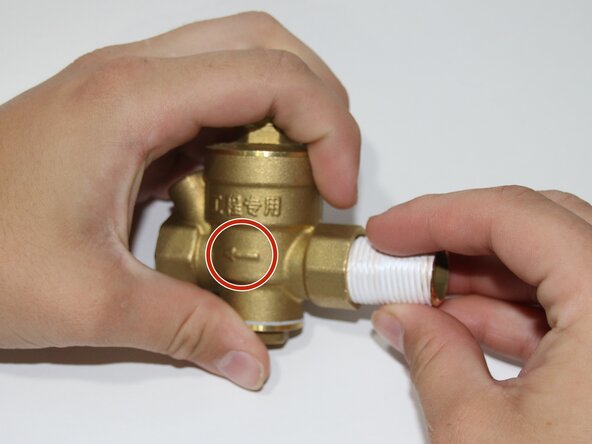
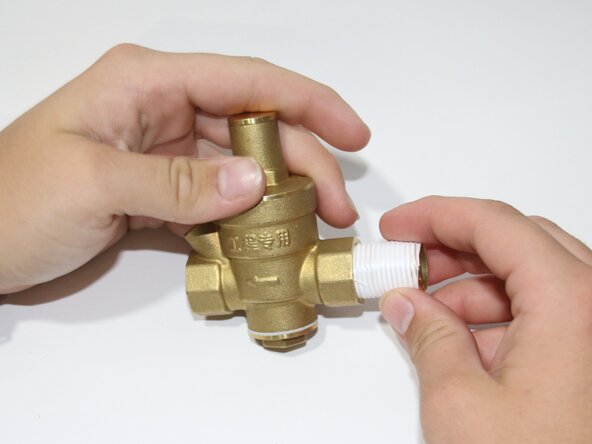
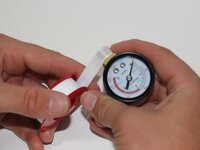
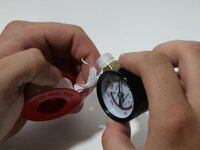
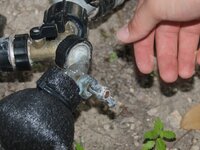
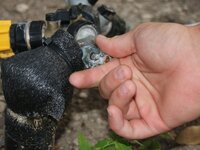
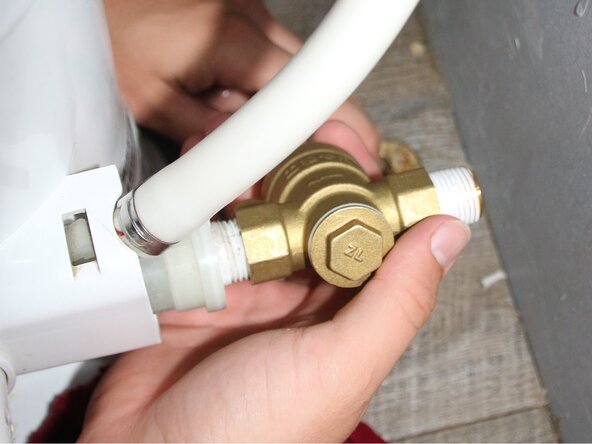
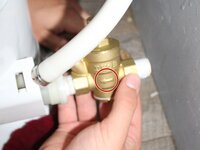
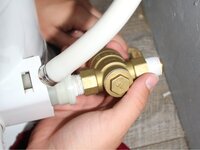
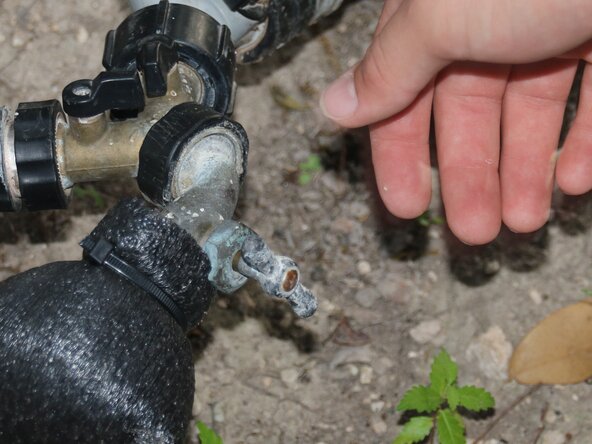
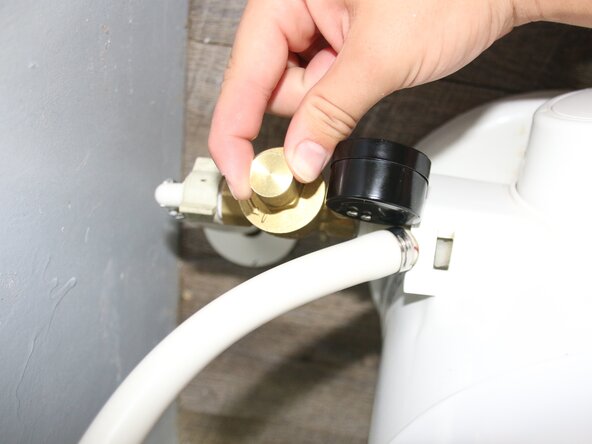
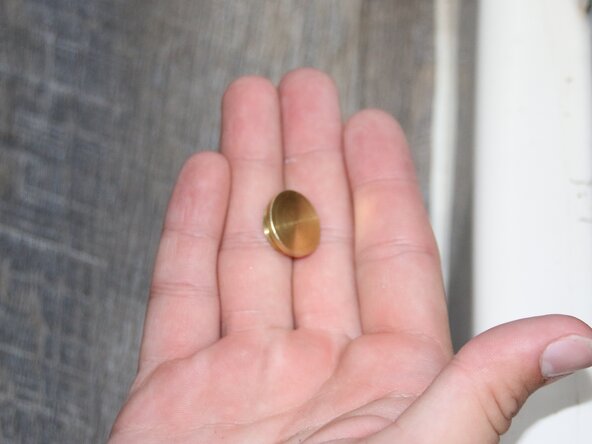
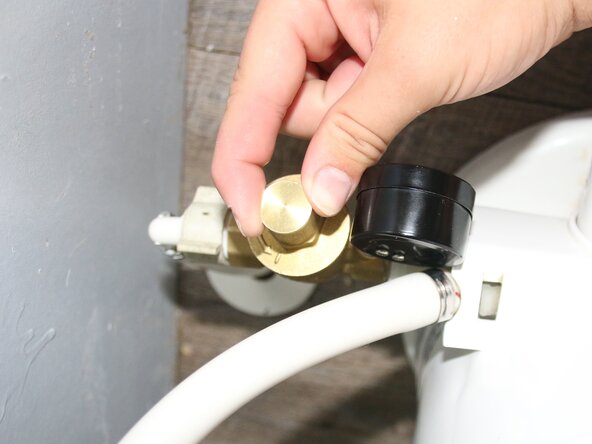
Wrap the thread tape around the 1/2" nipple, 2-3 times in a counter-clockwise motion.
-
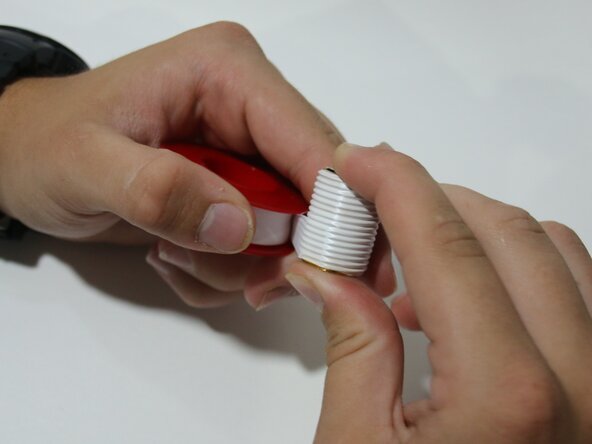
Make sure the nipple is fully covered, but the ends are open.
-
-
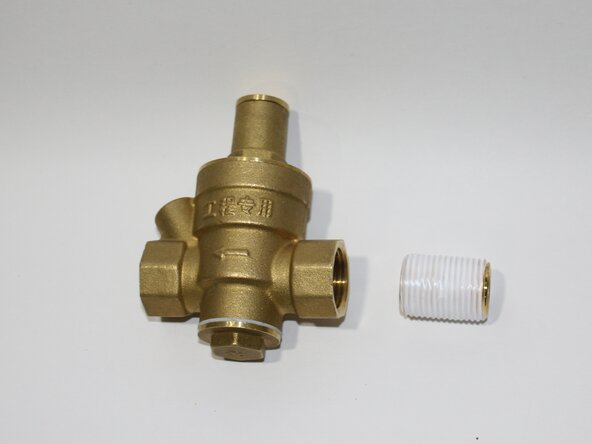


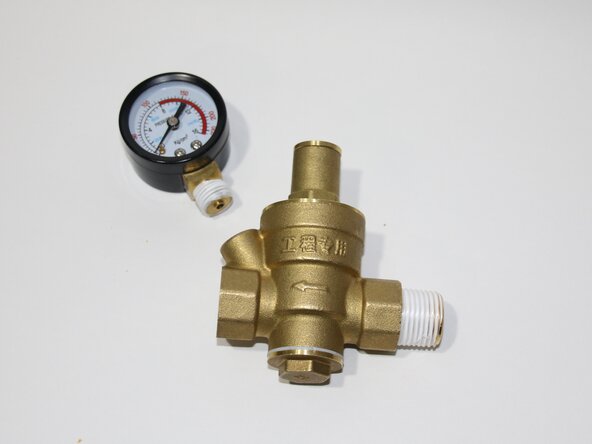


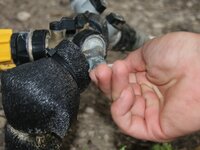


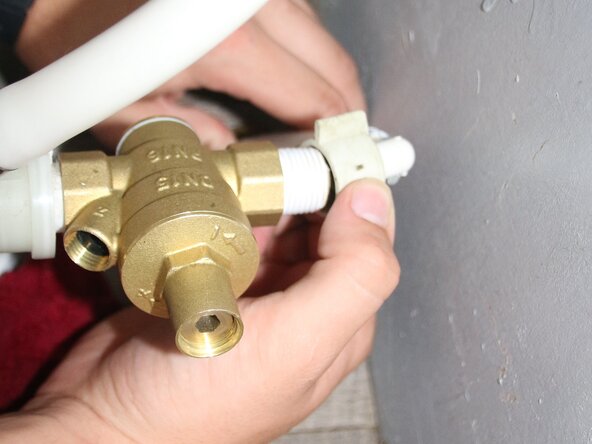
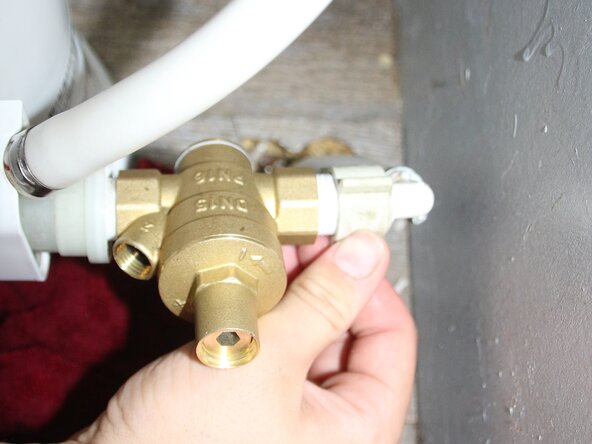


To reassemble your device, follow these instructions in reverse order.

Team

Austin Community College, Team 1-7, Kapoor Summer 2025 Member of Austin Community College, Team 1-7, Kapoor Summer 2025
AUSTINCC-KAPOOR-SU25S1G7
1 Member
1 Guide authored