How to Fix Joy-Con Drift Without Disassembly

Weijie Chen and 7 other contributors
Last updated on May 7, 2024
Views: 116K
View statistics:
- Past 24 Hours:
- 28
- Past 7 Days:
- 228
- Past 30 Days:
- 1,213
- All Time:
- 116,085
Comments: 3
1 comment on steps, 2 guide comments.
Go to guide commentsCompleted: 42 43
42 people have marked this guide "completed." Will you be next?
43 people have marked this guide "completed." Including you — great job!
Favorites: 9 10
9 people have favorited (and subscribed to) this guide. Will you be next?
10 people have favorited (and subscribed to) this guide — including you!
Introduction
Go to step 1 ↓This guide shows how to fix Joy-Con drift for the Nintendo Switch Joy-Cons.
Joy-Con drift is when the Nintendo Switch thinks that the analog stick (also known as the joystick, controller stick, or thumbstick) of the Joy-Con is moving, but it isn't.
Joy-Con drift may occur as you use the Joy-Cons over time from dust and debris building up. You do not need to disassemble the Joy-Con for this repair. In addition, this guide will not corrode any parts of your Joy-Con controller.
Please note this repair is temporary and will last only a certain amount of time.
What you need
Tools

-
-
-
Press and hold the black round button on the back of the Joy-Con, then slide it forward to remove.
 Ask FixBot
-
-
-
Tool used on this step:Tweezers$4.99
-
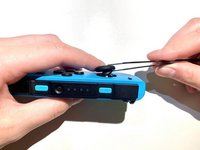
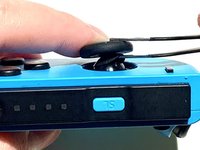
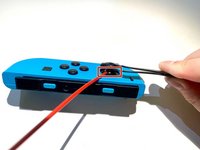
Use tweezers to lift the rubber ring under the Joy Stick, and hold.
-
-
-
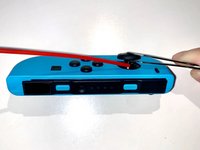
Aim the contact cleaner's nozzle at the gap and spray 404B contact cleaner once or twice.
-
-
-
Rotate the Joy Stick for 30 seconds to allow full penetration of the liquid inside.
-
-
-
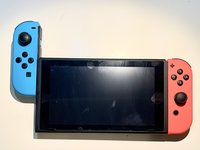
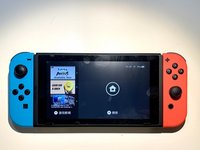
Insert the Joy-Con back into the Switch to test the Joy-Con.
-
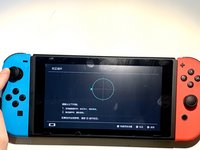
Navigate to System Settings > Controllers and Sensors > Calibrate Control Sticks.
-
Follow the on-screen prompts on your Switch.
-
-






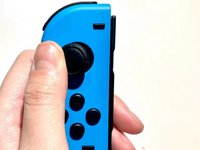
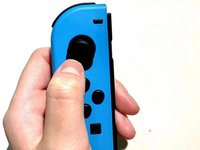
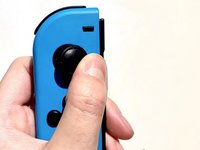


Enjoy your Joy-Con being able to work properly again!
Cancel: I did not complete this guide.
42 other people completed this guide.