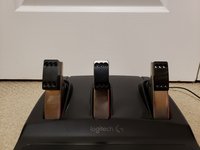
Introduction
If your Logitech G29 pedals are inputting inaccurate readings, this is mostly due to the potentiometer and its connections. Since the pedals live on the ground, dust and hair/fur can accumulate in the potentiometer, which will create unintended input from the pedal. Improper connections of the wires to the terminals are also common issues, as well as the ground loop. Use this guide to diagnose and fix the connections and/or potentiometer of the pedal in question.
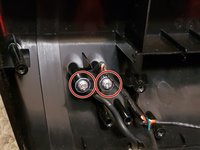
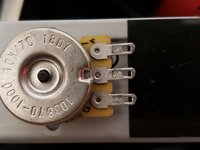
The potentiometer is responsible for getting a reading of the extent that the pedal is being pressed, while the potentiometer connections and cable is responsible for relaying this info to the computer/application. Therefore either or both of these components can result in inaccurate readings from the pedal.
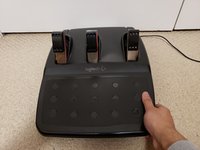
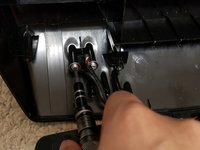
Before beginning, make the sure pedals are unplugged from the wheel.
What you need
-
-
Remove the four 30 mm screws from the left and middle pedals using a 1/8 hex key.
-
Remove the two 16.3 mm screws from the right pedal using a 1/8 hex key.
-
Pull the silver pedal plates off of each pedal.
-
-
-
-
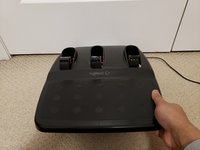
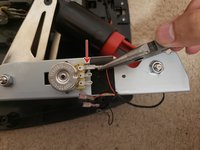
Flip the pedal set onto its side.
-
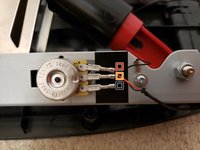
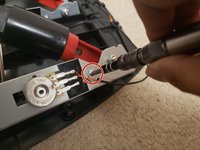
Using a Phillips #1 screwdriver, remove the four 15.8 mm screws corresponding to the pedal you want to fix.
-
In this guide, I will be working on the gas pedal only. The process is the same for each pedal.
-
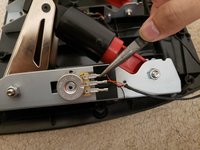
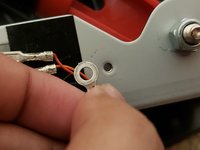
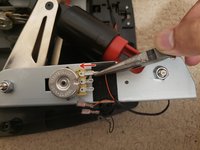
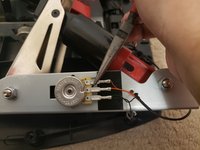
Once the four screws are removed, you can remove the pedal from the base to get a clearer view and access to the potentiometer and its connections.
-


To reassemble your device, follow steps 1-5 in reverse order.
Cancel: I did not complete this guide.
18 other people completed this guide.
Team

York University, Team S-27, Woodhouse Winter 2022 Member of York University, Team S-27, Woodhouse Winter 2022
YORK-WOODHOUSE-W22SSG27
1 Member
5 Guides authored
19 Guide Comments
Jeremy thank you so much for the information very helpful. I have a question what if I was wanting to have my throttle to run wide open when I get off the throttle and decelerate when I push down on the throttle kinda like a dozer there for not wanting to have to push on the throttle all the time
This could be achieved through software rather then altering the pedals itself. Most games or software will provide you with options to customize the functionality of pedals, that way you can invert the input so 0input=full throttle and 100input=no throttle. If you cant do this through software, you could swap the 5v and ground connections which are the connections not in the middle. This will reverse the voltage reading for the potentiometer, then the throttle will be wide open by default, and decelerate when you press the pedal.
Thank you Jeremy so much I will try to do this.
Im having a problem where the throttle accelerates wide open when i let off the pedal but when i push on the pedal it decelerates, how can i fix this?
Im having a problem where my brake doesn't work and when I accelerate it also activates the brake. How can I fix this