Free Shipping on Domestic Orders $75+

Kodak PixPro AZ251 Mode Dial Replacement

What you need

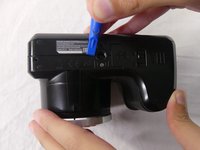
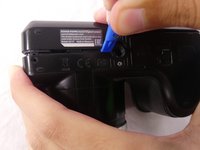
    1. Kodak PixPro AZ251 Mode Dial Replacement, Batteries: step 1, image 1 of 2 Kodak PixPro AZ251 Mode Dial Replacement, Batteries: step 1, image 2 of 2
      • Slide switch to open lock position.

      Ask FixBot

      Add Comment

    2. Kodak PixPro AZ251 Mode Dial Replacement: step 2, image 1 of 2 Kodak PixPro AZ251 Mode Dial Replacement: step 2, image 2 of 2
      • Press down on the battery cover and slide outwards to open.

      Ask FixBot
      Add Comment

    3. Kodak PixPro AZ251 Mode Dial Replacement: step 3, image 1 of 1
      • Remove the batteries.

      Ask FixBot
      Add Comment

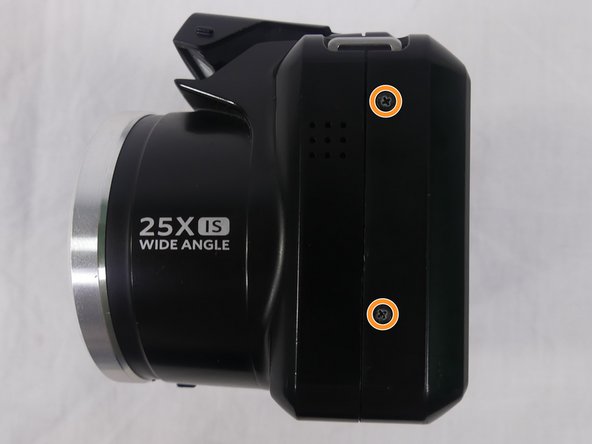
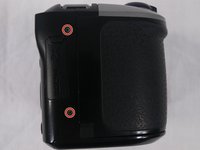
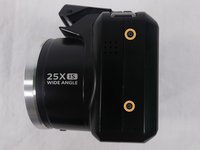
    1. Kodak PixPro AZ251 Mode Dial Replacement, Back Cover: step 4, image 1 of 3 Kodak PixPro AZ251 Mode Dial Replacement, Back Cover: step 4, image 2 of 3 Kodak PixPro AZ251 Mode Dial Replacement, Back Cover: step 4, image 3 of 3
      • Remove a total of four 5mm JIS #000 screws from around the camera:

      • Two screws from the right side.

      • Two screws from the left side.

      Ask FixBot

      Add Comment

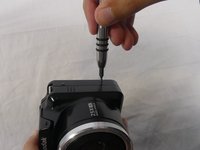
    2. Kodak PixPro AZ251 Mode Dial Replacement: step 5, image 1 of 1
      • Remove the single 5mm Phillips #00 screw from the bottom.

      Ask FixBot
      Add Comment

    3. Kodak PixPro AZ251 Mode Dial Replacement: step 6, image 1 of 2 Kodak PixPro AZ251 Mode Dial Replacement: step 6, image 2 of 2
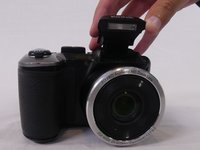
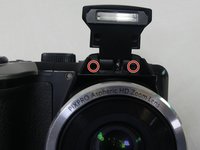
      • Open the flash module.

      • Remove the two 6mm JIS #00 screws found inside of the flash housing.

      Ask FixBot
      Add Comment

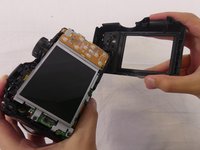
    4. Kodak PixPro AZ251 Mode Dial Replacement: step 7, image 1 of 3 Kodak PixPro AZ251 Mode Dial Replacement: step 7, image 2 of 3 Kodak PixPro AZ251 Mode Dial Replacement: step 7, image 3 of 3
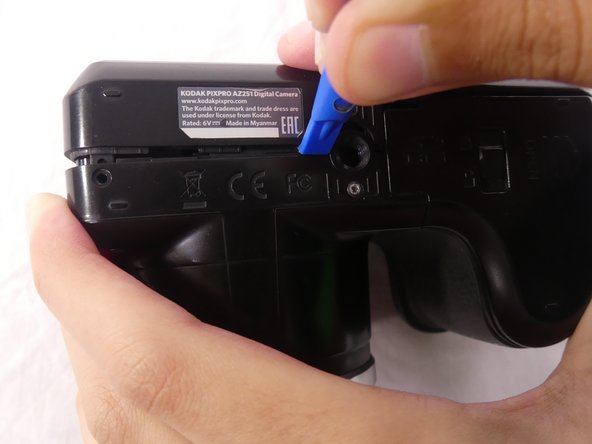
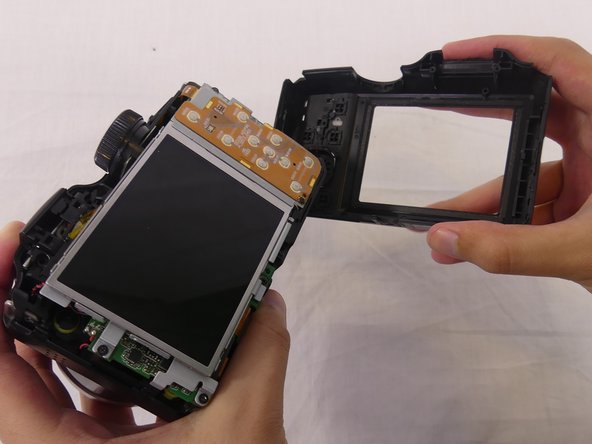
      • Use a plastic opening tool to pry apart both halves of the camera.

      • Remove the back panel.

      Ask FixBot
      Add Comment

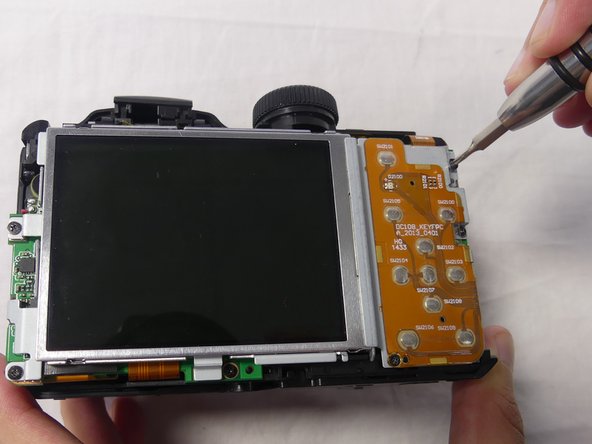
    1. Kodak PixPro AZ251 Mode Dial Replacement, LCD Screen: step 8, image 1 of 2 Kodak PixPro AZ251 Mode Dial Replacement, LCD Screen: step 8, image 2 of 2
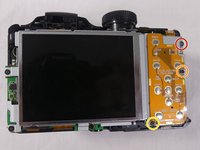
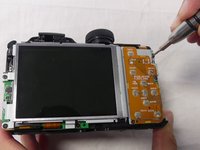
      • Remove these three JIS #000 screws from the control board:

      • 5mm screw.

      • 4mm screw.

      • 2mm screw.

      Ask FixBot

      Add Comment

    2. Kodak PixPro AZ251 Mode Dial Replacement: step 9, image 1 of 1
      • Pull the small metal switch plate to the side.

      Ask FixBot

      Add Comment

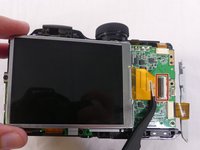
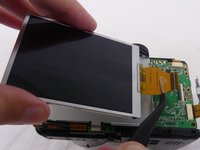
    3. Kodak PixPro AZ251 Mode Dial Replacement: step 10, image 1 of 2 Kodak PixPro AZ251 Mode Dial Replacement: step 10, image 2 of 2
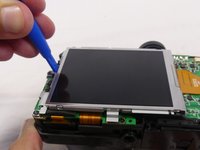
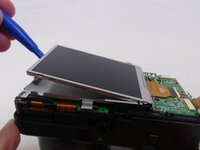
      • Pry the LCD screen out of the metal housing plate with a plastic opening tool.

      Ask FixBot
      Add Comment
    4. Kodak PixPro AZ251 Mode Dial Replacement: step 11, image 1 of 2 Kodak PixPro AZ251 Mode Dial Replacement: step 11, image 2 of 2
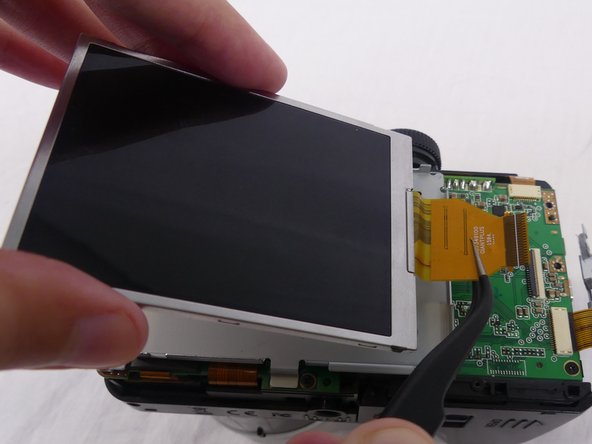
      • Use a spudger to flip up the retaining flap on the display ribbon cable ZIF socket.

      • Pull the orange cable out of the socket.

      Ask FixBot

      Add Comment

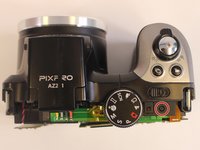
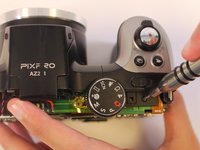
    1. Kodak PixPro AZ251 Mode Dial Replacement, Mode Dial: step 12, image 1 of 2 Kodak PixPro AZ251 Mode Dial Replacement, Mode Dial: step 12, image 2 of 2
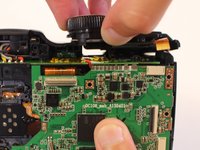
      • Remove one 4-mm screw using a J000 screwdriver from the top of the camera, near the mode dial.

      Ask FixBot

      Add Comment

    2. Kodak PixPro AZ251 Mode Dial Replacement: step 13, image 1 of 2 Kodak PixPro AZ251 Mode Dial Replacement: step 13, image 2 of 2
      Tool used on this step:
      Tweezers
      $4.99
      Buy
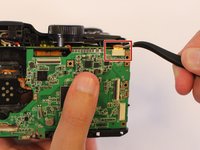
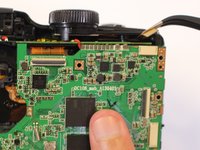
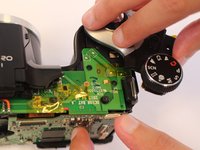
      • Using the tweezers, disconnect the orange cable connection at the top of the motherboard near the mode dial.

      Ask FixBot

      Add Comment

    3. Kodak PixPro AZ251 Mode Dial Replacement: step 14, image 1 of 2 Kodak PixPro AZ251 Mode Dial Replacement: step 14, image 2 of 2
      • Pull the top side cover up.

      • Rotate the top side cover to the right.

      • Rotate carefully to avoid breaking the screw attaching the top side cover to the main body of the camera.

      Ask FixBot

      Add Comment

    4. Kodak PixPro AZ251 Mode Dial Replacement: step 15, image 1 of 2 Kodak PixPro AZ251 Mode Dial Replacement: step 15, image 2 of 2
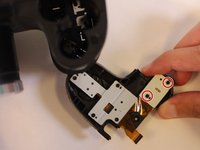
      • Turn the camera upside down.

      • Remove two 2mm JIS #000 screws from the metal base of the mode dial.

      Ask FixBot

      Add Comment

    5. Kodak PixPro AZ251 Mode Dial Replacement: step 16, image 1 of 2 Kodak PixPro AZ251 Mode Dial Replacement: step 16, image 2 of 2
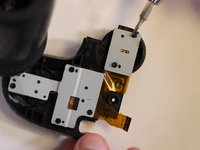
      • Lift the metal base and remove the 4mm JIS #000 screw from the center of the mode dial.

      Ask FixBot

      Add Comment

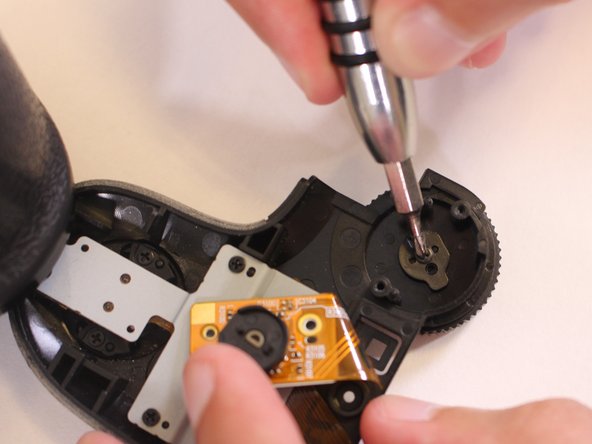
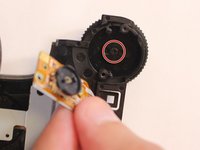
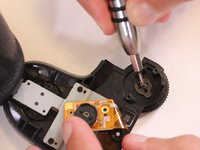
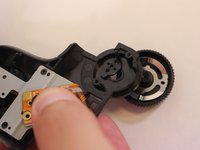
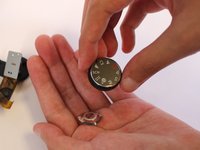
    6. Kodak PixPro AZ251 Mode Dial Replacement: step 17, image 1 of 2 Kodak PixPro AZ251 Mode Dial Replacement: step 17, image 2 of 2
      • The mode dial should now be loose and can be easily removed from the top side cover.

      • Turn the mode dial upside down to remove the metal part inside.

      Ask FixBot

      Add Comment

Conclusion

To reassemble your device, follow these instructions in reverse order.

Cancel: I did not complete this guide.

One other person completed this guide.

Rachel Llewellyn

Member since: 02/22/18

509 Reputation

3 Guides authored

Team

USF Tampa, Team S1-G1, Cagle Spring 2018 Member of USF Tampa, Team S1-G1, Cagle Spring 2018

USFT-CAGLE-S18S1G1

4 Members

7 Guides authored

0 Guide Comments

Add Comment

View Statistics:

Past 24 Hours: 1

Past 7 Days: 5

Past 30 Days: 33

All Time: 1,010