
NIkon Coolpix A900 I/O Cover Replacement

Andres Aronstam and one other contributor
Last updated on Dec 23, 2019
Views: 1.1K
View statistics:
- Past 24 Hours:
- 1
- Past 7 Days:
- 11
- Past 30 Days:
- 68
- All Time:
- 1,082
Comments: 3
3 comments on steps.
Completed: 0 1
No one has marked this guide "completed." Will you be the first?
1 person has marked this guide "completed." It's you — great job!
Favorites: 0 1
No one has favorited (and subscribed to) this guide. Will you be the first?
1 person has favorited (and subscribed to) this guide — and that's you!
Introduction
Go to step 1 ↓This guide will show you how to replace the I/O Cover on the Nikon Coolpix A900.
The I/O cover may need to be replaced due to normal wear and tear. Because it is a silicon part, it is prone to ripping after heavy periods of use.
You may not need the spudger listed in the tool section as it is possible to do it with just your fingers.
What you need
Tools


-
-
-
Orient the camera so that it is upside down, with the lens facing towards you.
 Ask FixBot
-
-
-
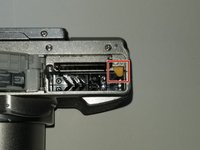
Slide the battery door lock left to unlock it.
-
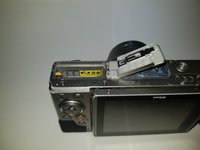
The battery door will automatically open.
-
-
-
-
-
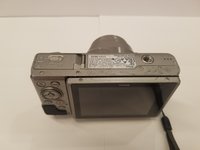
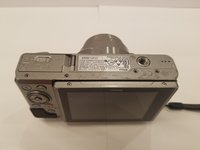
Orient the camera upside down, with the lens facing away from you.
-
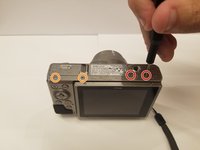
Remove the two 3mm Phillips #00 screws from the right.
-
Remove the two 3.4mm Phillips #00 screws from the left.
-
-
-
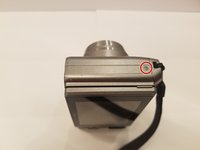
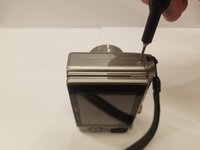
Turn the camera on its side, with the lens facing away from you.
-
Remove the 3.4mm Phillips #00 screw. Repeat this for the opposite side of the camera.
-
-
-
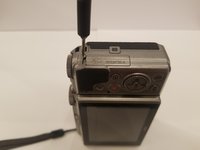
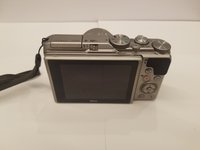
Place the camera upright with the lens facing away from you.
-
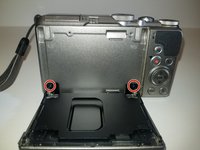
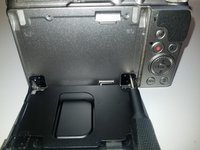
Move the monitor down, and remove two 4.4 mm screws.
-
-
-
-
Place the camera lens down, while supporting the rear case.
-
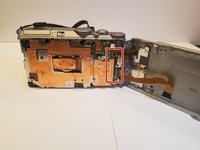
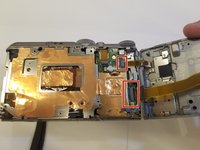
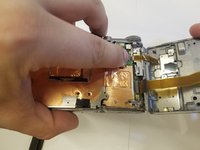
Unlock the two ribbons by using your finger to lift the plastic hinge on the ribbon connector.
-
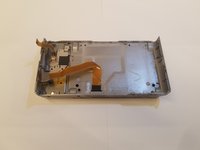
With the ribbons disconnected, you can now remove the rear case.
-
-
-
-
-
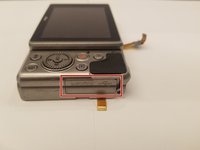
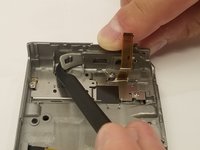
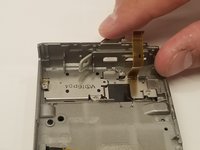
Locate the I/O cover on the rear case.
-
On the inside of the case, unhook the I/O cover by lifting up.
-
-






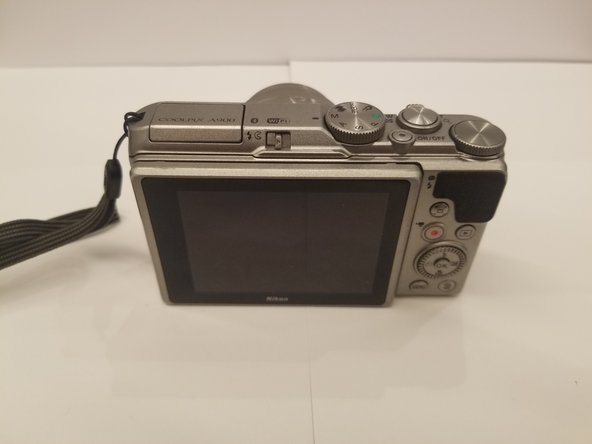


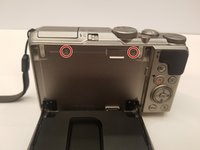
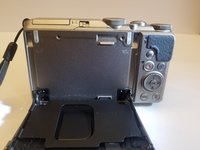









To reassemble your device, follow these instructions in reverse order.

Team

Embry-Riddle Aeronautical University, Team S22-G3, Branham Fall 2019 Member of Embry-Riddle Aeronautical University, Team S22-G3, Branham Fall 2019
ERAU-BRANHAM-F19S22G3
3 Members
60 Guides authored
