Introduction
This guide shows how to apply silicone electrical tape to a wire splice and a tool handle.
The versatility of this waterproof silicone electrical tape doesn’t end at insulating wire splices. Try it out in other applications such as adding rubbery grips to your tools, sealing leaky pipes, or securing wire bundles without any sticky, gooey adhesives.
What you need
-
-
Clean your work surface and your hands before applying the silicone electrical tape.
-
-
Tool used on this step:Silicone Electrical Tape$3.99
-
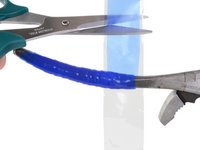
Use scissors to cut off a small strip of silicone electrical tape.
-
-
-
Remove an inch or two of the plastic liner before before wrapping the silicone electrical tape.
-
-
-
-
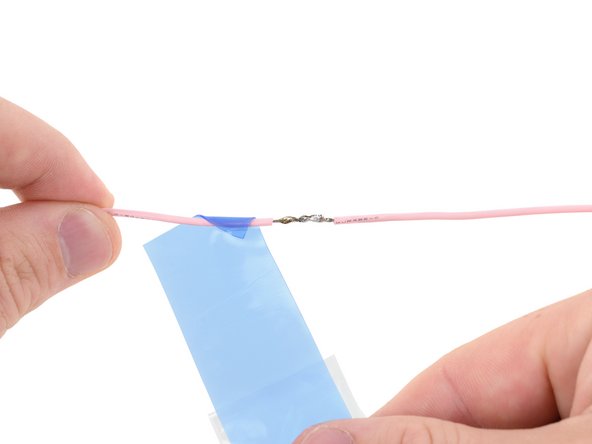
Wrap a corner of the silicone electrical tape to one side of the exposed section of wire.
-
Continue to wrap the tape around the wire while stretching the tape and removing the liner.
-
-
-
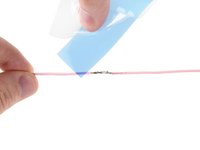
Finish the application by completely overlapping the final wrap back on itself.
-
Press down firmly on the end to set the silicone electrical tape.
-
-
-
Clean the surface and your hands before applying the silicone electrical tape.
-
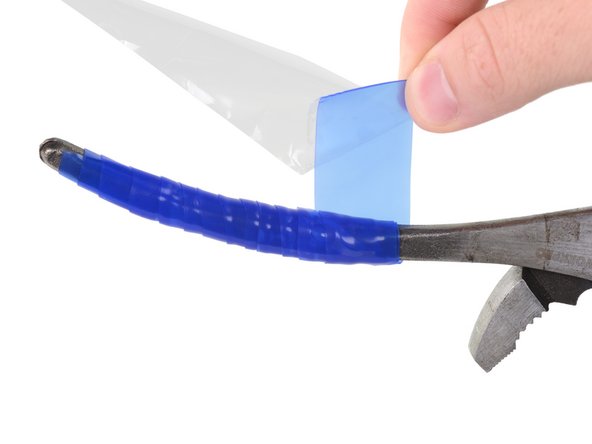
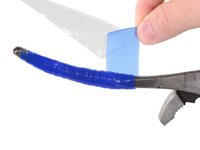
Remove an inch or two of the plastic liner before before wrapping the silicone electrical tape.
-
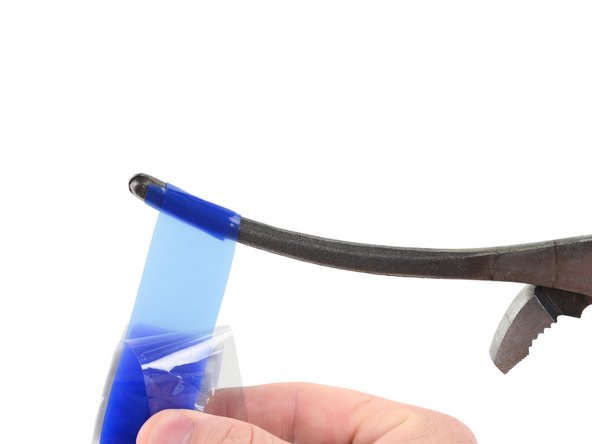
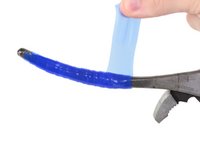
Press the end of the silicone electrical tape firmly on the handle.
-
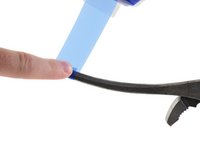
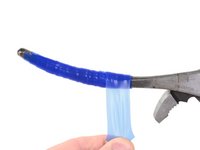
While stretching the tape, completely overlap the first wrap on itself to ensure a good bond.
-
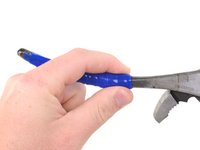
Continue to wrap the tape around the handle while stretching the tape and removing the liner.
-
-
-
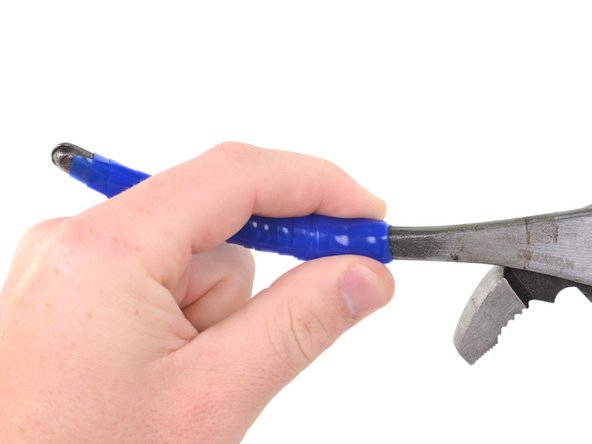
Finish the application by completely overlapping the final wrap back on itself.
-
Press down firmly on the end to set the silicone electrical tape.
-


Cancel: I did not complete this guide.
2 other people completed this guide.
