Free Shipping on Domestic Orders $75+

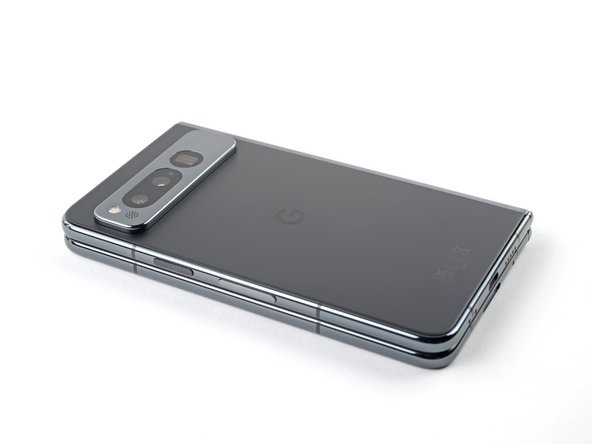
How to Apply New Back Glass Adhesive in Your Google Pixel Fold

What you need

    1. How to Apply New Back Glass Adhesive in Your Google Pixel Fold, Align the adhesive: step 1, image 1 of 3 How to Apply New Back Glass Adhesive in Your Google Pixel Fold, Align the adhesive: step 1, image 2 of 3 How to Apply New Back Glass Adhesive in Your Google Pixel Fold, Align the adhesive: step 1, image 3 of 3
      • Before removing any liners, check if the adhesive matches the frame.

      • The clear liner should face the frame.

      • Look for cutouts in the liner to help orient the adhesive.

      Ask FixBot

      Add Comment

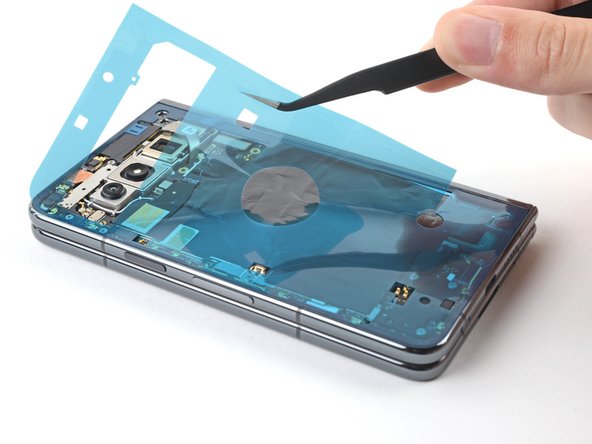
    2. How to Apply New Back Glass Adhesive in Your Google Pixel Fold, Apply the adhesive: step 2, image 1 of 3 How to Apply New Back Glass Adhesive in Your Google Pixel Fold, Apply the adhesive: step 2, image 2 of 3 How to Apply New Back Glass Adhesive in Your Google Pixel Fold, Apply the adhesive: step 2, image 3 of 3
      • Be careful during this step, as it's easy to stick the adhesive in the wrong spot. Take your time and work slowly.

      • Peel off the new adhesive strip from its clear liner.

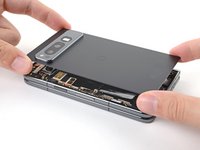
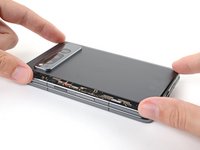
      • Align the adhesive over the frame, starting with the top right and bottom right edges.

      • Place the adhesive over the perimeter of the frame.

      Ask FixBot

      Add Comment

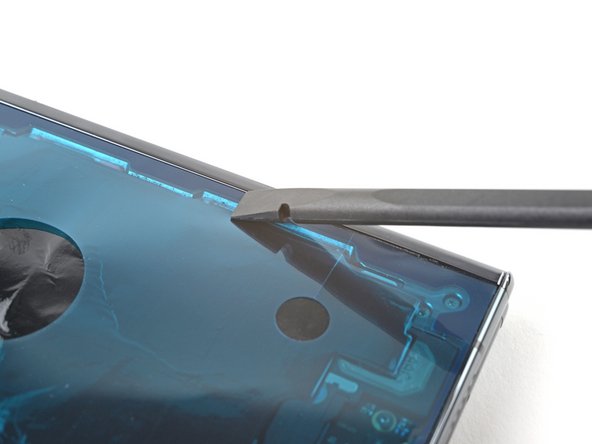
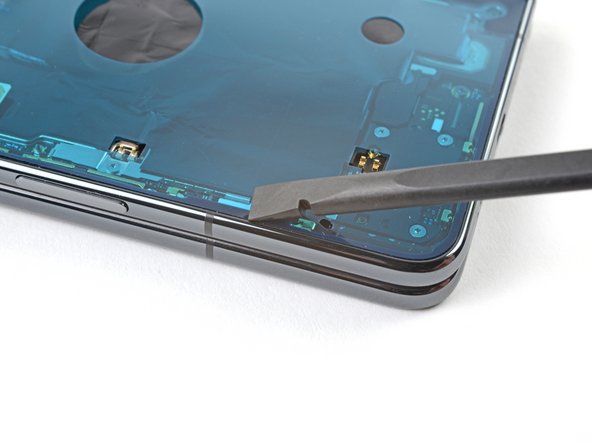
    3. How to Apply New Back Glass Adhesive in Your Google Pixel Fold: step 3, image 1 of 3 How to Apply New Back Glass Adhesive in Your Google Pixel Fold: step 3, image 2 of 3 How to Apply New Back Glass Adhesive in Your Google Pixel Fold: step 3, image 3 of 3
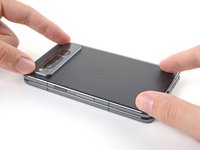
      • Use flat end of a spudger, or your fingers, to press down the adhesive to adhere it to the frame.

      Ask FixBot

      Add Comment

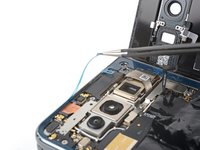
    4. How to Apply New Back Glass Adhesive in Your Google Pixel Fold, Peel up the large liner: step 4, image 1 of 2 How to Apply New Back Glass Adhesive in Your Google Pixel Fold, Peel up the large liner: step 4, image 2 of 2
      • Peel up the segmented tab at the bottom right corner of the large blue liner.

      Ask FixBot

      Add Comment

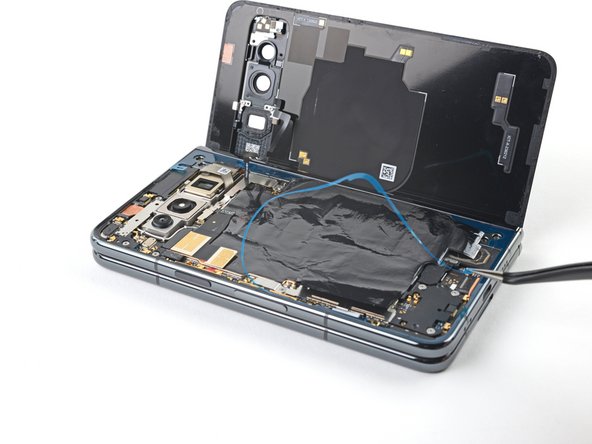
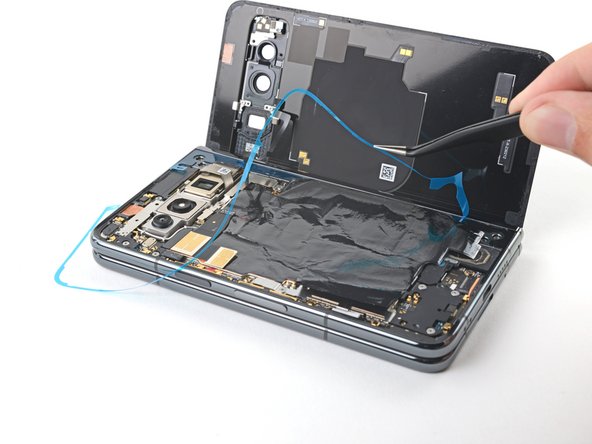
    5. How to Apply New Back Glass Adhesive in Your Google Pixel Fold: step 5, image 1 of 2 How to Apply New Back Glass Adhesive in Your Google Pixel Fold: step 5, image 2 of 2
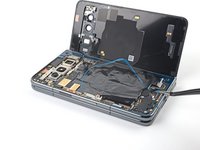
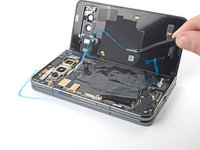
      • Lift the tab and peel off the large blue liner to expose the secondary liner.

      Ask FixBot

      Add Comment

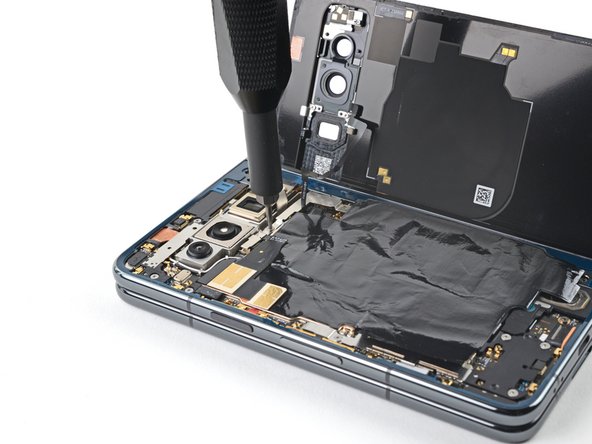
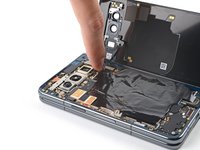
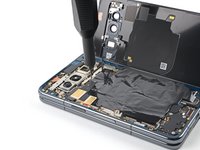
    6. How to Apply New Back Glass Adhesive in Your Google Pixel Fold, Reconnect the back glass: step 6, image 1 of 2 How to Apply New Back Glass Adhesive in Your Google Pixel Fold, Reconnect the back glass: step 6, image 2 of 2
      • Support the back glass with your hand or prop it up on something sturdy.

      • Reconnect the back glass cable.

      • Use a Torx Plus 3IP driver to refasten the middle bracket.

      Ask FixBot

      Add Comment

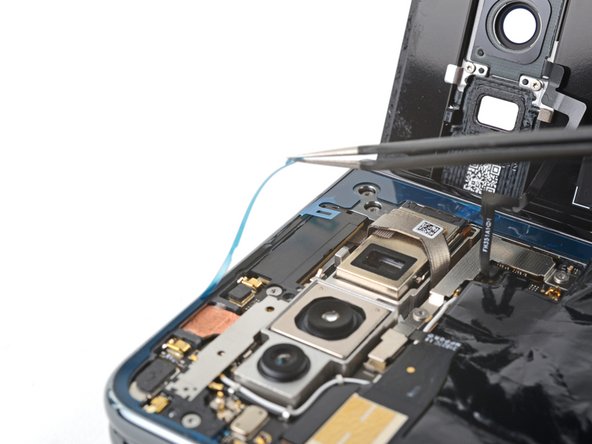
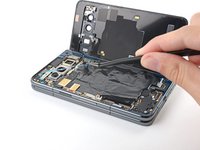
    7. How to Apply New Back Glass Adhesive in Your Google Pixel Fold, Peel up the secondary liner: step 7, image 1 of 2 How to Apply New Back Glass Adhesive in Your Google Pixel Fold, Peel up the secondary liner: step 7, image 2 of 2
      Tool used on this step:
      Tweezers
      $4.99
      Buy
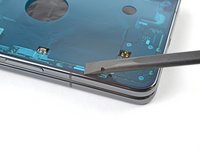
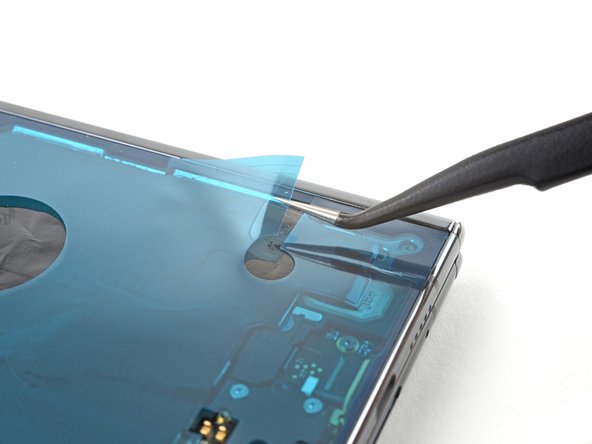
      • Use tweezers, or your fingers, to peel up either one of the tabs at the top right corner of the secondary liner.

      • If the adhesive starts separating, use a spudger to hold it down while peeling.

      Ask FixBot

      Add Comment

    8. How to Apply New Back Glass Adhesive in Your Google Pixel Fold: step 8, image 1 of 3 How to Apply New Back Glass Adhesive in Your Google Pixel Fold: step 8, image 2 of 3 How to Apply New Back Glass Adhesive in Your Google Pixel Fold: step 8, image 3 of 3
      • Lift the tab and peel off the secondary liner to expose the top adhesive.

      Ask FixBot

      Add Comment

    9. How to Apply New Back Glass Adhesive in Your Google Pixel Fold, Apply the back glass: step 9, image 1 of 3 How to Apply New Back Glass Adhesive in Your Google Pixel Fold, Apply the back glass: step 9, image 2 of 3 How to Apply New Back Glass Adhesive in Your Google Pixel Fold, Apply the back glass: step 9, image 3 of 3
      • Align the back glass over its cutout in the frame.

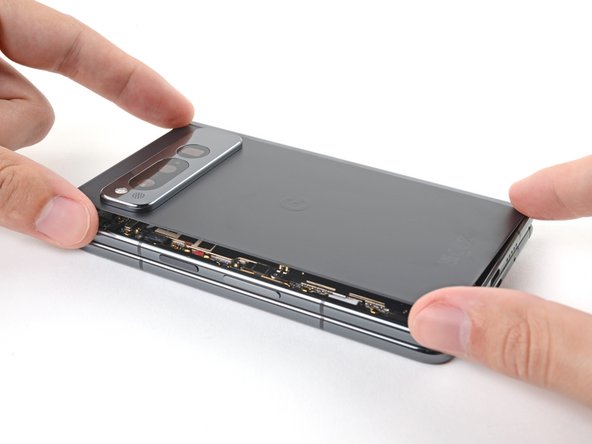
      • Place a long edge of the back glass on the frame, making sure there are no gaps or jutting adhesive.

      • Place the other long edge of the back glass on the frame.

      Ask FixBot

      Add Comment

    10. How to Apply New Back Glass Adhesive in Your Google Pixel Fold: step 10, image 1 of 3 How to Apply New Back Glass Adhesive in Your Google Pixel Fold: step 10, image 2 of 3 How to Apply New Back Glass Adhesive in Your Google Pixel Fold: step 10, image 3 of 3
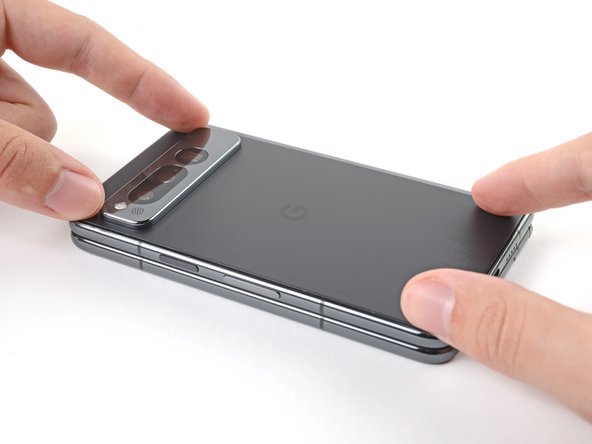
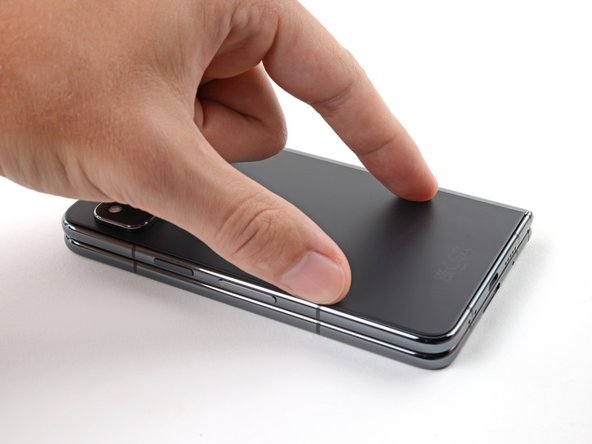
      • Press down along the perimeter of the back glass to adhere it to the frame.

      • Let the phone sit a few hours for the adhesive to cure.

      Ask FixBot

      Add Comment

Conclusion

Repair didn’t go as planned? Try some basic troubleshooting, or ask our Google Pixel Fold Answers Community for help.

Cancel: I did not complete this guide.

One other person completed this guide.

Alex Diaz-Kokaisl

Member since: 01/16/22

247,153 Reputation

1,203 Guides authored

Team

iFixit Member of iFixit

Staff

123 Members

62,381 Guides authored

0 Guide Comments

Add Comment

View Statistics:

Past 24 Hours: 0

Past 7 Days: 9

Past 30 Days: 53

All Time: 933