Introduction
Have you ever repair broken iPad glass with CEO-2+ Lamination Machine? Today we would like to share with you how to use it to laminate iPad new glass. Maybe you will find out it is so easy for you to do it.
OK. Let’s begin now.
What you need
Video Overview
-
-
After laminating OCA, we put iPad glass with OCA into CEO-2+ Lamination Machineto remove bubbles.
-
Then, select Flat LCD laminate mode. Click “Settings” button. And set bubble removing time to 300s. After time setting, return to Flat LCD interface.
-
Then select bubble mode and press “Start” button. Once time up, take out affixed iPad glass.
-
You can see the defoaming effect is super good as following picture.
-
-
-
-
Place iPad LCD onto specialized iPad positioning mold.
-
Then clean up the LCD in advance.
-
And continue to remove affixed glass’s OCA protector film.
-
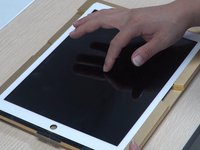
Once done, align the position, and paste the glass onto LCD.
-
Use a finger to press the middle of the glass. It can make the glass and LCD to be initially attached.
-
-
-
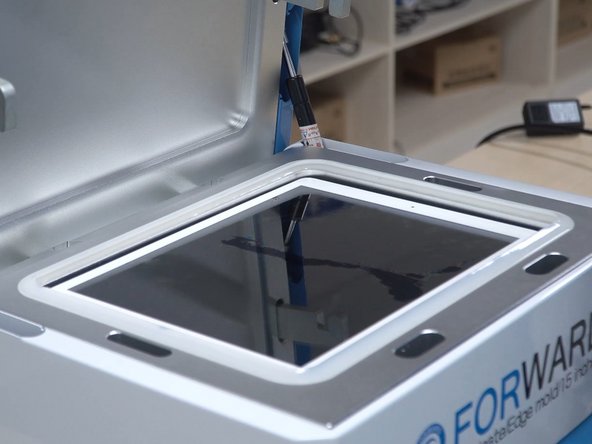
Then put the screen into CEO-2+ Lamination Machine for LCD laminating.
-
Return to Flat LCD laminate mode at first. Then click “Settings” button. Set bubble time to 600s, vacuum time to 60s and laminate time to 40s.
-
Once time set, return to Flat LCD laminate interface. And select “Both” mode of laminating and bubble removing. Press “Start” button.
-
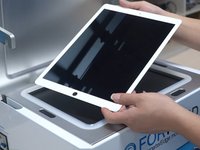
Once time up, take out the screen.
-
We can see here that the screen looks perfect, like a new one.
-


If you want to get better lamination effect, you can try to use CEO-2+ OCA Lamination Machine.
Cancel: I did not complete this guide.
One other person completed this guide.
Special thanks to these translators:
100%

These translators are helping us fix the world! Want to contribute?
Start translating ›