Introduction
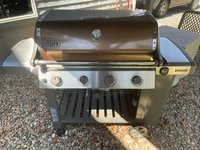
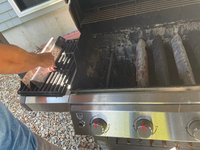
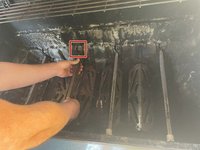
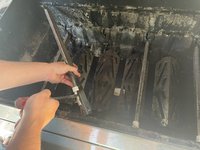
If your Weber Genesis II grill is not heating up and cooking your food properly, the problem is most likely the burners, the piece of the grill where gas is emitted. Use this guide in order to replace the burners and return your grill to proper working order.
Before beginning this guide, make sure that your grill is completely turned off and that you have room to take apart the grill, as this guide could be difficult in a cramped space.
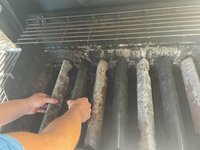
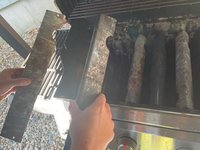
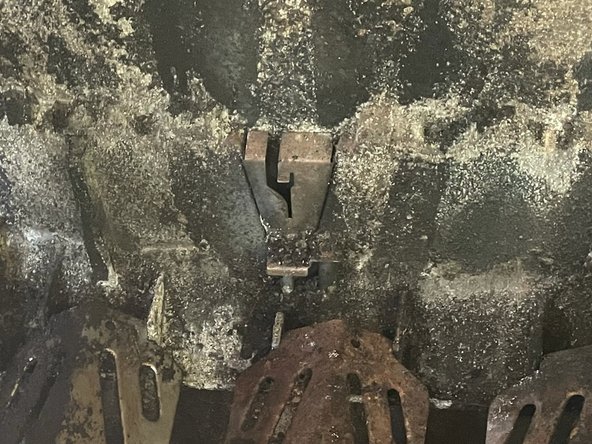
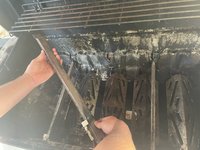
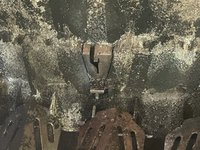
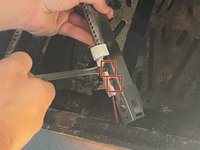
In step 5, you will be removing the ignition device from the burner using a metal wedge. The ignition device is connected to the grill by a wire, so take special care to not strip or damage the wire while removing the device.
What you need


To reassemble your device, follow these instructions in reverse order.
Cancel: I did not complete this guide.
3 other people completed this guide.
Team

UMass Dartmouth, Team S1-G3, Riel Spring 2021 Member of UMass Dartmouth, Team S1-G3, Riel Spring 2021
UMASSD-RIEL-S21S1G3
1 Member
3 Guides authored