Introduction
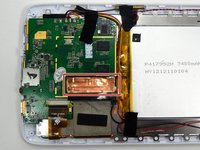
A device's logic board has many electrical connections to other components within the device. This guide, using the Arnova 7K G3 Rear Cover Removal guide as a prerequisite, shows how to remove the ribbon connections from the logic board, which may help in determining a bad ribbon connector or other faulty wiring.
What you need
-
-
-
Remove four 5 mm Phillips #00 screws from each corner of the tablet.
 Ask FixBot
-
-
-
Place the iFixit opening tool in the notches between the cases and pull the covers apart.
-
-
-
-
Repeat step two until 3/4 of the rear cover is unlatched.
-
Proceed to remove the rear cover by gently pulling it apart by hand.
-
-
-
-
Tool used on this step:Tweezers$4.99
-
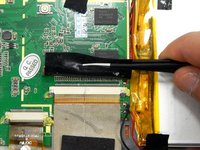
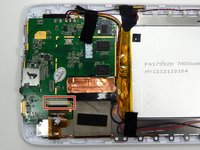
Peel the copper tape covering the ribbon connector with a set of tweezers.
-
-
-
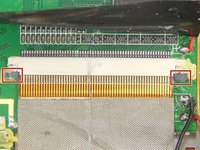
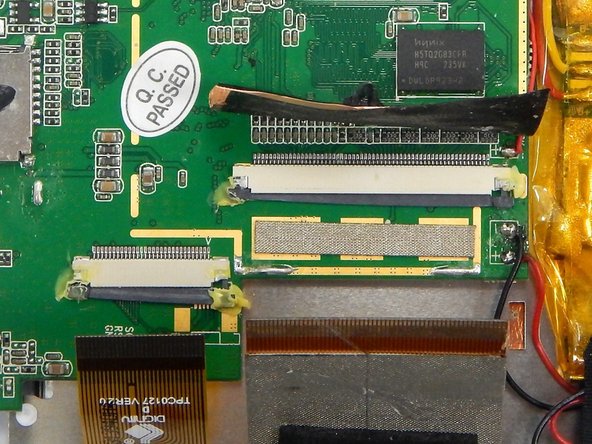
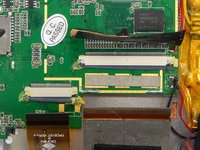
Locate the two gray pins on the ribbon connector.
-
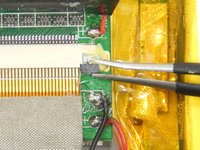
Grab the first pin with tweezers and gently pull it towards the ribbon. Repeat the step.
-
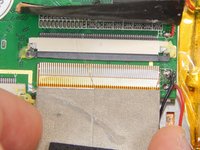
Gently pull the ribbon cable out of the connection port.
-
-
-
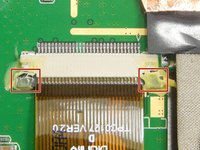
Locate the ribbon connector two.
-
Locate the pins of ribbon connector two. Repeat step two for unlocking the pins.
-
Gently pull the ribbon out of the connection port.
-
-






To reassemble your device, follow these instructions in reverse order.

Team

Michigan Tech, Team 1-2, Lauer Spring 2015 Member of Michigan Tech, Team 1-2, Lauer Spring 2015
MTU-LAUER-S15S1G2
2 Members
10 Guides authored
