Free Shipping on Domestic Orders $75+

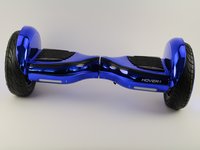
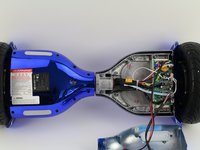
Hover-1 Titan Left Gyroscope Replacement

What you need

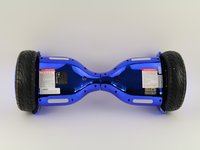
    1. Hover-1 Titan Left Gyroscope Replacement, Bottom Left Panel: step 1, image 1 of 2 Hover-1 Titan Left Gyroscope Replacement, Bottom Left Panel: step 1, image 2 of 2
      • Flip the hoverboard so the bottom is facing up.

      • The left side is the side that has the charge port. There is also an "L" on the metal plate underneath the wires.

      Ask FixBot

      Add Comment

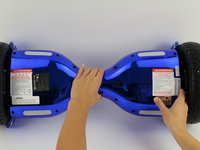
    2. Hover-1 Titan Left Gyroscope Replacement: step 2, image 1 of 2 Hover-1 Titan Left Gyroscope Replacement: step 2, image 2 of 2
      • Using a Phillips #1 screwdriver, remove the two 14 mm screws located closest to the center of the hoverboard.

      • Using a Phillips #1 screwdriver, remove the four 12 mm screws located in the middle of the panel.

      • Using a Phillips #1 screwdriver, remove two 15 mm screws located closest to the wheel.

      Ask FixBot

      Add Comment

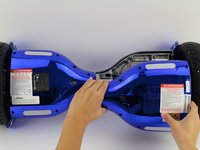
    3. Hover-1 Titan Left Gyroscope Replacement: step 3, image 1 of 3 Hover-1 Titan Left Gyroscope Replacement: step 3, image 2 of 3 Hover-1 Titan Left Gyroscope Replacement: step 3, image 3 of 3
      • Grip the bottom left panel and lift up to remove.

      Ask FixBot
      Add Comment

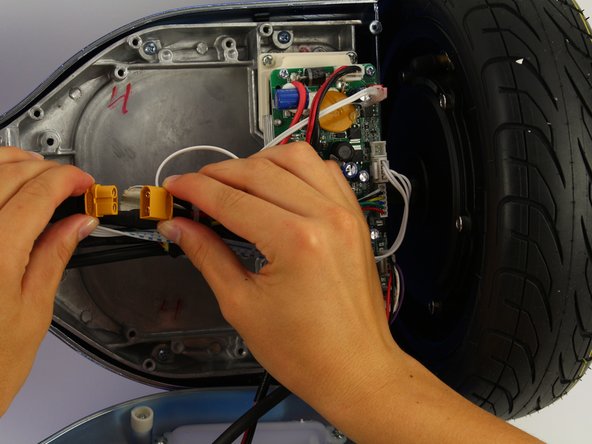
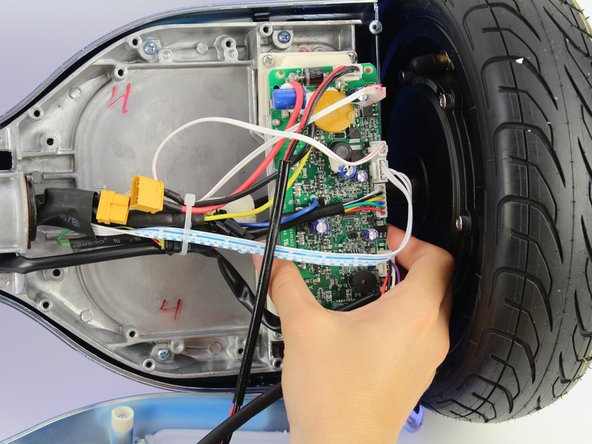
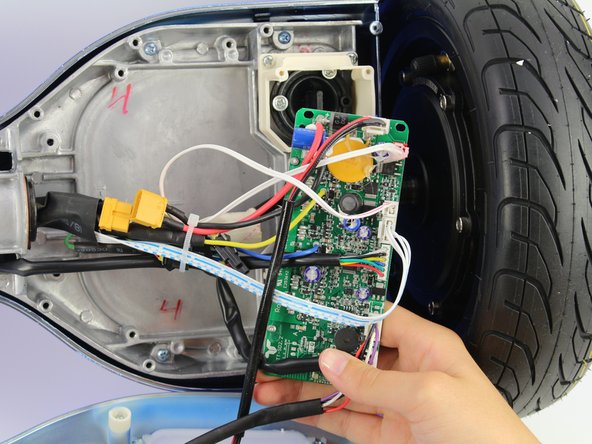
    1. Hover-1 Titan Left Gyroscope Replacement, Left Gyroscope and Motherboard: step 4, image 1 of 2 Hover-1 Titan Left Gyroscope Replacement, Left Gyroscope and Motherboard: step 4, image 2 of 2
      • Unplug the battery from the gyroscope by holding the yellow connector and pulling apart.

      Ask FixBot
      Add Comment

    2. Hover-1 Titan Left Gyroscope Replacement: step 5, image 1 of 3 Hover-1 Titan Left Gyroscope Replacement: step 5, image 2 of 3 Hover-1 Titan Left Gyroscope Replacement: step 5, image 3 of 3
      • Remove four 12 mm Phillips #1 head screws from the corners of the green gyroscope/motherboard.

      Ask FixBot

      Add Comment

    3. Hover-1 Titan Left Gyroscope Replacement: step 6, image 1 of 2 Hover-1 Titan Left Gyroscope Replacement: step 6, image 2 of 2
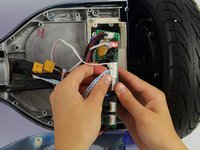
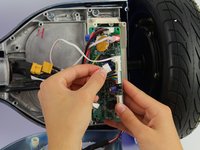
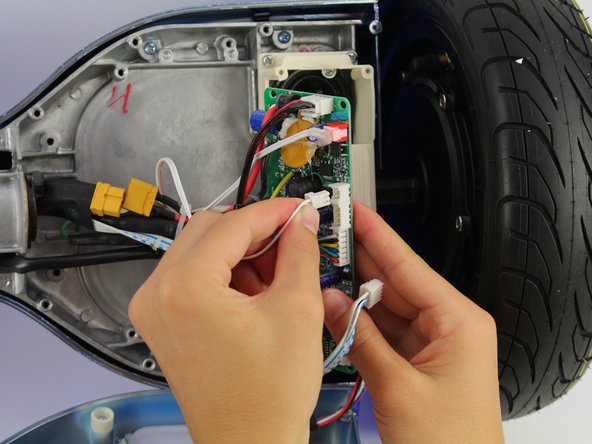
      • Unplug the bottom right connector by squeezing it and pulling it away from the board.

      Ask FixBot
      Add Comment

    4. Hover-1 Titan Left Gyroscope Replacement: step 7, image 1 of 2 Hover-1 Titan Left Gyroscope Replacement: step 7, image 2 of 2
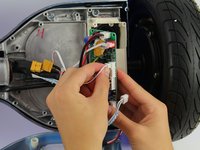
      • Unplug the light connector by squeezing it and pulling away from the board.

      Ask FixBot
      Add Comment

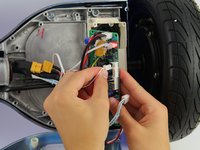
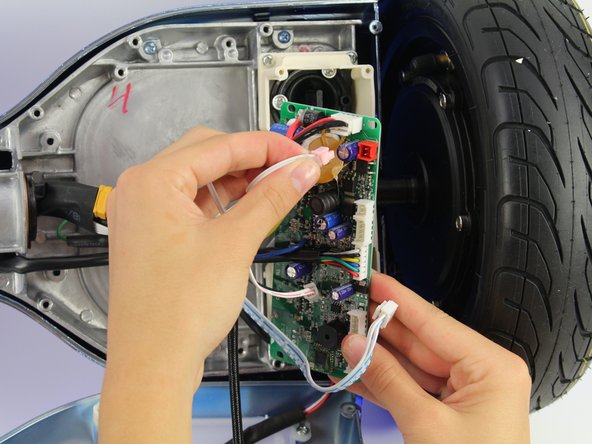
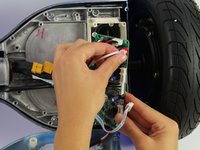
    5. Hover-1 Titan Left Gyroscope Replacement: step 8, image 1 of 2 Hover-1 Titan Left Gyroscope Replacement: step 8, image 2 of 2
      • Unplug the blue and white wires by squeezing the connector and pulling away from the board.

      Ask FixBot
      Add Comment

    6. Hover-1 Titan Left Gyroscope Replacement: step 9, image 1 of 2 Hover-1 Titan Left Gyroscope Replacement: step 9, image 2 of 2
      • Unplug the small white connector by squeezing it and pulling away from the board.

      Ask FixBot

      Add Comment

    7. Hover-1 Titan Left Gyroscope Replacement: step 10, image 1 of 2 Hover-1 Titan Left Gyroscope Replacement: step 10, image 2 of 2
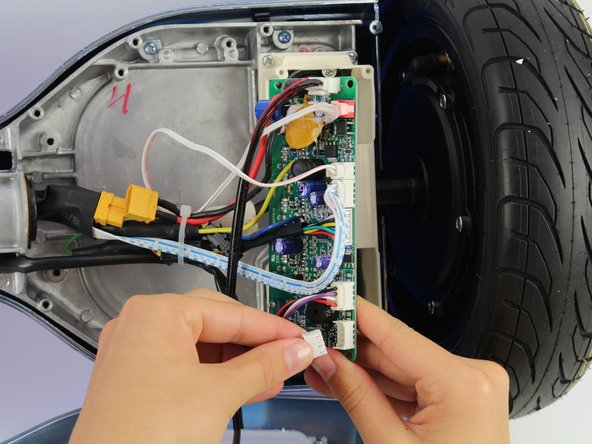
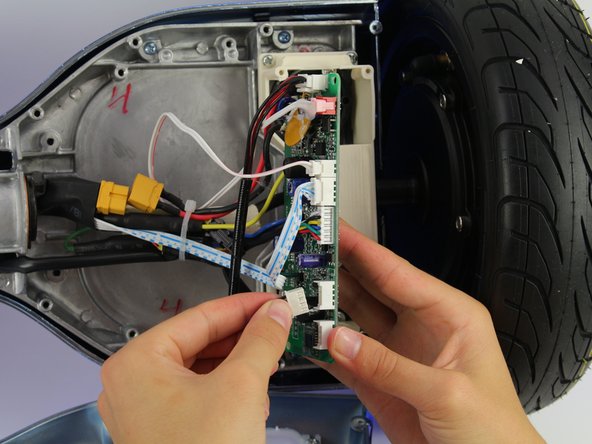
      • Unplug the plug in the red connector.

      • The red plug is glued to the board, so this step will require extra force.

      Ask FixBot
      Add Comment
    8. Hover-1 Titan Left Gyroscope Replacement: step 11, image 1 of 2 Hover-1 Titan Left Gyroscope Replacement: step 11, image 2 of 2
      • Unplug the charging cable connector by squeezing it and pulling it away from the board.

      Ask FixBot

      Add Comment

    9. Hover-1 Titan Left Gyroscope Replacement: step 12, image 1 of 1
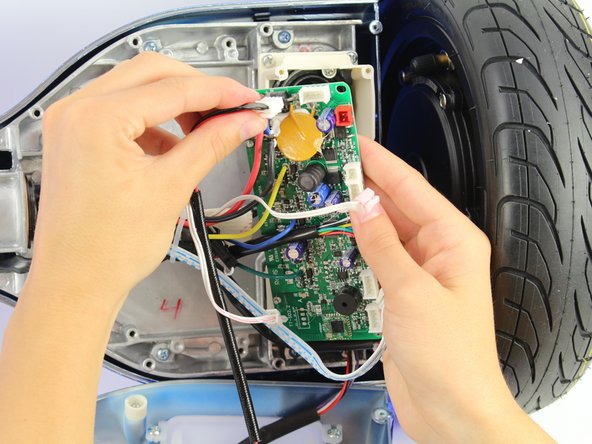
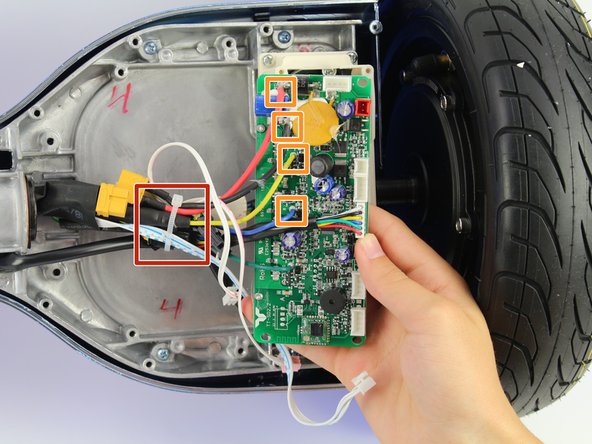
      • Cut the cable tie.

      • Unplug the remaining wires.

      • The connectors for the remaining wires are in the rubber covers.

      Ask FixBot

      Add Comment

Conclusion

To reassemble your device, follow these instructions in reverse order.

Cancel: I did not complete this guide.

Jessica Ouyang

Member since: 10/08/18

634 Reputation

4 Guides authored

Team

Cal Poly, Team S15-G4, White Fall 2018 Member of Cal Poly, Team S15-G4, White Fall 2018

CPSU-WHITE-F18S15G4

4 Members

96 Guides authored

2 Guide Comments

I’ve got an active broken on the cover not the one to to speaker the other one. Does anyone know where is terminates. I can’t see where it came from. It can only reach the circuit board or the active of the speaker.

Mark - Reply Share

Where do you buy the board?

eden11 - Reply Share

Add Comment

View Statistics:

Past 24 Hours: 4

Past 7 Days: 15

Past 30 Days: 48

All Time: 1,730