Free Shipping on Domestic Orders $75+

Hover-1 H1 Bottom Shell Replacement

Prerequisite Only
This is a prerequisite-only guide! This guide is part of another procedure and isn’t meant to be used alone.

What you need

    1. Hover-1 H1 Bottom Shell Replacement, Bottom Shell: step 1, image 1 of 1
      • Remove the ten 9mm machine screws by using a long Phillips #2 screwdriver to rotate the screws counterclockwise.

      • Remove the twelve 9mm sheet metal screws by using a long Phillips #2 screwdriver to rotate the screws counterclockwise.

      Ask FixBot

      Add Comment

    2. Hover-1 H1 Bottom Shell Replacement: step 2, image 1 of 1
      • Puncture the two black stickers by using the tip of a screwdriver.

      • Remove the two 9mm machine screws by using a long Phillips #2 screwdriver to rotate the screws counterclockwise.

      Ask FixBot

      Add Comment

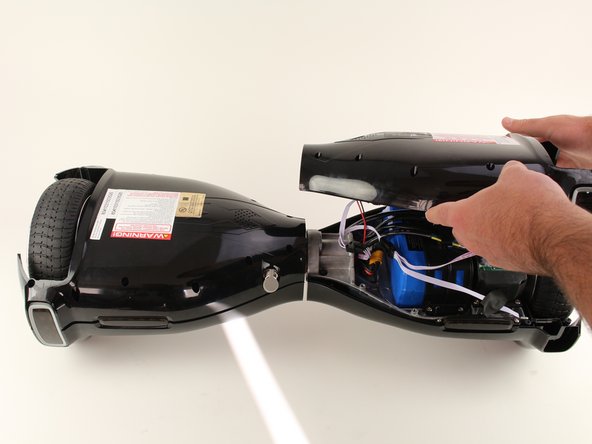
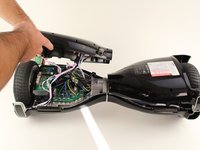
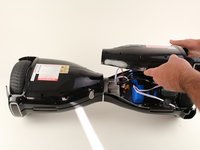
    3. Hover-1 H1 Bottom Shell Replacement: step 3, image 1 of 2 Hover-1 H1 Bottom Shell Replacement: step 3, image 2 of 2
      • Lift each side of the bottom shell by pulling up.

      • When lifting the shell, take care to not tear any cables from their connectors.

      Ask FixBot

      Add Comment

    4. Hover-1 H1 Bottom Shell Replacement: step 4, image 1 of 1
      • Unplug the battery by pulling gently on both sides of the orange connector.

      Ask FixBot

      Add Comment

Conclusion

To reassemble your device, follow these instructions in reverse order.

Cancel: I did not complete this guide.

Madeline David

Member since: 10/08/18

300 Reputation

2 Guides authored

Team

Cal Poly, Team S17-G6, White Fall 2018 Member of Cal Poly, Team S17-G6, White Fall 2018

CPSU-WHITE-F18S17G6

4 Members

84 Guides authored

0 Guide Comments

Add Comment

View Statistics:

Past 24 Hours: 1

Past 7 Days: 7

Past 30 Days: 17

All Time: 276