Introduction
If your Honeywell oscillating stand fan isn’t working and the main issue with fans is the damaged plug or the wires damaged near the plug, use this guide to replace the plug.
This guide will teach you how to remove the damaged plug from the fan and replace it with a new plug. The wiring in the plug should be done correctly by connecting the wires to the right locations in the plug to make the fan work after the repair is completed.
Before beginning, make sure the fan is completely disconnected from any external power source.
What you need
-
-
-
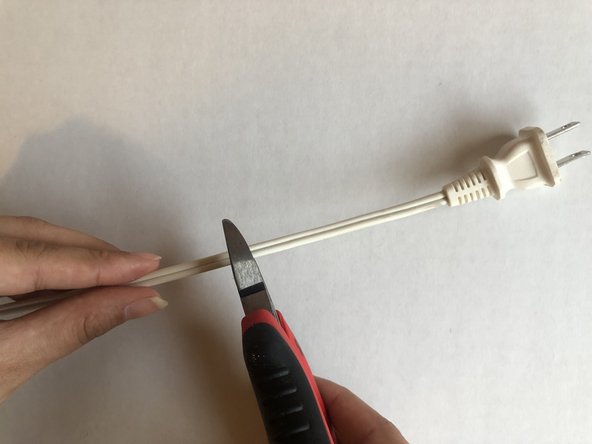
Separate the wires by pulling them apart.
-
The hot wire has smooth insulation.
-
The neutral wire has small ridges in the insulation.
-
-
-
-
Measure 3/4" inch of the wire.
-
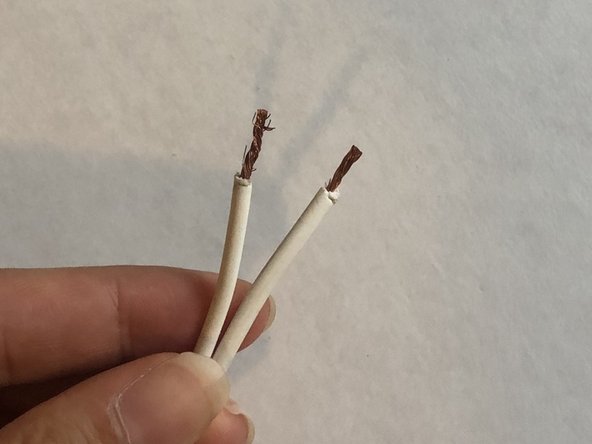
Strip 3/4" of the insulation to expose the copper wire.
-
-
-
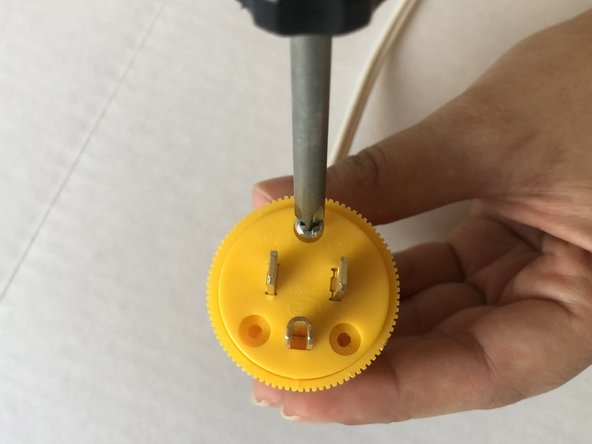
Open the new plug by loosening the screws with a Phillips #0 screwdriver.
-
The silver screw is the neutral wire connection.
-
The brass screw is the hot wire connection.
-
-
-
Twist the ends of the copper wires.
-
Insert the twisted wires to each of the screws.
-
-
-
Tighten each of the screws with a Phillips #0 screwdriver.
-
Close the cover of the plug.
-
Tighten the exterior screws of the plug with a Phillips #0 screwdriver to close the plug.
-



 Ask FixBot






To reassemble your device, follow these instructions in reverse order.
Cancel: I did not complete this guide.
One other person completed this guide.

Team

UW Tacoma, Team S1-G2, Cardinal Spring 2020 Member of UW Tacoma, Team S1-G2, Cardinal Spring 2020
UWT-CARDINAL-S20S1G2
1 Member
12 Guides authored
