Free Shipping on Domestic Orders $75+

Honda CSC29 Stator Replacement

What you need

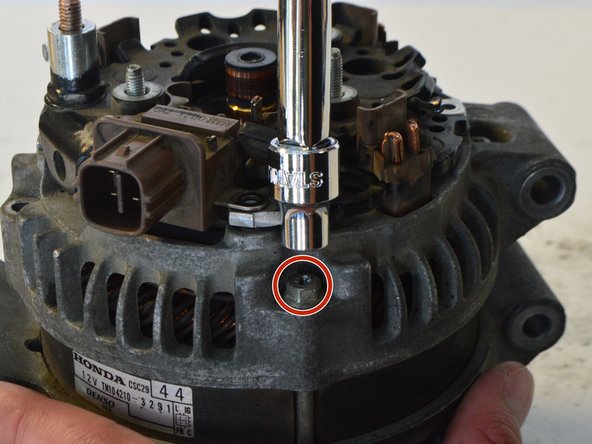
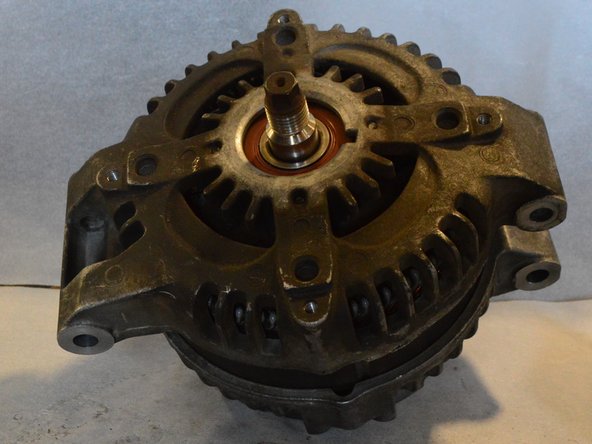
  1. Honda CSC29 Stator Replacement, Alternator Front Cover: step 1, image 1 of 3 Honda CSC29 Stator Replacement, Alternator Front Cover: step 1, image 2 of 3 Honda CSC29 Stator Replacement, Alternator Front Cover: step 1, image 3 of 3
    • Remove 4, 7.9mm nuts using a 7.9mm socket driver head

    • One of the nuts is placed underneath the L-Bracket. Remove the L-Bracket and the 3 circled nuts before attempting to remove the remaining nut

    • There are two covers that need to be removed from the alternator. This step describes how to remove the back cover.

    Ask FixBot

    Add Comment

  2. Honda CSC29 Stator Replacement: step 2, image 1 of 3 Honda CSC29 Stator Replacement: step 2, image 2 of 3 Honda CSC29 Stator Replacement: step 2, image 3 of 3
    • Pull cover off the body of the alternator

    • Once you have done this, you should be able to see the internal components of the alternator, particularly the bridge assembly that houses the rectifier, voltage regulator and brushes.

    Ask FixBot

    Add Comment

  3. Honda CSC29 Stator Replacement, Removing the brush assembly.: step 3, image 1 of 3 Honda CSC29 Stator Replacement, Removing the brush assembly.: step 3, image 2 of 3 Honda CSC29 Stator Replacement, Removing the brush assembly.: step 3, image 3 of 3
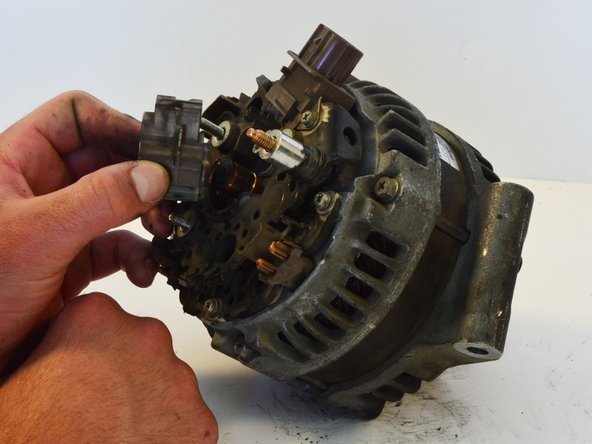
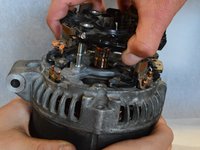
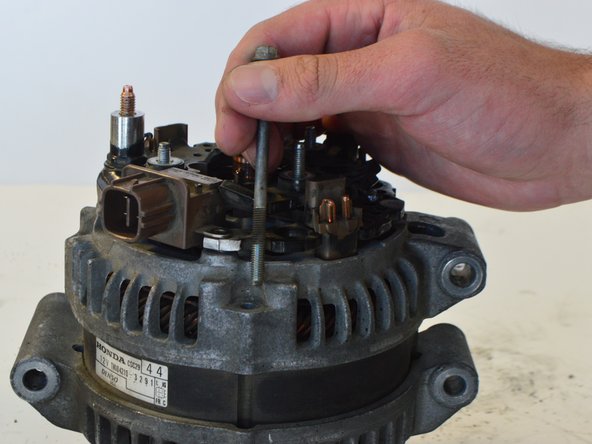
    • With the alternator cover removed, use a #2 Phillips screwdriver to remove the two, 6 mm screws that hold the brush cover in place.

    • Remove the brush cover assembly from the alternator. You might need to insert a needle in the small hole to separate the brushes from the rotor. Pull it out without using much force to avoid damage.

    • Avoid disconnecting wires unless otherwise specified!

    Ask FixBot

    Add Comment

  4. Honda CSC29 Stator Replacement: step 4, image 1 of 3 Honda CSC29 Stator Replacement: step 4, image 2 of 3 Honda CSC29 Stator Replacement: step 4, image 3 of 3
    • Use a #2 Phillips screwdriver to remove the two 6mm screws holding down the voltage regulator

    • There are three screws that attach the voltage regulator to the bridge assembly. One of these screws was removed in the previous step.

    Ask FixBot

    Add Comment

  5. Honda CSC29 Stator Replacement: step 5, image 1 of 1
    • Locate and unscrew the 3, 6mm screws holding the bridge assembly in place

    • There are 4 screws attaching the bridge assembly to the alternator. One of these screws were removed in the previous step.

    Ask FixBot

    Add Comment

  6. Honda CSC29 Stator Replacement: step 6, image 1 of 2 Honda CSC29 Stator Replacement: step 6, image 2 of 2
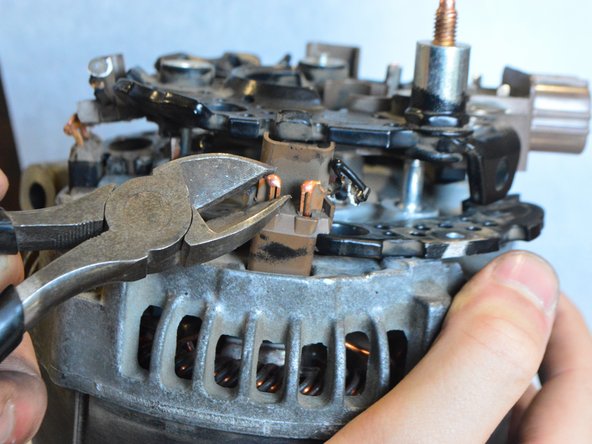
    • Locate the copper leads connecting the stator to the bridge assembly. There are 3 sets of 2 leads on the perimeter of the bridge, making 6 leads total.

    • These leads must be cut in order to remove the bridge from the alternator. These leads will have to be soldered back together on reassembly. Keep the cut as clean as possible.

    • Use wire cutters to cut all 6 of the leads on the perimeter of the bridge.

    Ask FixBot

    Add Comment

  7. Honda CSC29 Stator Replacement: step 7, image 1 of 3 Honda CSC29 Stator Replacement: step 7, image 2 of 3 Honda CSC29 Stator Replacement: step 7, image 3 of 3
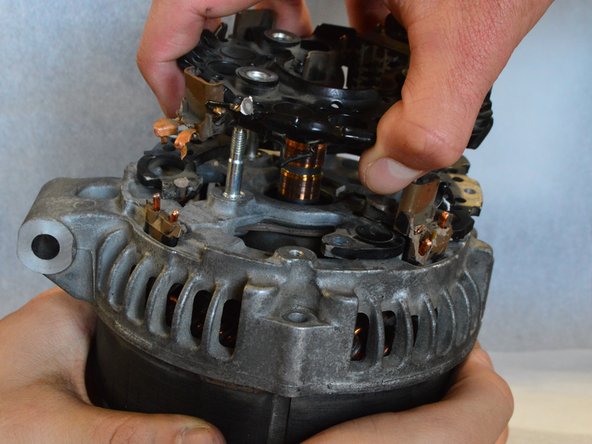
    • If necessary, use a pry bar to gently raise the top of the bridge assembly off the alternator

    • Be extremely careful with the pry bar. Excessive force will damage the bridge assembly.

    • Make sure the cut ends of the copper leads are straight to make bridge assembly easier to pull off.

    Ask FixBot

    Add Comment

  8. Honda CSC29 Stator Replacement: step 8, image 1 of 3 Honda CSC29 Stator Replacement: step 8, image 2 of 3 Honda CSC29 Stator Replacement: step 8, image 3 of 3
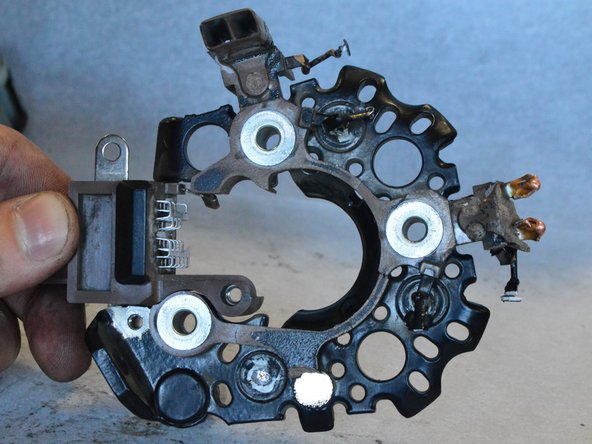
    • Remove the lower section of the bridge assembly

    • Use of a pry bar may be necessary. Be gentle.

    Ask FixBot

    Add Comment

  9. Honda CSC29 Stator Replacement, Stator: step 9, image 1 of 3 Honda CSC29 Stator Replacement, Stator: step 9, image 2 of 3 Honda CSC29 Stator Replacement, Stator: step 9, image 3 of 3
    • Use a Philips #2 Screwdriver or a 7.5mm socket driver to unscrew the 4, 7.5mm bolts running along the outer perimeter of the alternator

    Ask FixBot

    Add Comment

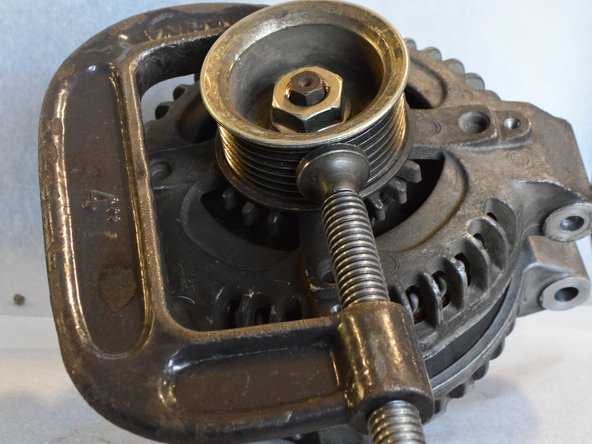
  10. Honda CSC29 Stator Replacement: step 10, image 1 of 2 Honda CSC29 Stator Replacement: step 10, image 2 of 2
    • Use a c-clamp or another fixture to hold the pulley in place

    • Be gentle with the clamp. Excessive force will bend the pulley out of shape

    Ask FixBot

    Add Comment

  11. Honda CSC29 Stator Replacement: step 11, image 1 of 2 Honda CSC29 Stator Replacement: step 11, image 2 of 2
    • Use a ratchet with a 25mm socket to remove the 25mm hex nut from the pulley

    • May need to use a power ratchet, depending on how tight the fit is on the nut

    Ask FixBot
    Add Comment

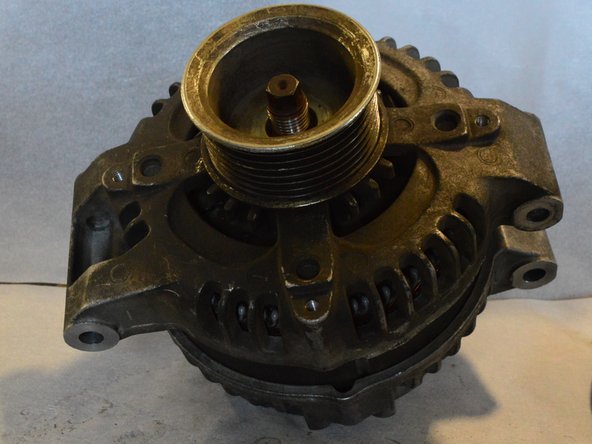
  12. Honda CSC29 Stator Replacement: step 12, image 1 of 2 Honda CSC29 Stator Replacement: step 12, image 2 of 2
    • Once the nut is off, you can then remove the pulley.

    Ask FixBot

    Add Comment

  13. Honda CSC29 Stator Replacement: step 13, image 1 of 3 Honda CSC29 Stator Replacement: step 13, image 2 of 3 Honda CSC29 Stator Replacement: step 13, image 3 of 3
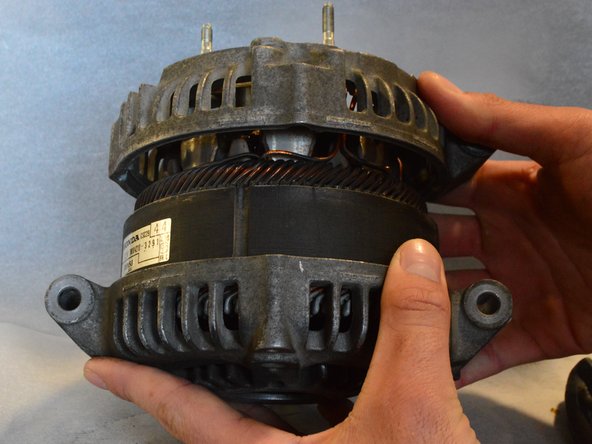
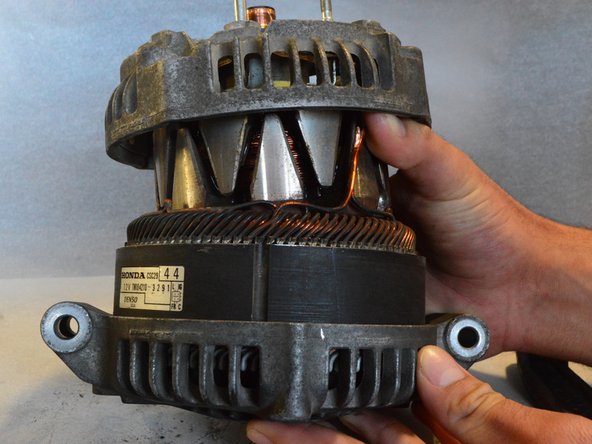
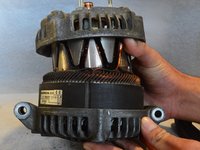
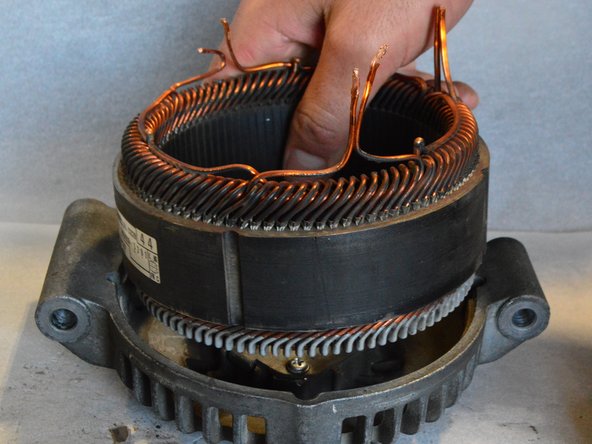
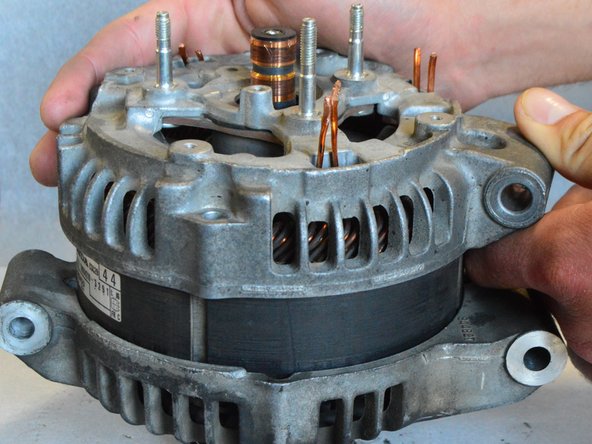
    • Once the pulley is removed, separate the rotor and stator. The stator is the piece with copper windings.

    Ask FixBot

    Add Comment

  14. Honda CSC29 Stator Replacement: step 14, image 1 of 3 Honda CSC29 Stator Replacement: step 14, image 2 of 3 Honda CSC29 Stator Replacement: step 14, image 3 of 3
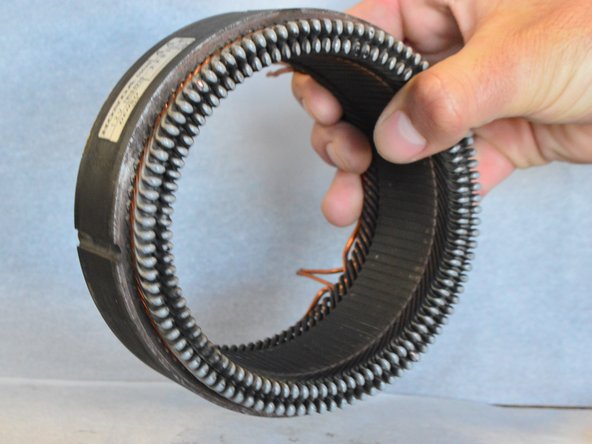
    • You can pull the stator out of the remaining cover and examine it.

    • If the stator is scratched or damaged, you will need to replace it. Look for scoring marks or cut pieces of winding.

    Ask FixBot
    Add Comment

Conclusion

To reassemble your device, follow these instructions in reverse order.

Cancel: I did not complete this guide.
5 other people completed this guide.

Nicole Martinez

Member since: 04/14/16

474 Reputation

1 Guide authored

Team

Cal Poly, Team 25-1, Maness Spring 2016 Member of Cal Poly, Team 25-1, Maness Spring 2016

CPSU-MANESS-S16S25G1

4 Members

15 Guides authored

1 Guide Comment

Thank you. Very good document, please keep up the excellent work.

k2000pkp - Reply Share

Add Comment

View Statistics:

Past 24 Hours: 1

Past 7 Days: 4

Past 30 Days: 38

All Time: 2,028