Free Shipping on Domestic Orders $75+

Honda CRF250L Exhaust Replacement

What you need

    1. Honda CRF250L Exhaust Replacement, Honda CRF250L Exhaust: step 1, image 1 of 3 Honda CRF250L Exhaust Replacement, Honda CRF250L Exhaust: step 1, image 2 of 3 Honda CRF250L Exhaust Replacement, Honda CRF250L Exhaust: step 1, image 3 of 3
      • Take off the existing exhaust.

      • Remove the external hex bolt by the header with the 1/2" socket.

      • Then, remove the internal hex socket bolt by the exhaust with the 6mm Allen wrench.

      • When unscrewing the bolt by the exhaust, make sure to hold the nut stationary with the 1/2" open-ended wrench.

      Ask FixBot

      Add Comment

    2. Honda CRF250L Exhaust Replacement: step 2, image 1 of 1
      • Slide the pipe into the the exhaust.

      • The pipe should curve downward.

      Ask FixBot

      Add Comment

    3. Honda CRF250L Exhaust Replacement: step 3, image 1 of 2 Honda CRF250L Exhaust Replacement: step 3, image 2 of 2
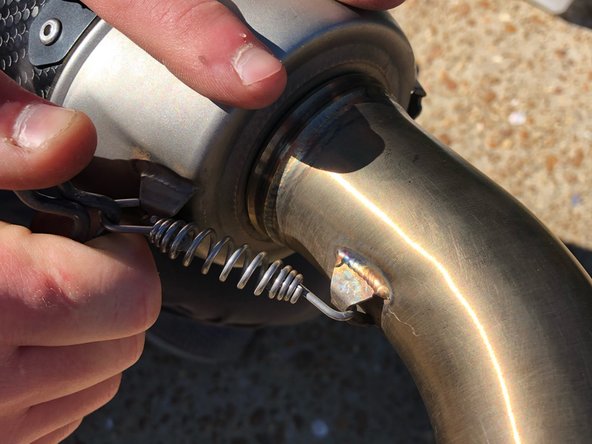
      • Hook the spring on to one of the slots that is welded on the pipe and exhaust.

      • Then, expand the spring to hook around the opposing slot using the spring hook.

      Ask FixBot

      Add Comment

    4. Honda CRF250L Exhaust Replacement: step 4, image 1 of 1
      • Slide the clamp over the end of the pipe.

      • Make sure the bolt is stationed on top to tighten later.

      Ask FixBot

      Add Comment

    5. Honda CRF250L Exhaust Replacement: step 5, image 1 of 1
      • Slide the mount over the exhaust.

      Ask FixBot

      Add Comment

    6. Honda CRF250L Exhaust Replacement: step 6, image 1 of 1
      • Slide the new exhaust onto the header.

      • The exhaust should curve upward.

      Ask FixBot

      Add Comment

    7. Honda CRF250L Exhaust Replacement: step 7, image 1 of 2 Honda CRF250L Exhaust Replacement: step 7, image 2 of 2
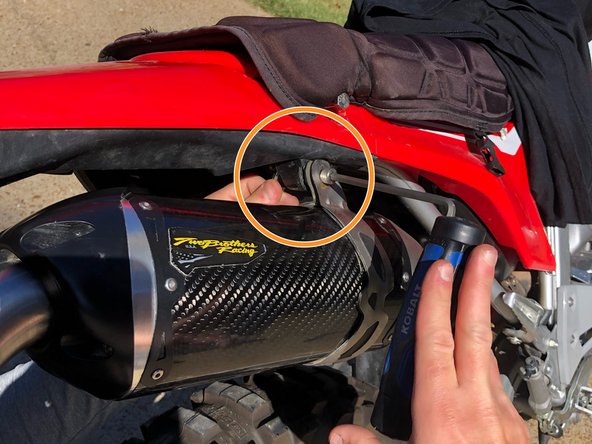
      • Make sure that the mount is positioned to allow all holes to line up.

      • Insert the internal hex socket bolt.

      Ask FixBot

      Add Comment

    8. Honda CRF250L Exhaust Replacement: step 8, image 1 of 3 Honda CRF250L Exhaust Replacement: step 8, image 2 of 3 Honda CRF250L Exhaust Replacement: step 8, image 3 of 3
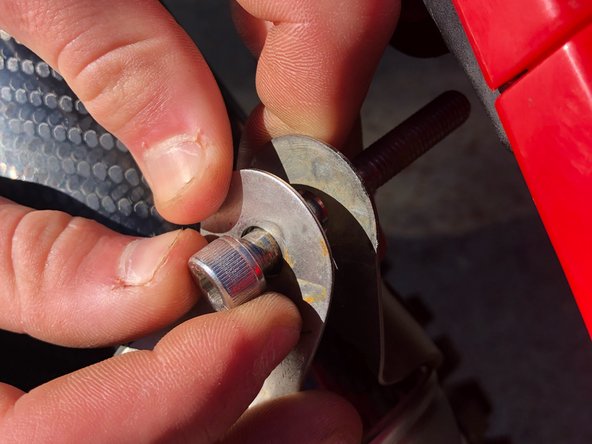
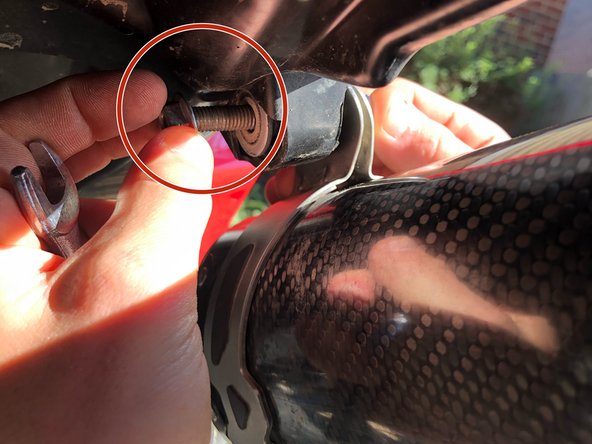
      • Insert the bolt attached to the mount.

      • Install the nut to the backside of the internal hex socket bolt.

      • Tighten the internal hex socket bolt using the 6mm Allen wrench.

      • Keep the nut stationary using the 1/2" open-ended wrench.

      Ask FixBot

      Add Comment

    9. Honda CRF250L Exhaust Replacement: step 9, image 1 of 1
      • Tighten the clamp.

      • Tighten the internal hex socket bolt on the clamp using the 6mm Allen wrench.

      Ask FixBot

      Add Comment

Conclusion

To reassemble your stock exhaust, follow these instructions in reverse order.

Cancel: I did not complete this guide.

3 other people completed this guide.

1 Guide Comment

Why is my CRF 150 l not starting though engine is on, fuel is running and giving spark on plugs?

Selwyn Maraga - Reply Share

Add Comment

View Statistics:

Past 24 Hours: 2

Past 7 Days: 18

Past 30 Days: 114

All Time: 4,316