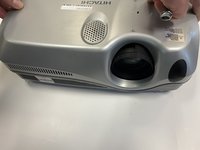
Hitachi CP-X440 Power Supply Unit Replacement

What you need

  1. Hitachi CP-X440 Power Supply Unit Replacement, Motherboard: step 1, image 1 of 1
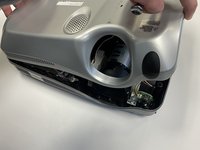
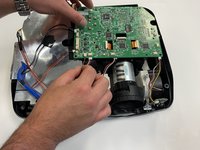
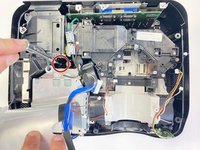
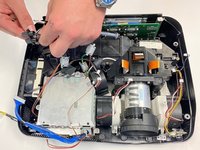
    • Turn the projector upside down so the bottom is facing up.

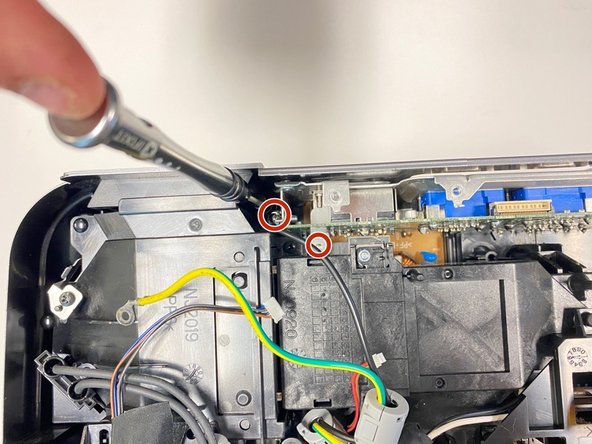
    • Using a Phillips #1 screwdriver remove the six black 2 mm screws.

    • The screws are deep in the holes, so be careful when removing them as they can easily fall off the screwdriver tip.

  2. Hitachi CP-X440 Power Supply Unit Replacement: step 2, image 1 of 2 Hitachi CP-X440 Power Supply Unit Replacement: step 2, image 2 of 2
    • Flip the projector right-side up and navigate to the back panel.

    • Remove the three black 10 mm screws on the back panel with a Phillips #1 screwdriver.

    • Remove the two silver 10 mm screws on the power switch panel with a Phillips #1 screwdriver.

  3. Hitachi CP-X440 Power Supply Unit Replacement: step 3, image 1 of 2 Hitachi CP-X440 Power Supply Unit Replacement: step 3, image 2 of 2
    • Now turn the projector so the front is facing you.

    • Gently remove the lid from the bottom of the projector so the green circuit board is exposed.

  4. Hitachi CP-X440 Power Supply Unit Replacement: step 4, image 1 of 2 Hitachi CP-X440 Power Supply Unit Replacement: step 4, image 2 of 2
    • Gently remove the cables from their white connectors on the circuit board.

  5. Hitachi CP-X440 Power Supply Unit Replacement: step 5, image 1 of 1
    • Gently pull out the three orange ribbons from their white connectors on the circuit board.

    • You can use a spudger tool to pry them out of place.

  6. Hitachi CP-X440 Power Supply Unit Replacement: step 6, image 1 of 1
    • Remove the five silver 5 mm screws on the circuit board with a Phillips #2 screwdriver.

  7. Hitachi CP-X440 Power Supply Unit Replacement: step 7, image 1 of 1
    • Remove the motherboard so the projector is exposed.

  8. Hitachi CP-X440 Power Supply Unit Replacement, Power Supply Unit: step 8, image 1 of 2 Hitachi CP-X440 Power Supply Unit Replacement, Power Supply Unit: step 8, image 2 of 2
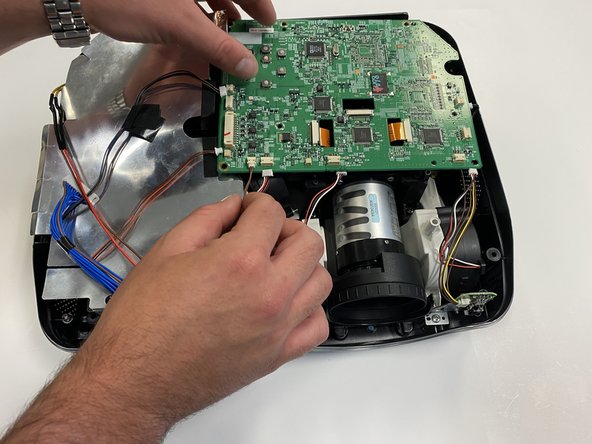
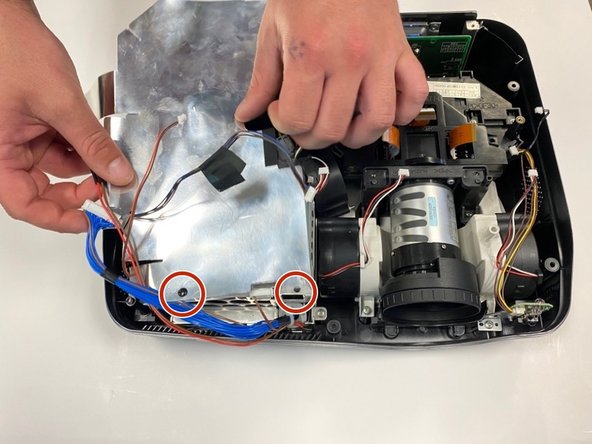
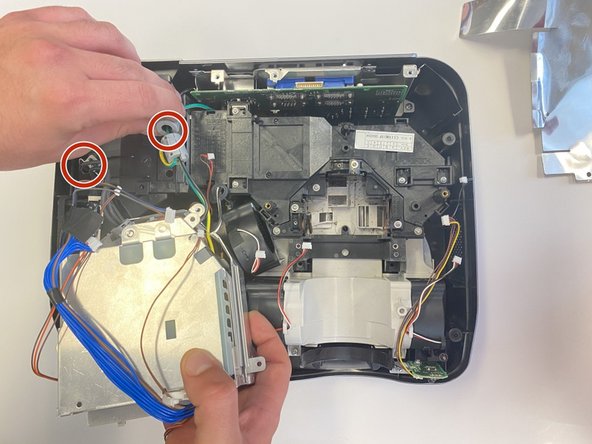
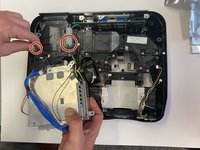
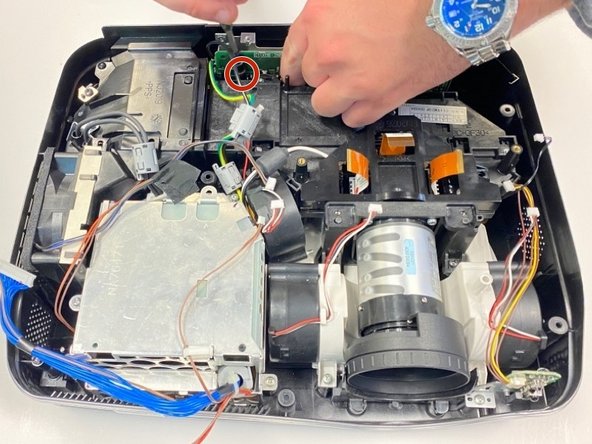
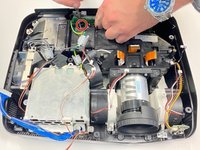
    • Remove the silver plastic protective piece from the top of the power supply unit.

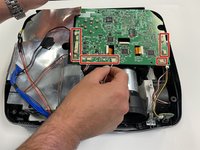
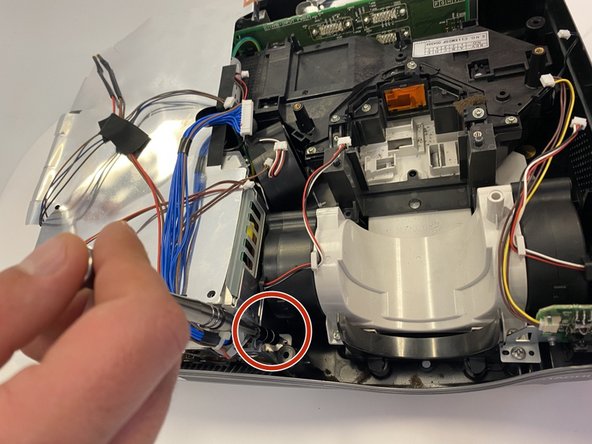
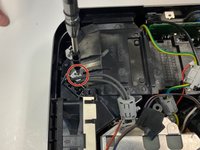
    • Remove the black pin holder by using the spudger.

  9. Hitachi CP-X440 Power Supply Unit Replacement: step 9, image 1 of 3 Hitachi CP-X440 Power Supply Unit Replacement: step 9, image 2 of 3 Hitachi CP-X440 Power Supply Unit Replacement: step 9, image 3 of 3
    • Remove the 10 mm screws that are holding the power supply unit to the projector.

  10. Hitachi CP-X440 Power Supply Unit Replacement: step 10, image 1 of 2 Hitachi CP-X440 Power Supply Unit Replacement: step 10, image 2 of 2
    • Remove the wires that are attached to the projector from the power supply unit.

  11. Hitachi CP-X440 Power Supply Unit Replacement: step 11, image 1 of 3 Hitachi CP-X440 Power Supply Unit Replacement: step 11, image 2 of 3 Hitachi CP-X440 Power Supply Unit Replacement: step 11, image 3 of 3
    • Remove the black wire by using the Phillips #2 screwdriver to remove the 10 mm screw.

    • Pull on the metal bracket which should come free, and then pull the wire up so it is released.

  12. Hitachi CP-X440 Power Supply Unit Replacement: step 12, image 1 of 3 Hitachi CP-X440 Power Supply Unit Replacement: step 12, image 2 of 3 Hitachi CP-X440 Power Supply Unit Replacement: step 12, image 3 of 3
    • Remove the black wire by using the Phillips #2 screwdriver to remove the 10 mm silver screw.

    • Pull on the metal bracket which should come free. Then pull the wire up so it is released.

    • The third picture marks where the base of the second picture's screw is located.

  13. Hitachi CP-X440 Power Supply Unit Replacement: step 13, image 1 of 1
    • Remove the last 10 mm screw to the secondary motherboard using the Phillips #2 screwdriver and the power supply unit will lift free.

Conclusion

To reassemble your device, follow these instructions in reverse order.

noah wright

Member since: 03/21/22

133 Reputation

1 Guide authored

0 Guide Comments

Add Comment

View Statistics:

Past 24 Hours: 1

Past 7 Days: 2

Past 30 Days: 6

All Time: 316