Introduction
Is your Hitachi CP-X2511 not turning on or charging properly? This issue can be from a faulty battery module. In this guide, we will show you how to troubleshoot this issue, with detailed removal, inspection, and replacement.
What you need
-
-
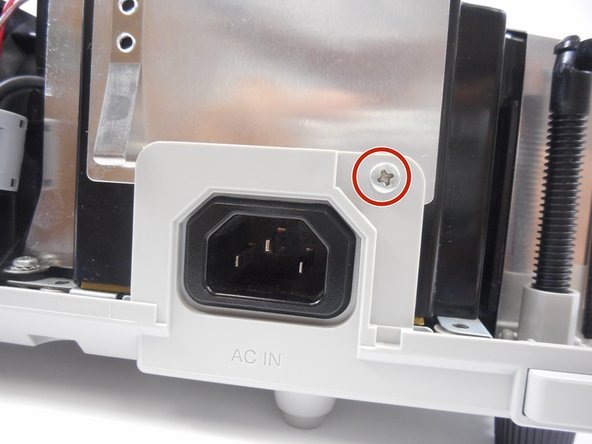
First remove the the seven black screws at the bottom of the projector. There should be three on the left side, three on the right side, and one at the very front.
-
-


To reassemble your device, follow these instructions in reverse order.
To reassemble your device, follow these instructions in reverse order.
Team

University of New Orleans, Team 3-6, McDonald Fall 2023 Member of University of New Orleans, Team 3-6, McDonald Fall 2023
UNO-MCDONALD-F23S3G6
3 Members
4 Guides authored